


My affection for buttery, flaky crusts and sweet, caramelized vegetables came together one magical day many years ago. I realized that the wonderfully easy food-processor tart dough I had learned as a young cook at Al Forno restaurant wasn’t just for dessert. As much as I like a good rustic fruit tart (and there is one to die for—Little Pear Crostatas with Hazelnut Crisp Topping—in Fresh from the Farm), I am always looking for a good destination for roasted or sautéed vegetables, too. And these fun-to-make, free-form tarts (no special pan needed) are perfect for showcasing all kinds of veggies.
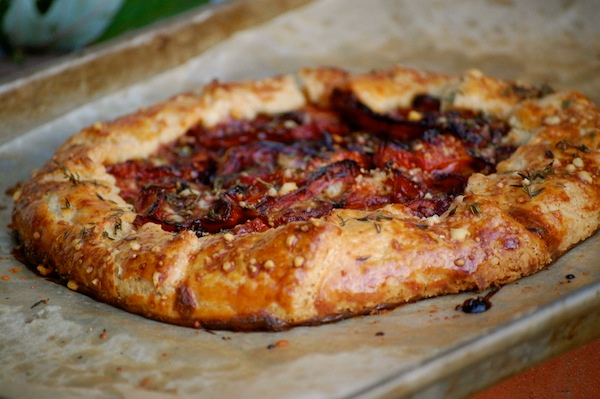
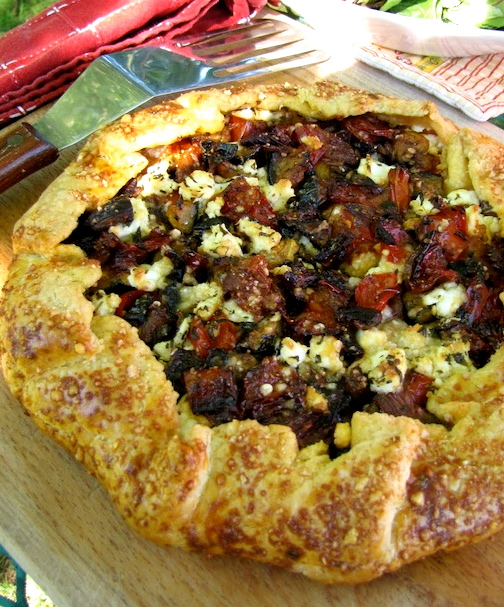 I really played out this idea in The Fresh & Green Table with four delicious recipes—Roasted Ratatouille Tart with Goat Cheese & Mint; Seven-Treasure Roasted Winter Veggie Tart; Roasted Butternut Squash, Cranberry, Shallot & Pecan Tart; and Savoy Cabbage, Apple, Onion & Gruyere Tart (pictured here). And, not being able to help myself, I’ve done it again in Fresh from the Farm with one of my favorite ingredients, roasted tomatoes (see photo at top.)
I’ve never blogged about the tarts, though, because the recipes take up a lot of vertical space. With both the tart dough and the completed tart recipe needing to run together, your eyes would get tired!
But today I was organizing some old photos and came across a series of decent test photos that Roy and I took while developing the tarts for The Fresh & Green Table. I realized that publishing them would go a long way towards illuminating the technique of making the dough and assembling the tarts, so I’ve decided to go ahead and post these photos here today. (Therefore, if you’re looking at one of the tart recipes in my book, you can now get a little idea of what the process is like by looking here. Next I should probably do a video!)
You’ll also find the tart dough recipe after the photos. And I will put the recipe for the Savoy Cabbage, Apple, Onion & Gruyere Tart (the one in these process photos) in a separate post so that you can print it out on its own (and make it right now, while winter cabbage reigns supreme). One of these days I will also finally get my recipe formatting software working—and then the recipes will truly be print friendly. It’s on the list, I promise.
By the way, rustic tarts are also variously called crostatas and galettes.
Making and Assembling a Savory Rustic Tart

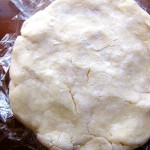
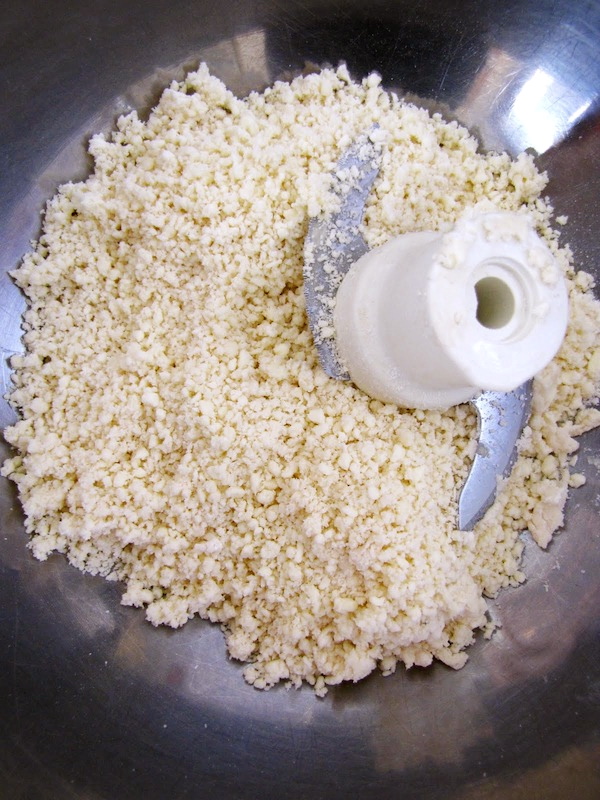 After pulsing the flour, salt, cold butter and a little ice water together in a food processor until the mixture looks like small pebbles, dump the mixture into a large mixing bowl. Use your fingers and the palm of your hand to knead the loose dough together into a mass.
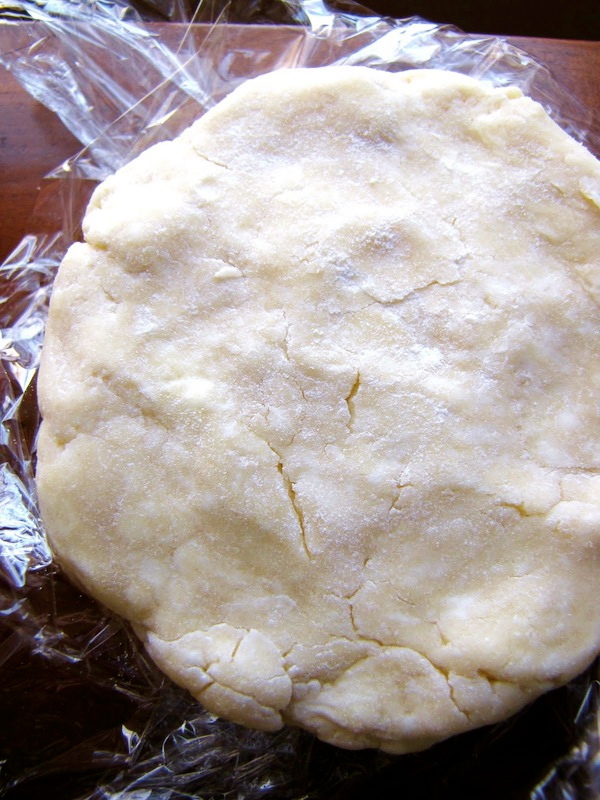
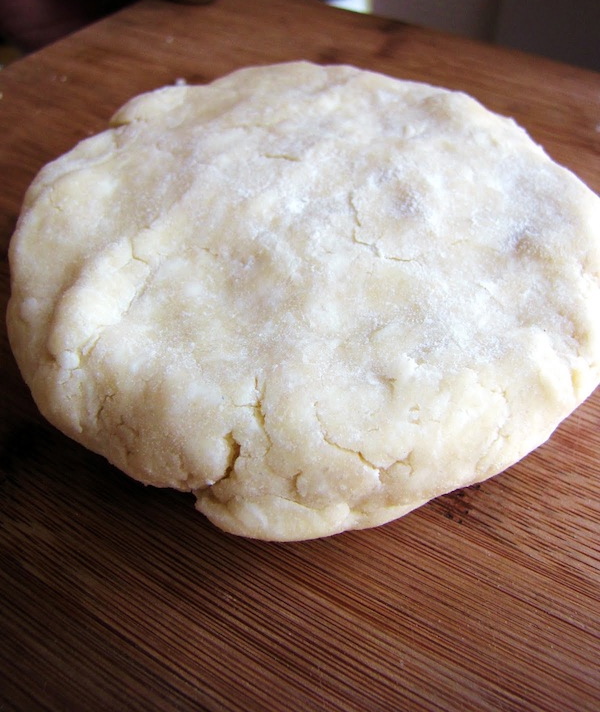
On a floured surface, pat and shape the dough into two flat disks, each about an inch thick. Wrap well in plastic and refrigerate for an hour or up to two days. Or freeze for a few weeks.
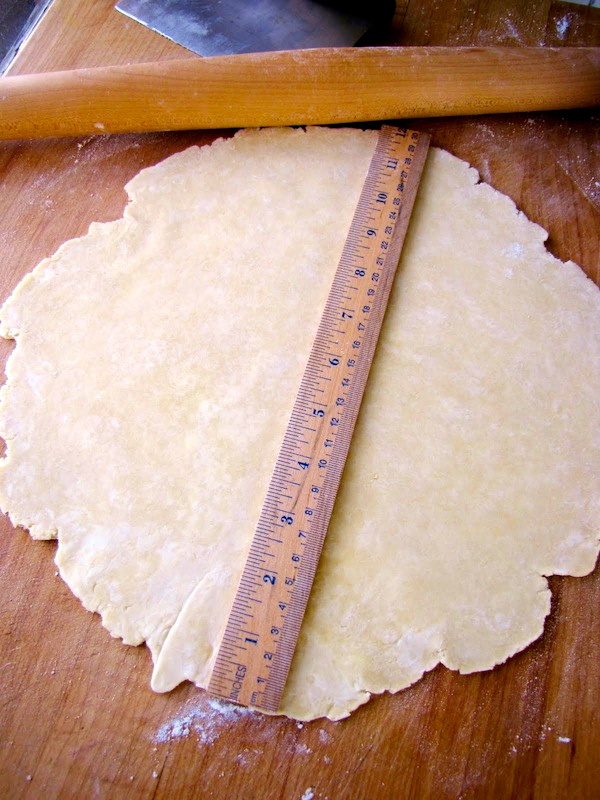
Remove dough from fridge 30 to 45 minutes before rolling. Flour a large surface, get out a ruler, and begin rolling the dough disk out, lifting the dough up, tossing a little more flour underneath, and giving it a quarter turn after every roll. The lifting and flour help prevent sticking; the turn helps with shaping a rough circle. (I like a French pin with tapered ends, which also helps to keep you from rolling over the edges of the dough, which will squish it.) Continue to roll the dough until you have a circle roughly 12-inches wide.
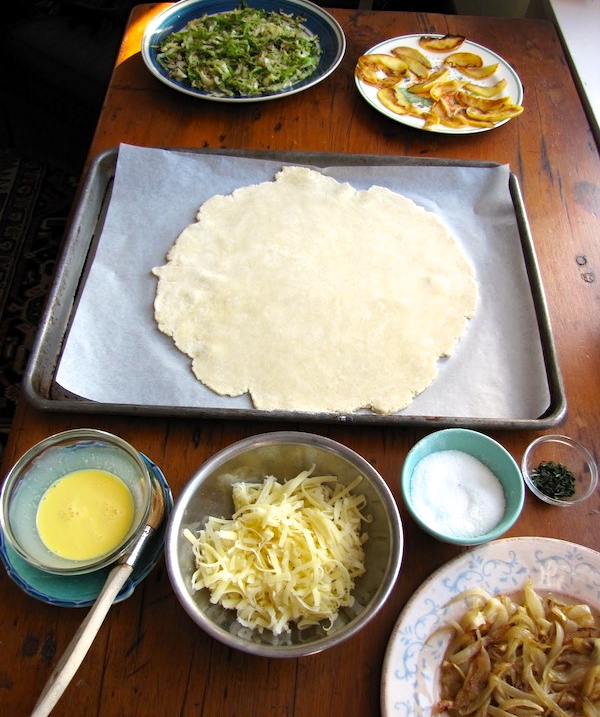 Transfer the dough to a parchment- lined heavy duty baking sheet.
Make an egg wash by combining an egg yolk and heavy cream.
Arrange all your filling ingredients around your baking sheet to make assembly easiest. (In most tart recipes, you can cook the filling ingredients during the time it takes for your dough to come back up to cool room temperature.)
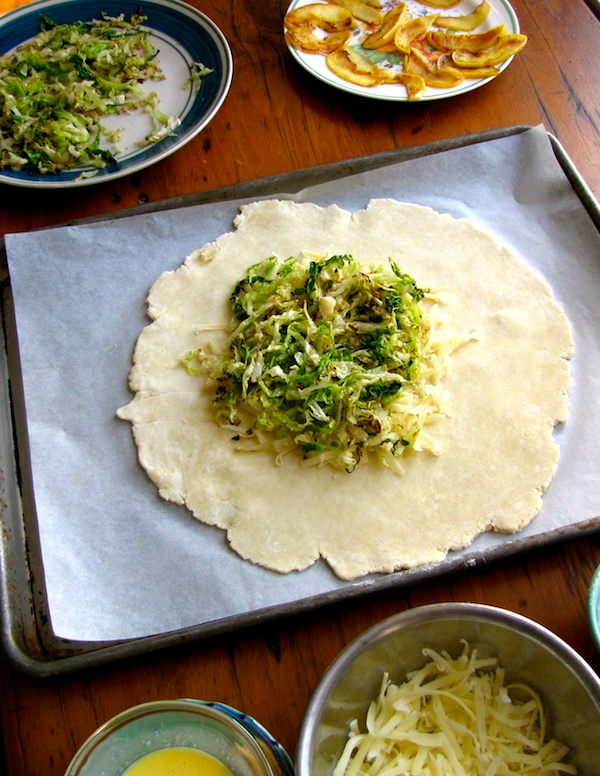
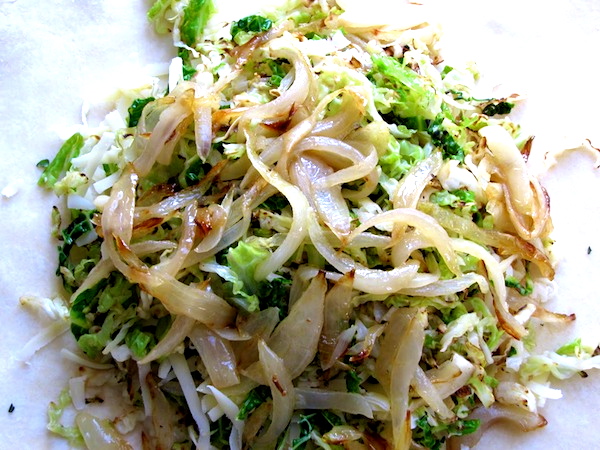
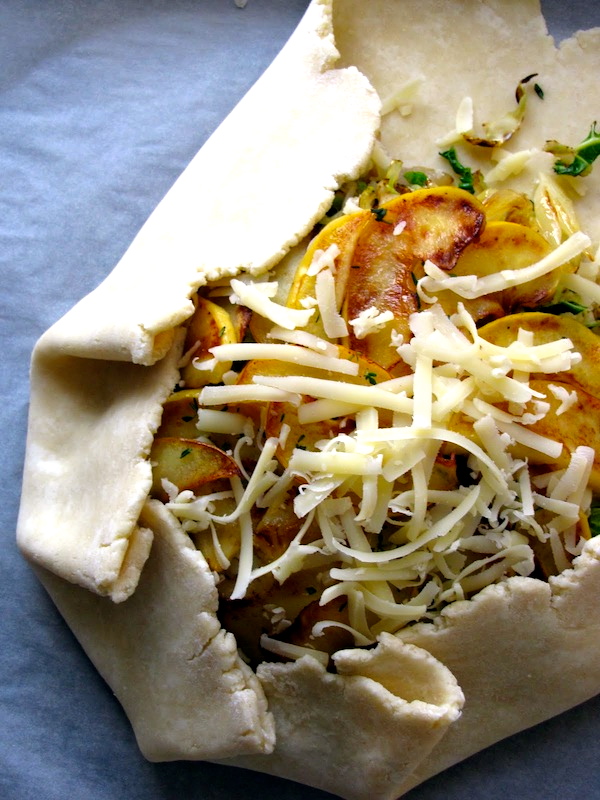
Arrange your first ingredient (usually cheese; in this case gruyere) in the center of the dough, leaving a 2-inch border all the way around. (Note, I could have done a much better job on this one–looks like 2 inches on one side and 4 on another! Maybe it was the camera angle.) Top with your next layer (in this case, sautéed cabbage).
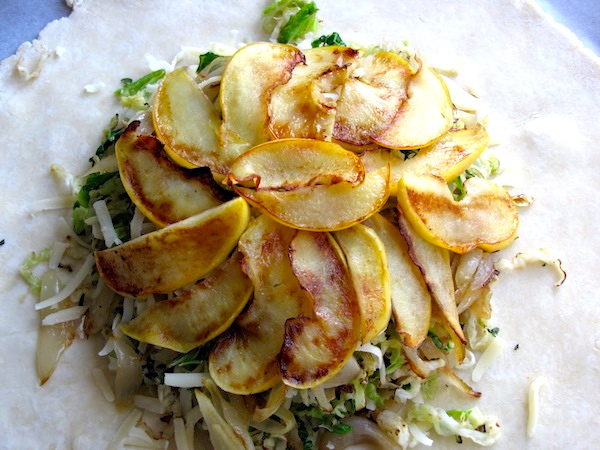
 Continue layering your filling ingredients until you are done.
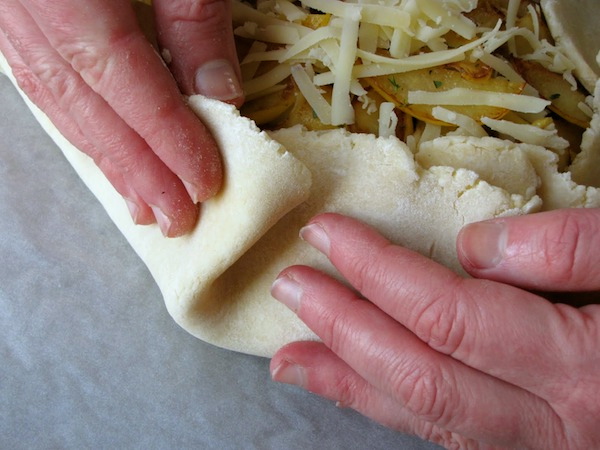
However you are most comfortable, pleat the edges of the dough up and over the filling.
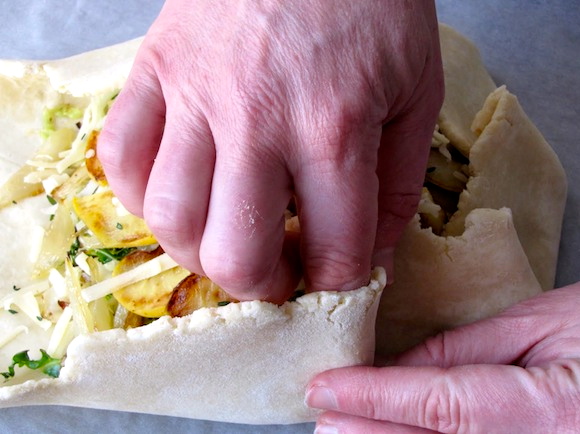
I often use the thumb and fingers of one hand to pinch while using the other hand to pull the dough up and begin the fold. (Okay, folks, by now you realize I don’t stand a chance at a career as a hand model. Yes, Roy took these pictures and those are my big hands!)
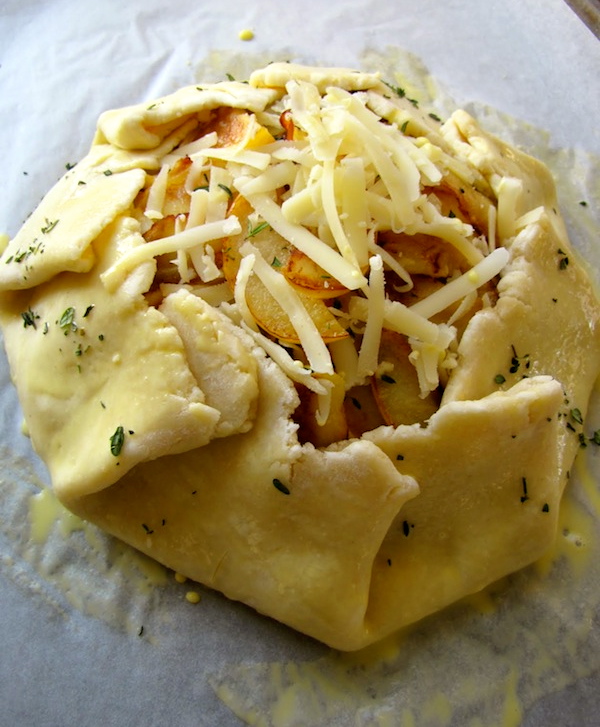
I find one pleat about every three inches works well. Continue pleating until the tart is contained. If cracks develop, don’t worry—you can pinch the dough together to seal it.
Brush the edges of the tart (and underneath the pleated folds) with egg wash. Sprinkle with herbs, a little cheese, or a bit of coarse salt.
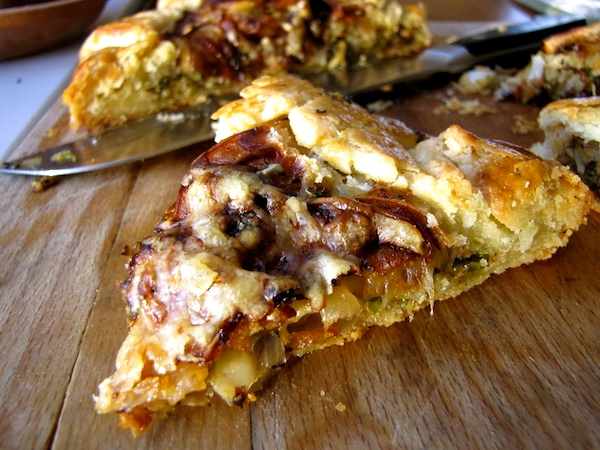
Bake until golden all over (see top photos) and brown and crisp on the bottom (check with a spatula). Depending on the size of the tart, this usually takes about 40 to 45 minutes at 400 degrees.
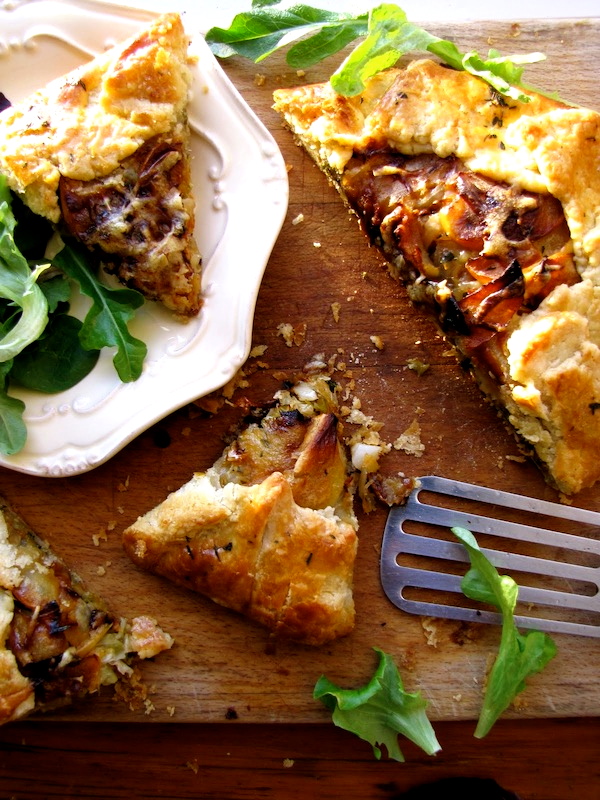
Let cool for several minutes and cut into serving pieces. Salad or soup optional!
 Savory Rustic Tart Dough Recipe
Easy, make-ahead, absolutely delicious. I swear, you no longer have to be afraid of pastry dough—of making it, rolling it out, shaping it—any of that. Yes, you’ll need a food processor (my favorite tool for making pizza dough, too), but oh, will you be happy with this ultra-buttery flaky crust.
The one thing you should keep in mind when making this dough is timing. It really works best to make the dough ahead. While it only takes 10 minutes to make, the dough needs to rest and chill in the fridge for at least an hour (and up to 2 days), and then, after taking it out of the fridge, it will need to warm back up to “cool” room temperature*, which will take about 45 to 55 minutes. So it’s a great idea to make the dough some morning or evening when you have just a few spare minutes. Pop it in the fridge and then when you’re ready to make a tart, you’ll only need to set aside the time it takes to warm it back up—and that’s the perfect amount of time to make your filling. It’s also really a joy to be able to reach in and grab that little wrapped present of dough already made up. (The dough will also keep in the freezer for 3 or 4 weeks.)
Makes enough dough for two 8- to 9-inch Rustic Tarts.
2 cups (9 ounces) unbleached all-purpose flour
1/2 teaspoon table salt
1/2 pound (16 Tbsp.) very cold unsalted butter, cut into ½-inch cubes
1/4 cup ice water
In the bowl of a food processor, combine the flour and salt. Pulse briefly to combine.
Add the cubes of butter. Pulse quickly about 20 times, or until the butter particles are quite small (like tiny pebbles). With the motor running, add the ice water in a steady stream. (This will take about 10 seconds). Stop the motor. Then pulse quickly six or eight times—just until the mixture begins to come off the sides of the bowl and clump together. The mixture will still be somewhat loose and crumbly—that’s okay. You will bring the dough together in the next step.
Turn the mixture out into a big mixing bowl and knead it briefly against the sides of the bowl to finish bringing it together into a dough. (Once you have incorporated all of the crumbs, knead once or twice to smooth out the dough just a bit. While you don’t want to over-handle the dough, you also don’t want to be afraid to handle it as much as you need to in order to bring all the bits of the dough together, as it will ultimately be easier to roll out.)
Divide the dough in half. (If you have a scale, you can weigh the dough pieces to make sure they’re of equal or close-to-equal weight. They should each weigh about 9 1/2 oz.)
Shape each piece into a disk about 1-inch thick (and about 4 inches across). (Again, don’t be afraid to handle the disk just enough to smooth out cracks and make a tidy disk.) Dust lightly with flour, wrap in plastic, and refrigerate for at least 1 hour or up to two days. (You will need to remove the dough from the fridge 45 minutes before rolling it.)
Alternatively, you can freeze the dough for up to a month. Defrost it in the fridge overnight before using.
*NOTE: Depending on how long your dough disk has been refrigerated, it will most likely be between 50 and 42 degrees when you take it out. Anything in this range is rock hard. You’re looking for the dough to warm up to about 60 degrees. Don’t worry, you don’t have to take its temperature—it will be ready when it is still slightly cool but somewhat pliable. Again, depending on the temperature the dough was chilled to, and the temperature of your kitchen, this will take anywhere from 40 to 60 minutes—leaving 45 or so minutes is a good bet, but also don’t worry if you get behind. There is a decent window of time, and on all but the hottest of days (or kitchens), it can usually sit for up to 30 minutes more before it gets too warm.
Susie, that looks absolutely incredible. Back when I started living on my own, my biggest kitchen fear was pie crust. I found a newspaper article for a “fool-proof rustic pie crust” that was actually a tart like yours, and that became my go-to “pie” for years. (I will say that I have since mastered pie crust – well, thanks to Smitten Kitchen.) Your post reminded of my “old” pie crust, with a brand new take using savory ingredients! I look forward to making this for friends. Yum.
Hi Danielle,
Nice to hear from you, and I think a book should be coming your way soon!! Yes, it is really great to have a go-to crust, isn’t it? You can never go wrong with anything tucked inside a really good crust! I bet you guys will really like these! Hope all is well in CA! Susie