Tag Archives: Greens

What One Vegetarian Really Eats (and Cooks)

DSC_0189A year ago this January, I hopped a very short fence. I went from eating not a lot of meat, to eating no meat at all. Technically, I became a vegetarian, though I have eaten the occasional fish or shellfish when it has been offered to me.

Now that I am in the thick of writing and editing the text and recipes for my vegetarian cookbook (which will come out in Spring 2017 from Roost Books), I am thinking hard about strategies and tips for readers. But I am also thinking about what fun I have had developing the recipes—how the creative challenge for this book has been the best yet, because it is has essentially given me a blueprint for eating.

I can’t wait (though I must—and, ahem, I must also finish the manuscript, complete the last photo shoot, and a list of other things…before it even gets to my editor!) for the book to come out so that I can cook from my own recipes every night. And sadly, I won’t be able to share any of those recipes with you until we get close to publication.

But I thought for those of you who are contemplating a shift, it might be interesting to share with you what one vegetarian really eats. (And I say really or actually, because this is not theoretical. Since I, like most year-round Islanders, cook the vast majority of my food at home, this is truly what I eat.) Remember, I’m not a nutritionist—my gig is cooking technique—and I’m only one person, so take it for what it is.

DSC_0217

I will say, though, that cooking vegetarian truly is a blast (if you like to cook), because the creative possibilities are endless. I never come at it from the “what can I replace the meat with” (in fact, I’m not big on meat-replacement type proteins); I always come at it from the “how I can turn these vegetables into a delicious, filling meal?”

Here are some of the things I eat and cook with on a regular basis (in addition to the obvious—vegetables!):

DSC_0197
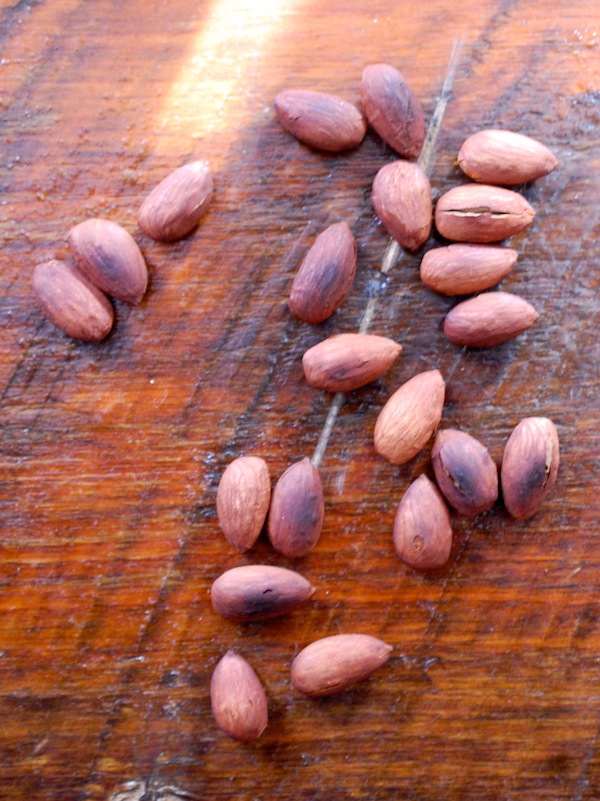
Nuts. Toasted. Toasted nuts have an almost cocoa-like umami thing going on, so they taste delicious and are very filling. Almonds are at the top of my list, with pecans and walnuts next. I stock pine nuts, hazelnuts, and, of course, peanuts and natural peanut butter. (Pepitas, too, which are seeds, not nuts.) I use nuts not just in salads, but in grain and bean dishes, too.

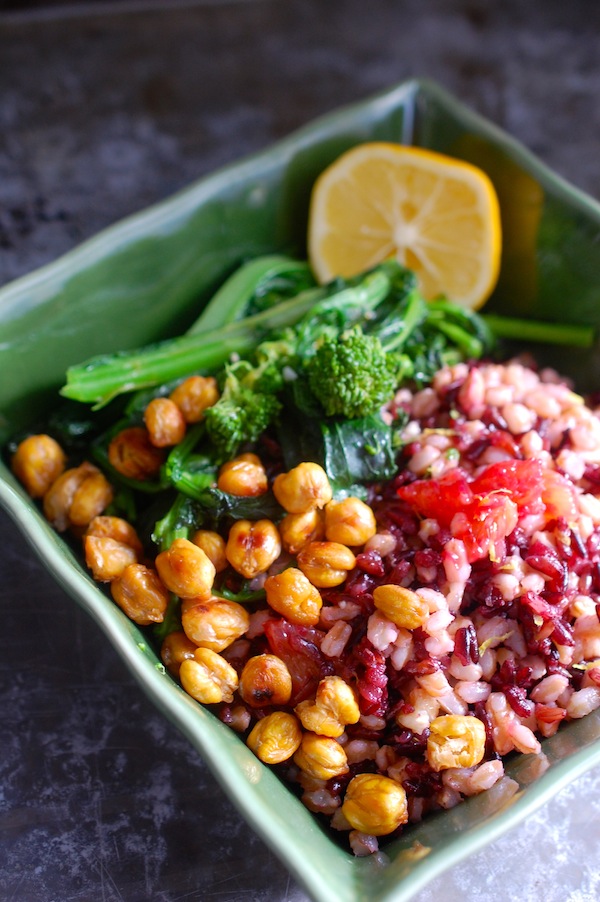
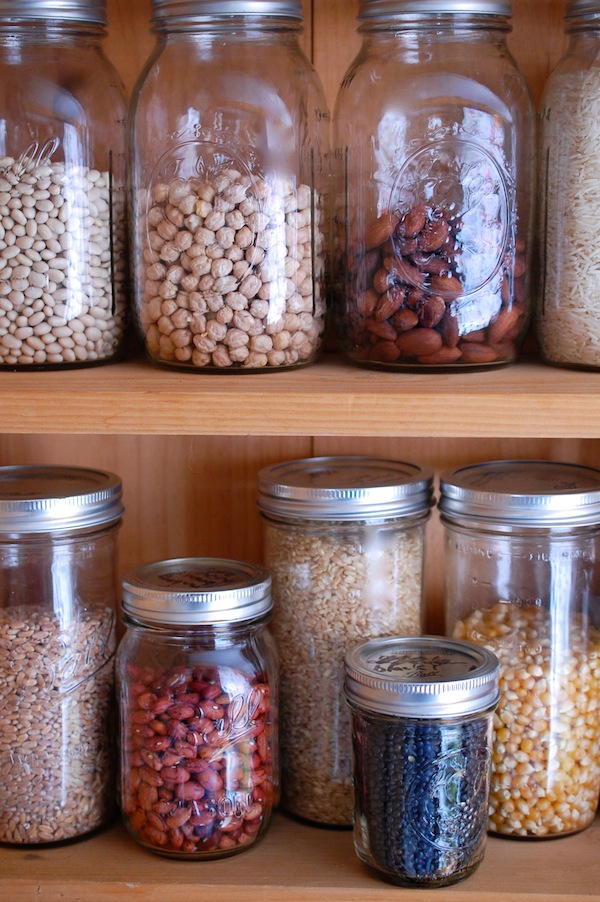
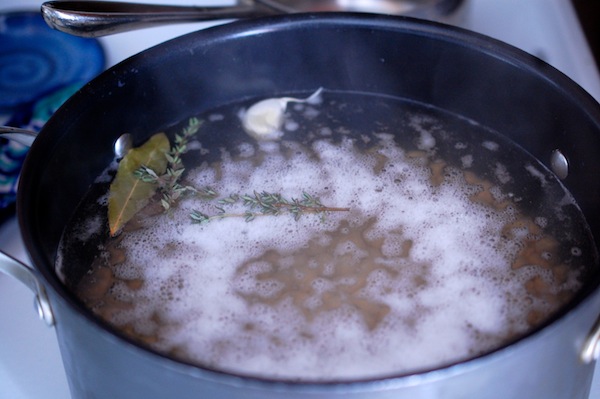
Chickpeas. Sheepishly, I have to admit that, like a lot of vegetarian converts, I have fallen totally in love with chickpeas. (I’m simmering a pot on the stove right now on this first snowy day in January, though I stock canned chickpeas, too.). In addition to the great flavor and rich texture, chickpeas have a distinct advantage over most other beans and legumes—they hold up well in all kinds of cooking. In fact, you can even brown them by sautéing or roasting; and as you know, I love browning because that means caramelization and extra flavor!

DSC_0199

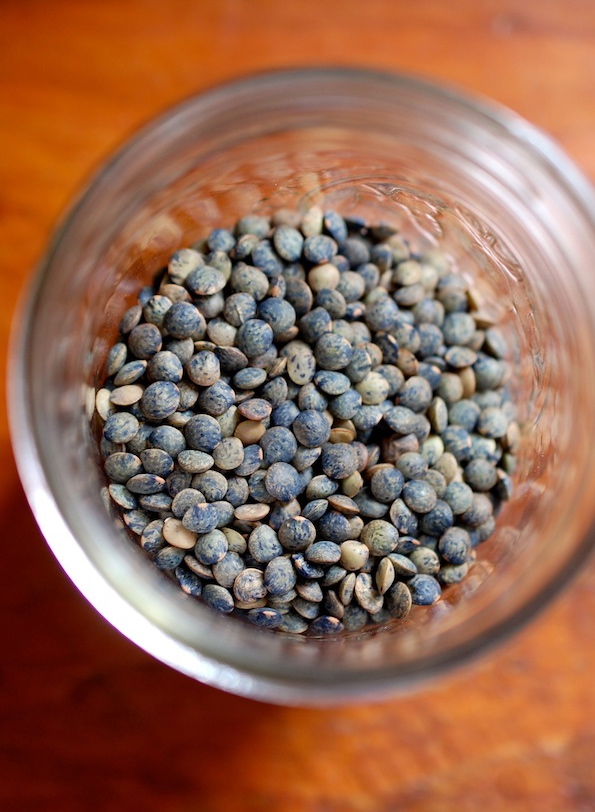
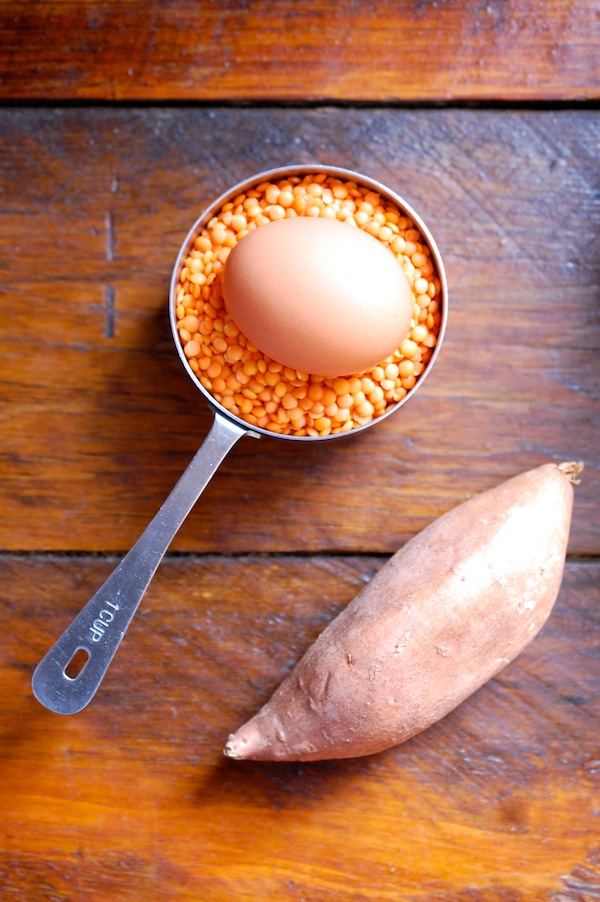
Lentils. While I eat all beans (always soaked first before cooking, or canned), I’ve become more of a fan of lentils in the last year. For one thing, they cook very quickly—in less than 20 minutes in many cases. Secondly, you can now find black Beluga lentils and small French green (DuPuy) lentils in many more grocery stores, and I find the firmer texture of these more pleasing than that of the larger common brown lentils. Red lentils are also quick and delicious in soups and porridge-like dishes. And all lentils have assertive flavors that go well in soups, salads and sautés.

lent


DSC_0186
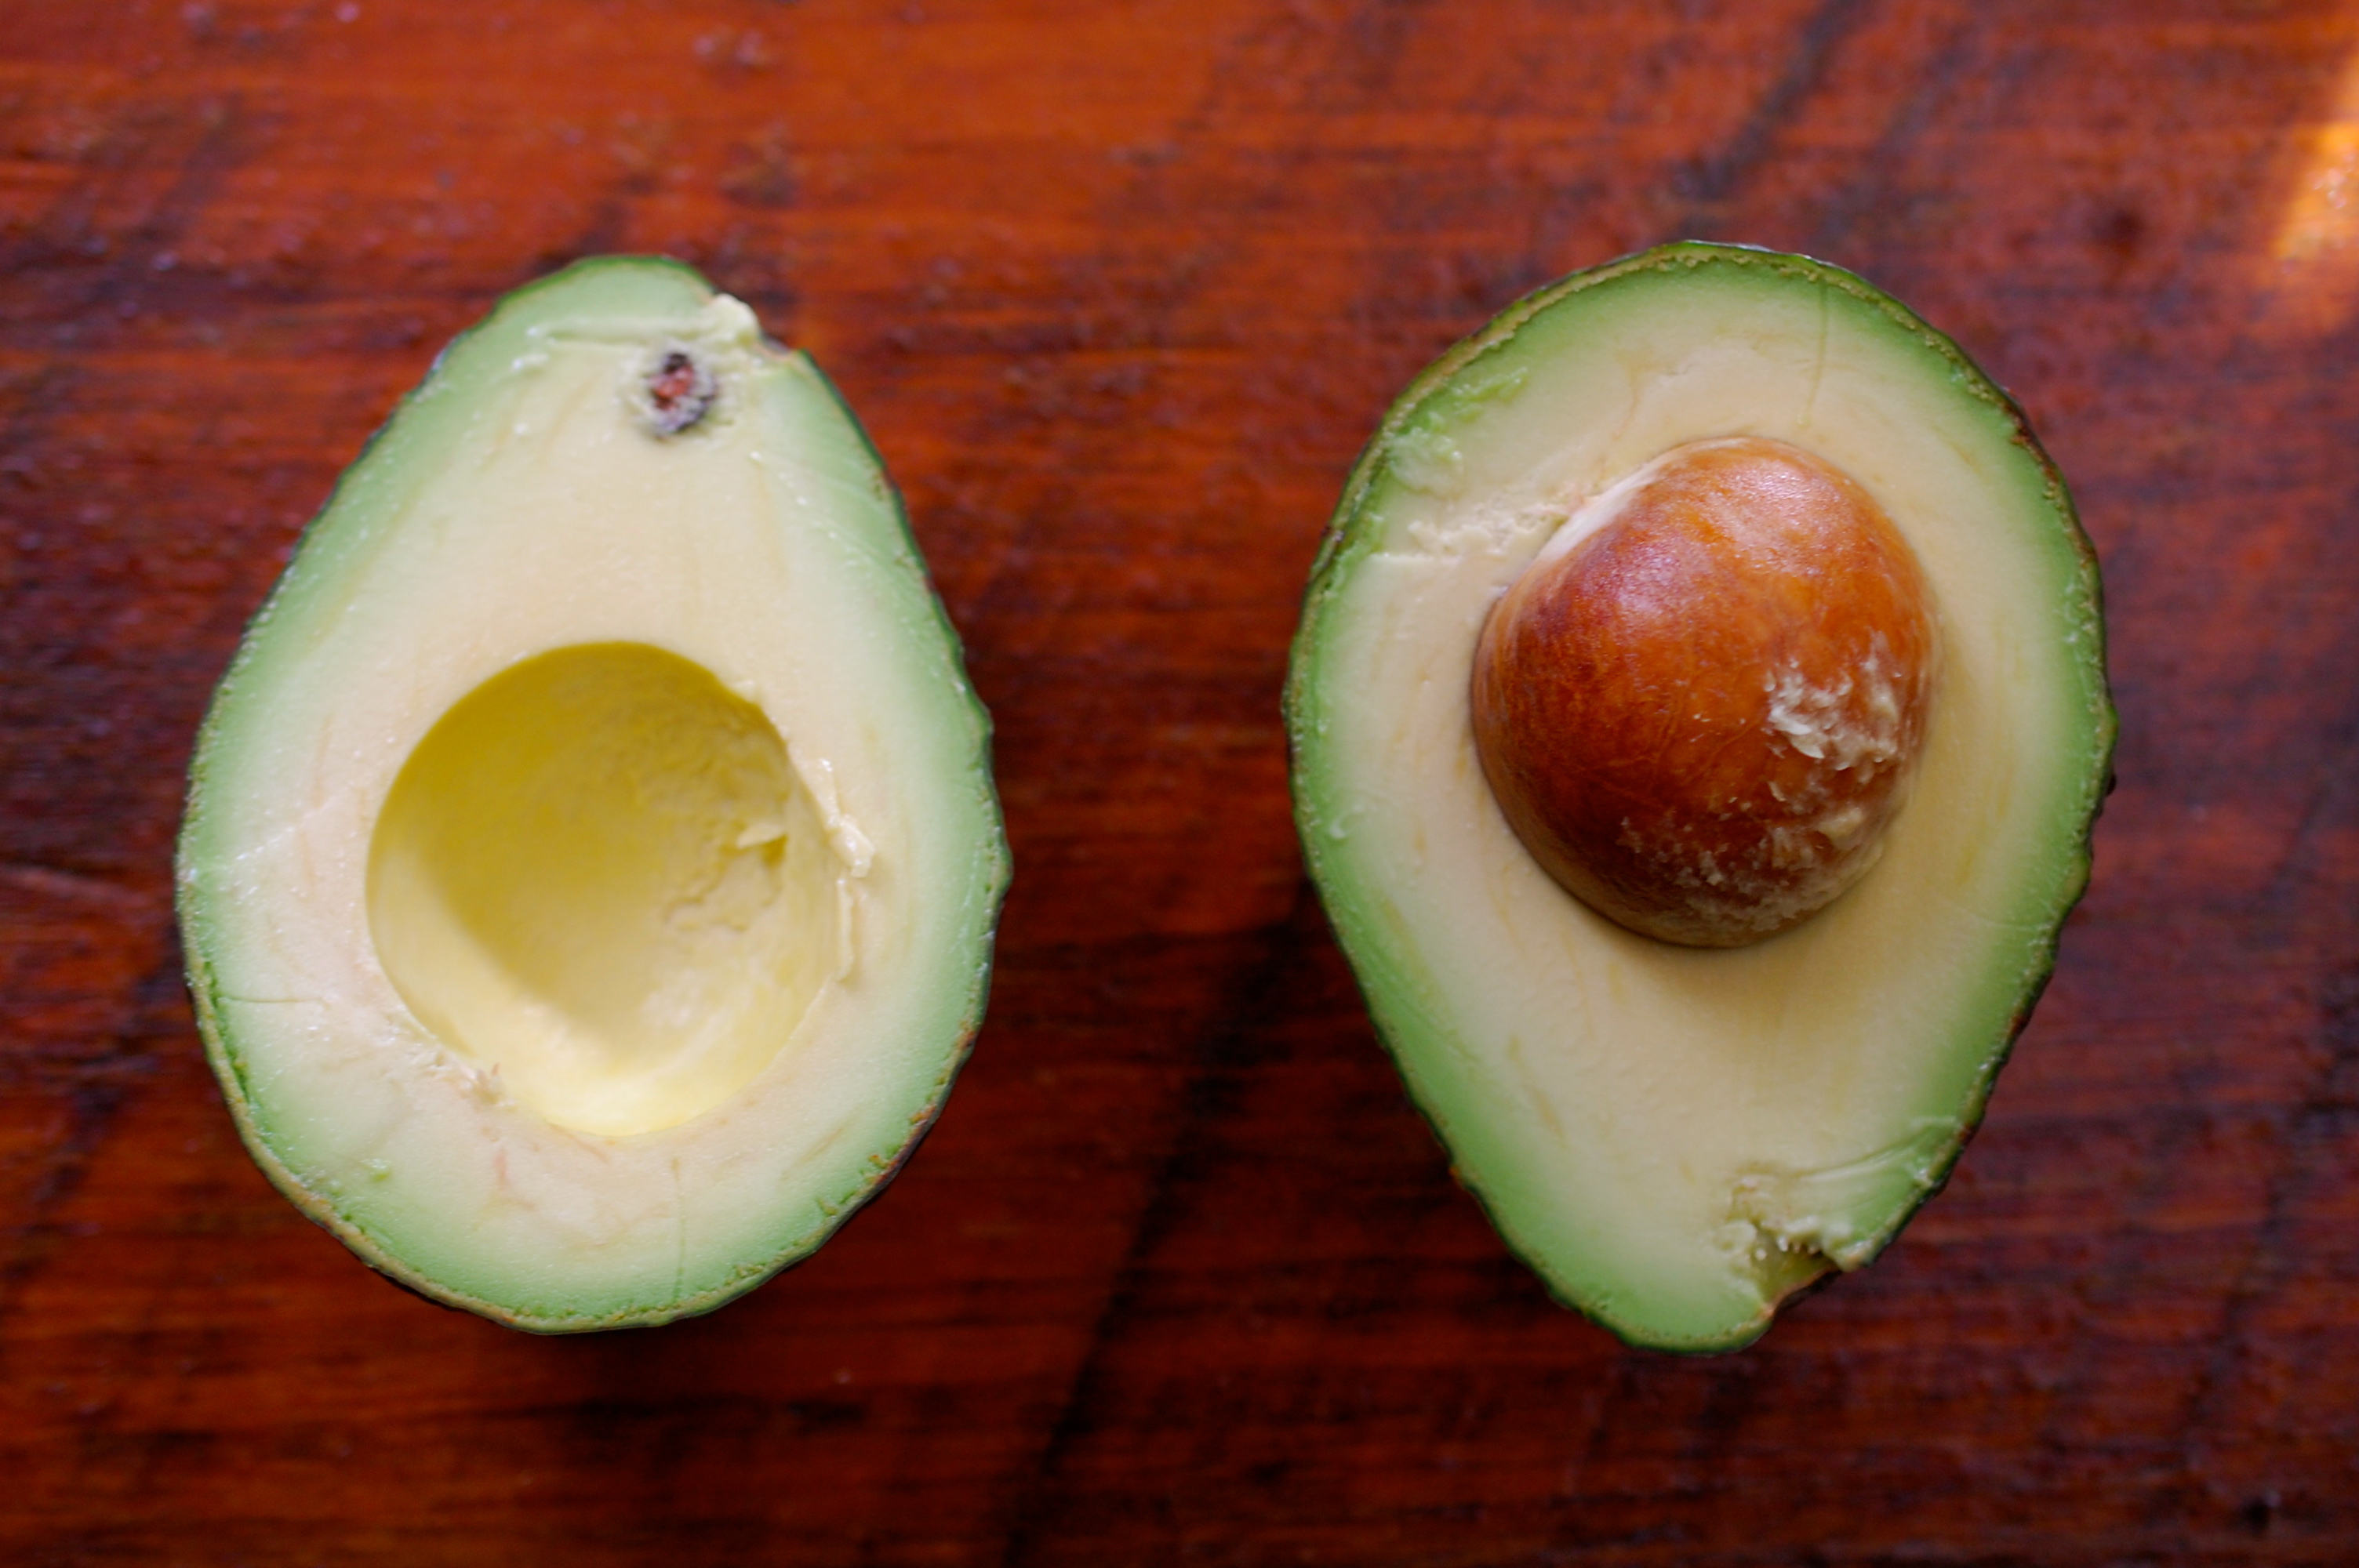
Avocados. Yes, I know we think of avocadoes as a vegetable, but they are really something unto themselves (and technically a fruit), and I have to mention them because they have that uniquely rich and filling thing going on (good fat, don’t you know?). And, I eat a lot of them. On toast, in salads, with tortillas, in egg sandwiches. Alone with lemon and olive oil and salt. With chickpeas! And nuts!

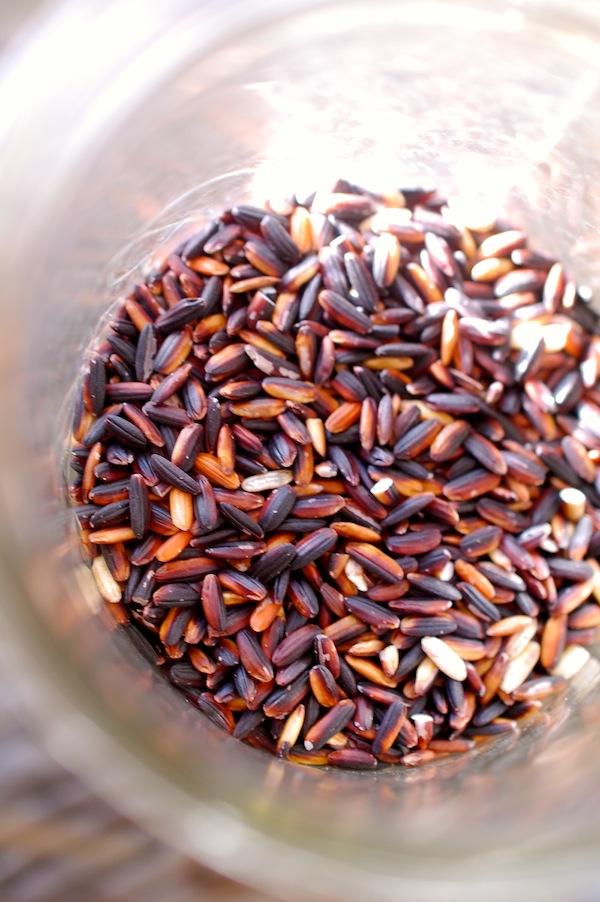
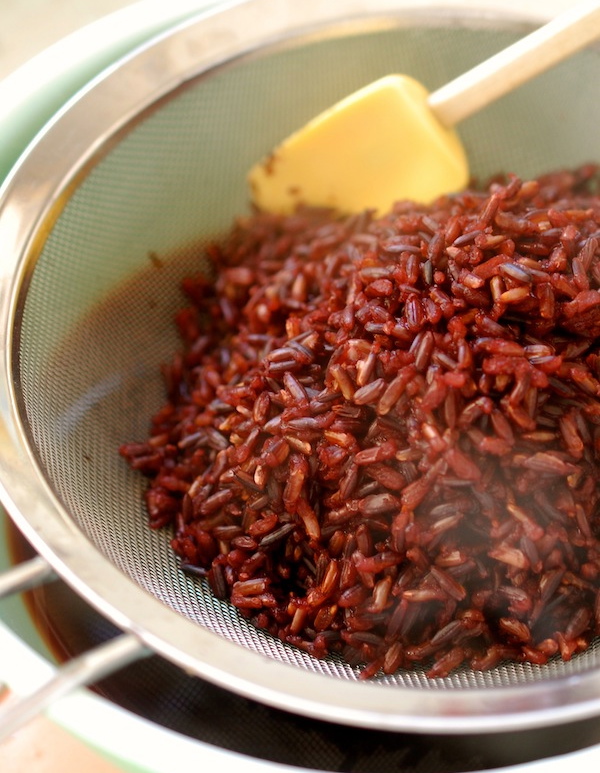
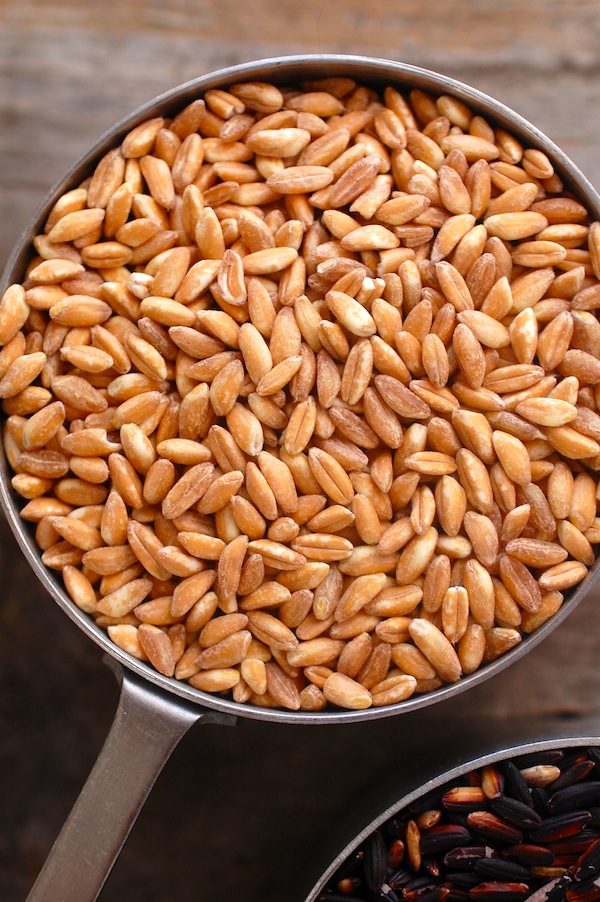
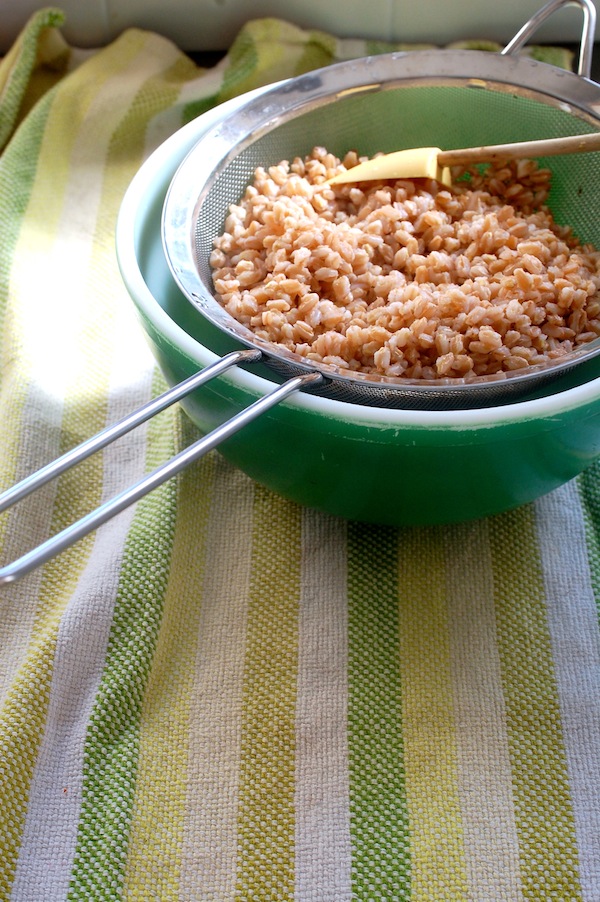
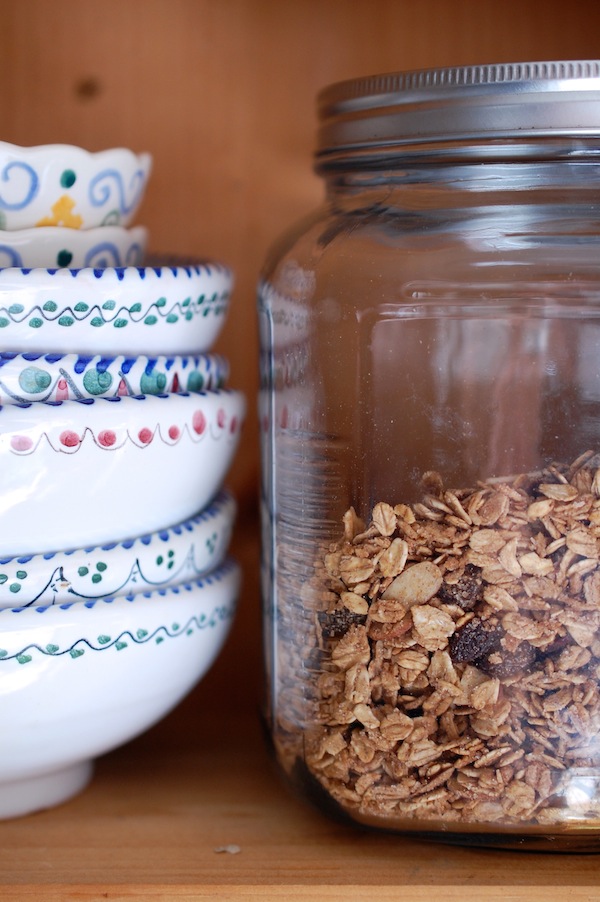
Grains. I’ve always been a fan of grains, but I like them and use them even more now that I’ve figured out I can cook them ahead and hold them in the fridge or freezer, and that I can use them sometimes almost like a condiment, or as one of many ingredients in a dish. Sitting down to a big bowl of grains can get monotonous. Putting some grains in a salad, a soup, a taco, whatever, is much more interesting. My favorites are wheat berries, farro, short grain brown rice, and oats (granola for breakfast!) but I stock lots of (gluten-free) quinoa, as well as millet and many different kinds of rice.

DSC_0200

Eggs. I’m not vegan or dairy-free, so I still turn to eggs for some of my protein. (That may change at some point, but for now, I’m an egg eater.) The best thing about an egg (like a lot of these ingredients that play well with others) is that you can add one to just about anything. Sure, you can make a meal just on eggs, but you can also add an egg to a grain or bean dish, a broth or a sauté.

DSC_0224

Those are the things that I most often pair with vegetables to make my meals. (Remember, vegetables have protein, too.) I do eat pasta and bread , too, though I choose whole-grain when I can. And again, I often use these carbs in smaller amounts rather than in starring roles. But there’s nothing like a great piece of artisan multi-grain toast for transporting any number of veggie toppings to a great destination.

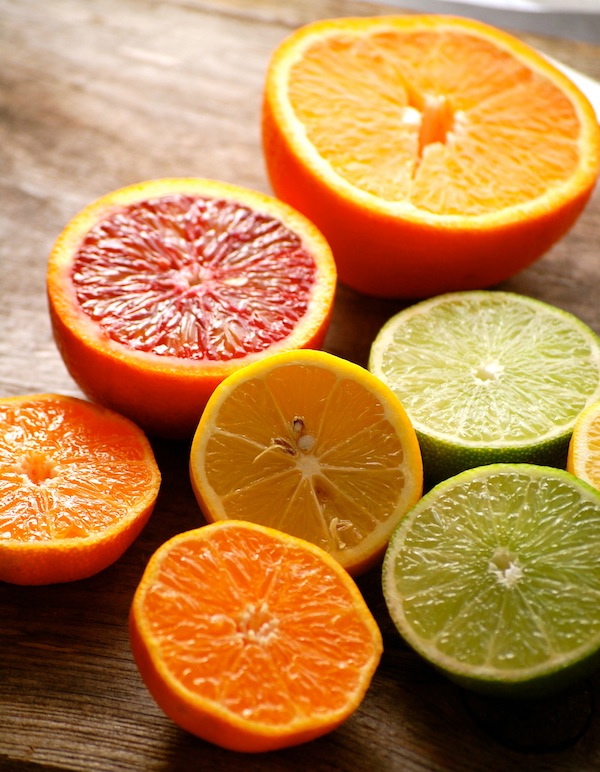
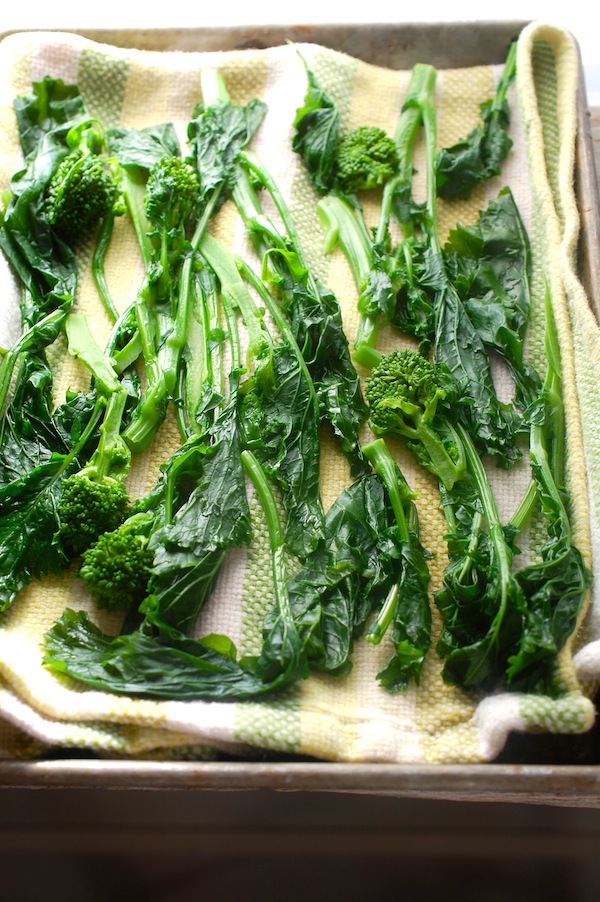
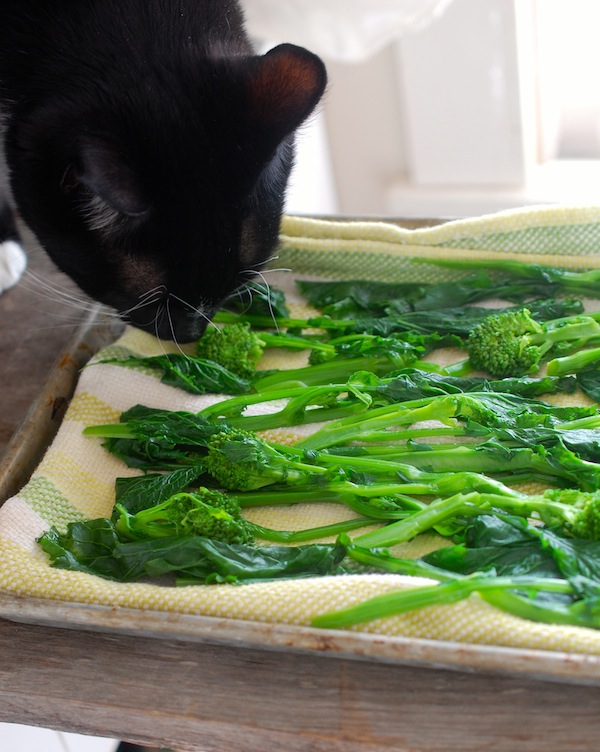
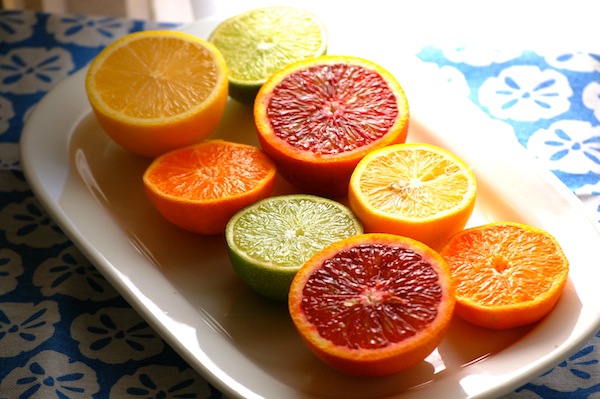
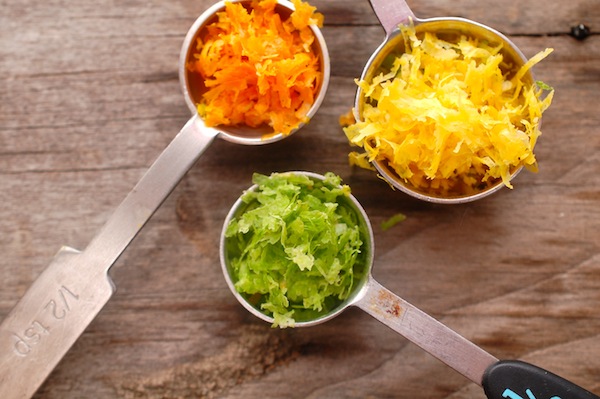
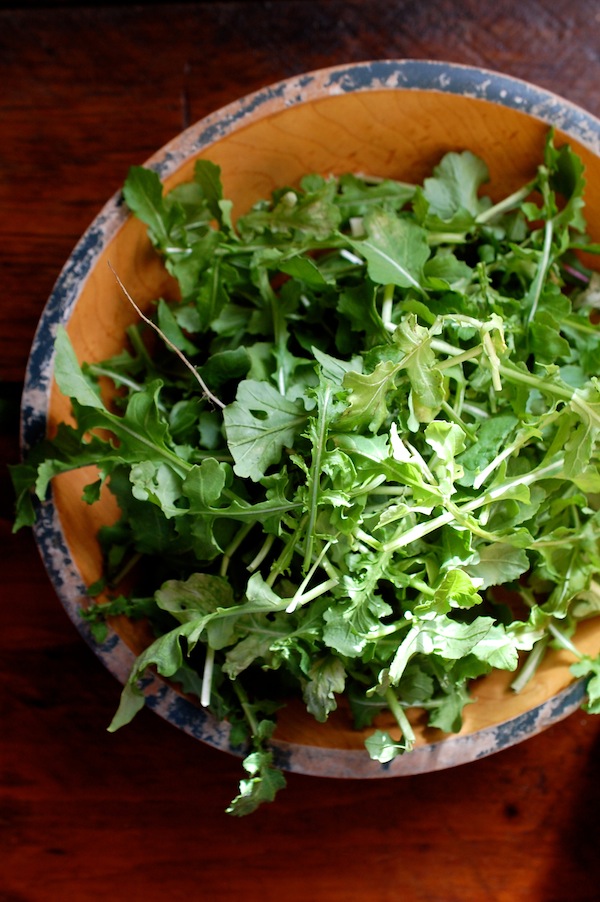
As for the vegetables themselves, I eat leafy greens every day. They are the easiest, quickest, and most flavorful vegetables to make a meal with. (The arugula in this picture was taken from plants still growing under hoops outside.) Alliums of all kinds (onions, shallots, garlic, scallions) make their way into almost everything I cook, and my fanaticism for tomatoes extends to this time of year with roasted tomatoes in the freezer and sundried tomatoes in the fridge. This time of year I also gravitate towards colorful root and winter vegetables like carrots, sweet potatoes, and butternut squash. Along with the aromatic ingredients I always keep around—citrus, fresh ginger, vinegars, hot sauces, spices, maple syrup and honey, miso, tahini, tamari, parmesan cheese—and any fresh herbs I can procure (my rosemary pot is indoors, still alive, for now!), I eat well.

DSC_0211

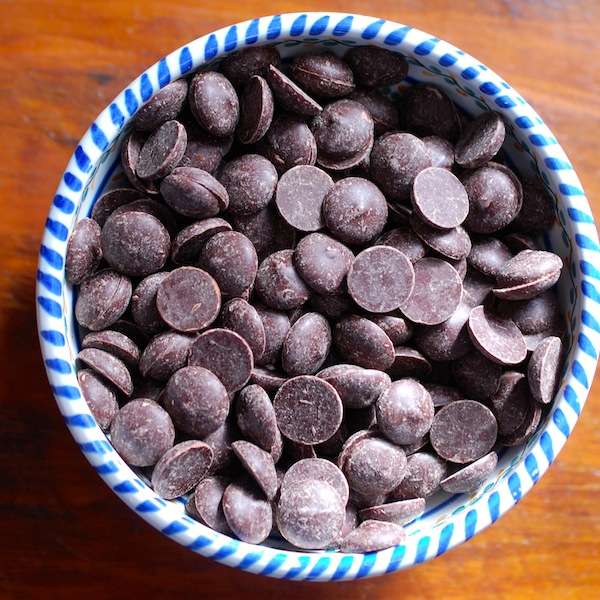
Happy eating and cooking to you, too, in this new year. And don’t forget the daily chocolate imperative. (My little bowl of chips, always by my side!)

DSC_0202


In the Winter Kitchen: Grains, Greens, Citrus & Sunlight

cit 4My pal Barney and I have been in the Laboratory all morning, mad-sciencing up creations to satisfy my winter cravings. For some reason, I am fixated on dark green vegetables, grains of all kinds, and citrus in every color. Plus, crunchy stuff. (My new love is roasted chickpeas). And then, I am putting them altogether for lunches and dinner. (My other new fixation is cooking grains ahead.)

DSC_0294

So first Barney and I had a nice cup of coffee.

DSC_0303

Then we snacked on the roasted chickpeas I made yesterday. Honestly, these are better fresh out of the oven, but they do keep okay for a day or two.

DSC_0063

Here’s how you make them: Rinse, drain, and thoroughly dry a can of chickpeas. Toss with enough of a neutral oil  (I like grapeseed) to coat well and season with about ½ teaspoon kosher salt. Spread on a parchment-lined baking sheet and roast at 400°F until browned and shrunken, 30 to 35 minutes.

DSC_0250

Then Barney and I par-boiled some broccoli raab. If you’re not familiar with raab (aka rapini) it’s actually a turnip relative and has a distinct bitterness which is highly satisfying, especially when paired with lemon or anything spicy. (Goat cheese is another good companion for raab, as are garlic and ginger.)

DSC_0270

You all know how much I love to roast most vegetables, and that I’m not much for boiling them, but broccoli raab is an exception. I almost always cook it in boiling salted water for about 4 minutes—even before finishing it in a sauté pan with garlic, as I did today. I also cut the thickest parts of the stems off and then split the stems down the middle so that the pieces are all about the same thickness.

DSC_0065

Meanwhile, on the back of the stove, a big pot of boiling water was going. I plunked a cup of black rice in it, stirred, lowered the heat just a tad (still boiling) and let the rice cook in the boiling water until tender. (About 28 minutes for me today.) Then I drained it and spread the rice on a sheet pan to cool.

br

I refilled the pot, brought it to a boil, and cooked a cup of farro the same way. I overcooked the farro today because I forgot to look back at one of my own recipes and thought I remembered the cooking time was about 40 minutes. In reality, it’s only 30. (There is also such a thing as par-cooked farro that cooks in 10 minutes.)

DSC_0094

That mistake aside, this boiling water method (as opposed to the pilaf method with a measured amount of water) is really a great way to cook grains in big amounts that you want to store and eat throughout the week. You don’t have the frustration of finding all your liquid simmered out and your grain undercooked; simply use a spoon to fish out a few grains every so often to see if they’re done. They should still be just a tiny bit toothy when you bite into them, and with some grains, just beginning to split open a bit.

DSC_0237

You can store them (after thoroughly cooling them) in plastic containers in the fridge. (You can also freeze cooked grains.) One note on salt: I don’t salt the water at first but tend to add some halfway through cooking. That said, the grains will still need to be generously seasoned when prepared for eating.

DSC_0175

Next Barney and I pulled out all the various citrus fruits I’ve been stockpiling—a Meyer lemon, a blood orange, a Minneola orange, a clementine, a navel orange, a regular lemon, and a lime. Mostly I just wanted to cut them open, take pictures of them, and then eat some…but I also wanted to dress my grains with some juice and zest.

DSC_0228

I am a citrus zest freak and put it in everything.

Lastly, I put everything together to make lunch (which wound up being dinner, too, though I did make pork chops for Roy, since he does not appreciate the meatless meal the way I do!). I put a cup of cooked black rice and a cup of cooked farro into a microwavable bowl and reheated them for a minute and a half. (Remember this, as it is easy to do on a weeknight if you’ve got grains already made and stashed in the fridge.)

DSC_0314

I juiced ½ of the blood orange and ½ of the Meyer lemon and added about a tablespoon of each to my grains. I seasoned with plenty of salt, too. In a little skillet, I heated up a bit of oil and a tiny bit of butter and softened ½ teaspoon or so of minced garlic in it. I tossed most of the softened garlic in with the grains and added 4 ounces of the broccoli raab to the skillet, tossing to warm it through in the garlic-scented oil. I stirred up the grains, tasted, and piled in a serving dish, arranging the raab and a smattering of roasted chickpeas alongside. I squeezed the other Meyer lemon half over the raab, and at the last minute, decided to cut the blood orange segments out of the unused half and toss them in, too. Often I used dried fruit and toasted nuts with grains, but it was a nice switch to have the crunchy chickpeas and the fresh citrus segments.

DSC_0362

There are lots of ways to turn grains into filling meals (think beans, roasted veggies, sautéed mushrooms), so I encourage you to do your own mad-scientist experimenting. Just be sure to season with plenty of bright ingredients (vinegars, fresh herbs, Asian condiments, as well as citrus).

But don’t be surprised when your trusty assistant loses interest in the experiment—especially if there are birds outside the window to keep an eye on.

DSC_0300


Winter Garden Salad: A Template Recipe for Greens + Roots

If we didn’t have 150 pounds of pork in the freezer, I could eat a warm salad of winter greens and roasted veggies every night. (Roy, not so much.) This is one of those recipe/techniques that I unapologetically come back to again and again—Warm Winter Salad of Roasted Root Fries (The Fresh and Green Table), Warm Bistro Salad with Tiny Roasted Root Vegetables and Bacon Dressing (Fast, Fresh & Green), and Quick-Roasted Butternut Squash and Pear Salad with Ginger Lime Vinaigrette (coming in Fresh from the Farm), to name a few. (Hmmm, it appears I’m not averse to sneaking pork into these things, so you could certainly have your salad, and your bacon, too.)

The appeal of a warm salad with crispy, yummy roasted veggies served atop deep, dark greens with a bracing vinaigrette is the interplay between fresh and comforting. I also like the textural contrast, and to be honest, the visual appeal. These days, I don’t compose the salads so much as scatter-and-platter them. It’s a looser, more rustic look, and served family-style, more casual. But you can always arrange the salads on individual serving plates if you like.

It occurred to me this week that I should back up, look at the architecture of these salads, and come up with a template you could use, depending on whatever greens and winter veggies you’ve got hanging around.

Plus, I needed an excuse to show off my greens that are still alive in the market garden. (Ahem, again, unapologetic…) So this morning after my chicken chores (no frozen water—yay!), I took a bowl and scissors and collected a nice combo of mizuna, Ruby Streaks mustard, Russian kale, arugula, tat soi, parsley, a few baby bok choy leaves, and even a few carrot tops. It’s amazing what lives through freezing temperatures and unfortunate ice formations; the arugula is particularly hearty, and one of my lettuces, Winter Marvel, acts like it doesn’t even know its December. (Alas, soon enough, nothing will be growing, even if it stays alive, since we’re now down below the critical mark of 10 hours of daylight. I’ve got lots of lettuce and greens down in the hoop house which I am just hoping to keep alive and harvest sparingly until early February, when 10+hours returns and they’ll start growing again.)

Realistically, most of us will be harvesting greens for our winter salads from the grocery store, so here’s your chance to buy baby kale, escarole and frisee, sturdy spinach, and anything that’s got some backbone or body. Make your own custom mix, and try to steer away from bagged mixes of salad greens, which tend to be less fresh than heads or bunches and also contain filler lettuces which don’t hold up to warm vinaigrettes too well.

For your veggie mix, choose from sweet potatoes, potatoes, carrots, parsnips, turnips, rutabagas, beets, or butternut squash. Dice them quite small so that they’ll roast quickly; most won’t need peeling—but for the butternut. (For a pretty all squash-salad, you could use thinly sliced acorn and/or Delicata rings, which don’t need peeling and will also cook quickly.) Add diced pears or apples to the veggie mix if you want, and customize your salad with whatever toasted nuts and good quality cheeses you like. Use your favorite vinegar in the warm vinaigrette, and don’t be shy with a squeeze of lemon or lime to juice it up.

Here’s my template—I hope it will make a nice starting point for you. If you come up with a really delicious combo, I’d love to hear about it!

Warm Salad of Roasted Root Veggies and Winter Greens

Be sure to cut your veggies into evenly small pieces so they’ll all cook at the same rate. Don’t be tempted to crowd them on one pan, either—a little room around them will brown them up better. (Unless, of course, you want to cut this recipe in half, which is perfectly doable.) If you decide to include beets in your veggie mix, toss them with a little oil and salt separately from the rest or they’ll tend to color everything else.

___________________________

For the salad:

1½ to 1¾ pounds combination sweet potatoes (unpeeled), potatoes (unpeeled), carrots (peeled), parsnips (peeled), turnips (unpeeled), beets (unpeeled), butternut squash (peeled), firm-ripe pears (peeled), or Golden Delicious apples (unpeeled), cut into small dice (about 3/8-inch in diameter) (about 5 to 6 cups)

4 tablespoons extra-virgin olive oil

Kosher salt

6 to 7 cups combination sturdy mixed winter greens (such as baby kale, escarole, frisee, arugula, mustard, or tat soi)

¼ cup chopped toasted pecans, walnuts, almonds or hazelnuts

½ to 2/3 cup crumbled good quality blue cheese, feta cheese, goat cheese or 1/3 cup coarsely grated aged gouda or Parmigianno

3 tablespoons coarsely chopped dried cherries, cranberries, raisins, figs, pitted dates, or other dried fruit (optional)

For the vinaigrette:

1/3 cup extra-virgin olive oil

1 large shallot, sliced thinly

2 tablespoons sherry vinegar, balsamic vinegar, white balsamic vinegar, or cider vinegar

1 tablespoon maple syrup

1 teaspoon Dijon mustard

1 teaspoon fresh lemon or lime juice (more to taste)

½ teaspoons lemon or lime zest

1 teaspoon coarsely chopped fresh thyme leaves (or other herb of choice)

Kosher salt and freshly ground pepper

___________________________________

Preheat the oven to 450°F. Line two large rimmed heavy-duty baking sheets with parchment paper. In a large, wide mixing bowl, combine the veggies, the 4 tablespoons olive oil, and a scant teaspoon kosher salt. Toss well and spread in one layer on the two baking sheets. Roast, rotating the sheet pans once (and flipping the veg with a spatula if you like), until the veggies are nicely browned and tender, about 28 to 30 minutes. Let cool for a couple minutes on the sheet pans and then combine in a mixing bowl.

While the vegetables are roasting, put the greens in a wide heat-proof mixing bowl. Set out a serving platter or four serving plates.

Make the warm vinaigrette: Heat the 1/3 cup olive oil in a small nonstick skillet over medium heat. Add the sliced shallots and a pinch of salt and cook, stirring occasionally, until the shallots are browned and crisp, about 6 to 8 minutes. Take the skillet off the heat and remove the shallot rings with a fork, transferring them to a paper-towel lined plate. Let the oil cool for 3 to 5 minutes. Add the vinegar, the maple syrup, the Dijon, the juice, the zest, the herbs, ¼ teaspoon salt, and several grinds of fresh pepper. Whisk vigorously until the dressing is mostly emulsified. (Alternatively, first transfer the shallot-infused oil to a heat-proof Pyrex liquid measure, add the other ingredients and whisk well. This is a slightly less awkward way of making the dressing). Taste and adjust seasoning, adding more lemon or lime juice, salt or pepper as needed.

Season the greens with a sprinkling of kosher salt and drizzle over them a few tablespoons of the warm vinaigrette. (Be sparing at this point). Toss well, taste, and add a little more dressing if necessary. Arrange most of the greens on your platter or serving plates. Sprinkle with half of the nuts, cheese, and fruit.

Season the roasted veggies with a pinch more salt, and dress them lightly with 1 to 2 tablespoons of the vinaigrette. Toss well and scatter over the greens. Garnish with remaining nuts, cheese, fruit, greens, and reserved shallots. Serve right away, passing the remaining dressing if desired.

Serves 4

P.S. Farmer enjoyed harvesting greens this morning, too!


Mustard Greens Are the New Baby Bok Choy – Really!

Who knew baby bok choy was such a star? It seems to be the most popular vegetable on the Island right now, and the little bit of it I planted in May is pretty much gone. I have another young patch coming along, but it prefers cool temps, so I’m afraid the weather might be too hot when it matures. In the meantime, while I wait for my next cooking green to get big enough to harvest (Swiss chard is close), I’m picking mustard greens to sell.

I’ve noticed that since I wrote “Mustard Greens” on the farm stand sign (instead of “Baby Bok Choy”), we’ve had fewer people pulling into the driveway. Well, harrumph! Doesn’t everybody know how tasty mustard greens are, too?! Okay, seriously, if I were to be honest I’d have to tell you that mustard greens are not as groovy as baby bok choy. For one thing, they don’t have that stand-up texture. But they are strangely delicious in a very arresting kind of way. If you like spicy mustard of any sort—and you’re looking for a powerhouse nutritional kick—give mustard greens a try. (They’re not only purported to lower cholesterol, but they contain unique cancer-fighting phytonutrients and lots of Vitamins A, C, and K.)

I especially like the young tender leaves I’m harvesting now because they don’t need par-boiling—just a quick turn in the sauté pan. Super quick and easy. Ginger and garlic both are natural partners for mustard greens, and not surprisingly, the spicy greens do really well with just a touch of something creamy to offset the zing. For me that creamy thing is often goat cheese. I’ve been making a really simple lunch/snack of toasted or grilled bread with sautéed mustard greens and a bit of warm goat cheese on the top (recipe below). I guess I have goat cheese on the brain these days, too.

There’s one last reason why mustard greens are my heroes this spring. For some reason those wily flea beetles danced right past them on their way to the Tuscan Kale. (This was not good news for the kale, unfortunately.) Normally flea beetles feast on anything in the brassica family, including the milder mustard relatives, mizuna and tat soi (in the photo at right, top), that I put in my salad mixes. But they didn’t linger on the mustard greens, leaving them nice-looking enough to sell. Whew. The greens grow so quickly, too, that I’ve been able to harvest baby leaves for salad and come back the next day to find the rest of the leaves on the plant 6 inches tall–perfect for cooking. You could live on this stuff. Really.

Toast with Sautéed Mustard Greens and Warm Goat Cheese

This recipe is more like a thought-starter, so feel free to jiggle it around as you like. You probably have a favorite method for toasting or grilling good bread, too, so use it.  This makes a nice snack or light lunch for one person, but scale it up as much as you want to serve more, or turn it into a crostini for starters. Remove the tough stems from the mustard leaves before ripping them into smaller pieces. If you only have mature, large mustard greens, you would want to parboil them 3 to 4 minutes first and drain well before sautéing.

1 oval slice Artisan bread (about 6 or 7 inches long and cut 1/2-inch thick), cut into two pieces

extra-virgin olive oil

kosher salt

1/2 teaspoon minced garlic

2 to 3 ounces mustard greens, stems removed, leaves torn into small pieces (about 2 cups), washed and spun dry

2 tablespoons crumbled fresh goat cheese (or queso fresco or other cheese if you prefer)

Heat the oven broiler on high and arrange a rack 4 to 6 inches from the heating element. Put the bread on a baking tray or cookie sheet. Brush one side of the bread with a little olive oil, sprinkle with a little salt, and broil until lightly browned. Set the toast aside on the sheet tray. (You can lightly brown the other side, too, if you wish, though leaving the bread a little soft in the middle is nice.)

In a small skillet, heat 1 teaspoon olive oil over medium heat. Add the garlic and cook, stirring, just until softened and fragrant, about 30 seconds. Add the mustard leaves and a pinch of salt and cook, stirring, until wilted, about 1 minute. Remove from the heat.

Pile the mustard greens on each of the two bread pieces and crumble the goat cheese or other cheese on top. Place back under the broiler and cook just until the goat cheese is warmed and softened.

Serves 1