Lest you think I’m completely crazy for devoting so much cyber-ink to birds in my last blog, I thought maybe I should come clean about a couple of things. First, I think the whole bird thing is part of my effort to be more in touch with nature (goofy as that sounds, I know). Mostly because observing nature requires slowing down. In my old life, I did everything on one speed: Fast. (Oh, dear, now I’m starting to sound like Charlie Sheen.) I barely made time to tend a pot of herbs on the windowsill or take a walk around the neighborhood—I certainly didn’t don the binoculars to wait for a bird to fly by.
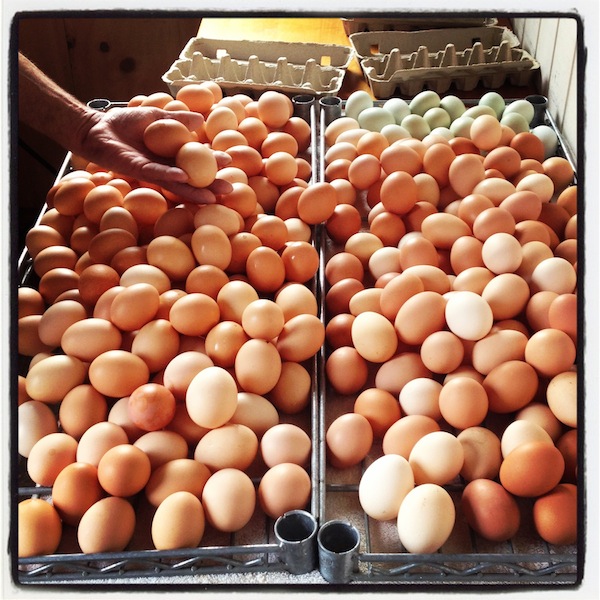
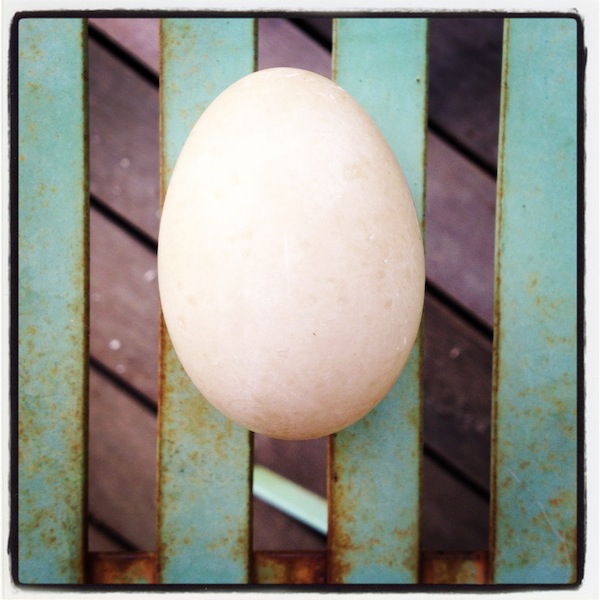
Secondly (and much more practically), one of the reasons I’m truly excited about having our own hens is because we eat so many darn eggs around here (see below). Okay, I admit, there’s also a deeper meaning to the hen thing. To be completely honest, I still have a little fear that someone is going to snatch me away from the Island, return me to the office, to the suburbs, to I-95, and to a whole lot of other noise that I now happily live without. I figure raising hens gives me one more toehold on Vineyard terra firma. If the Old Life Aliens come to snatch me away, they will have to take my hens, too!

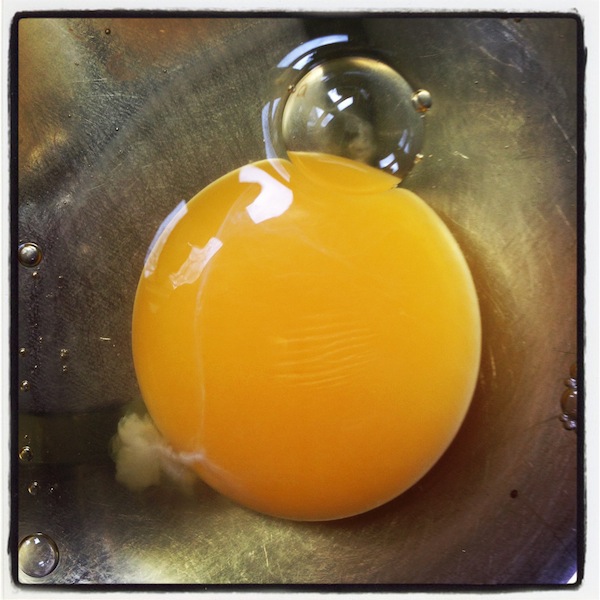
 Okay. So about those eggs. Because I don’t eat a ton of meat anymore…and because I figured out a long time ago that I won’t get hungry mid-morning if I eat eggs for breakfast… and because Roy loves having breakfast for dinner… and because Libby loves anything that involves mixing a batter—we eat a lot of eggs. We are very fortunate to have a regular supply of eggs from local farms available to us (even in the grocery stores); their plump golden yolks and perky whites have spoiled me. (The yellow color comes from the higher amounts of beta-carotene these birds ingest.) When I’m developing recipes, I’ll try to use non-local eggs to make sure the recipe will taste good regardless—but for our everyday eating, we love our local eggs. Here’s what we do with them:
1. We scramble them with fresh herbs (especially cilantro and mint), a dash of cream, a little cheese (cheddar, aged gouda, Monterey jack, goat cheese), and plenty of salt and pepper.
2. We make waffles and buttermilk pancakes, sometimes for dinner. (Favorite recipes at finecooking.com).

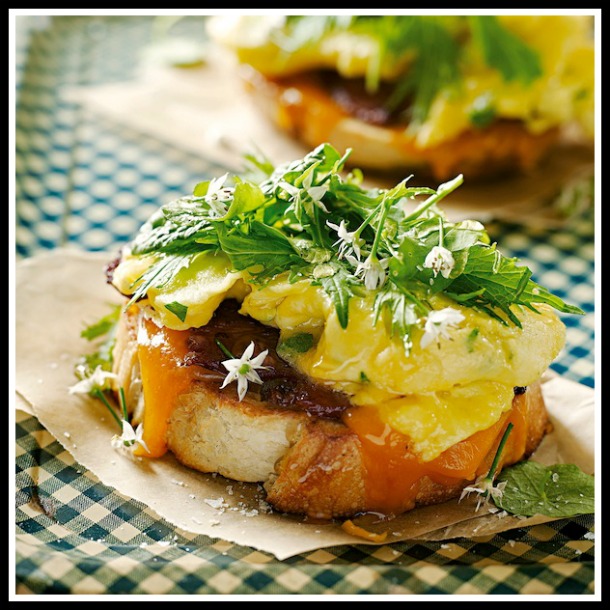
 3. We make all kinds of different egg sandwiches; here’s a recipe for one of my favorite creations, which I nicknamed “The Local.” Yes it has a bit of (local!) meat on it.
4. We make my Dad’s famous popovers. (See King Arthur Flour site for pans.)
5. We make savory bread puddings, especially when we have the amazing challah bread from our local Orange Peel Bakery. (Popover and bread pudding recipes coming in Fresh & Green for Dinner.)
6. We make French toast with a dash of vanilla and maple in the custard, and we top it with a homemade concoction of fresh berries warmed in maple syrup and slightly mashed in the skillet. (Love to use the challah here, too.)
7. We make omelets with leftover roasted veggies or roasted tomatoes.
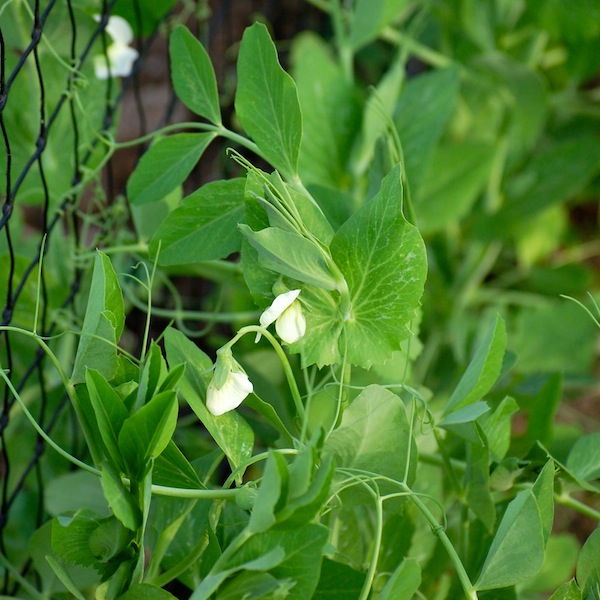
8. We make a rif on pasta carbonara with spring asparagus or garden peas.
9. We make thin, quiche-like tarts; my favorite is with fresh corn, basil, and tiny tomatoes.

 10. Of course, we make cookies and quickbreads and the occasional coffee cake, too. (Most often we use recipes from my favorite baker, Abby Dodge.)
11. We make veggie fritters or pancakes—sometimes with grains, too, or leftover mashed potatoes. We also make spoonbread, a favorite from my Dixie days.
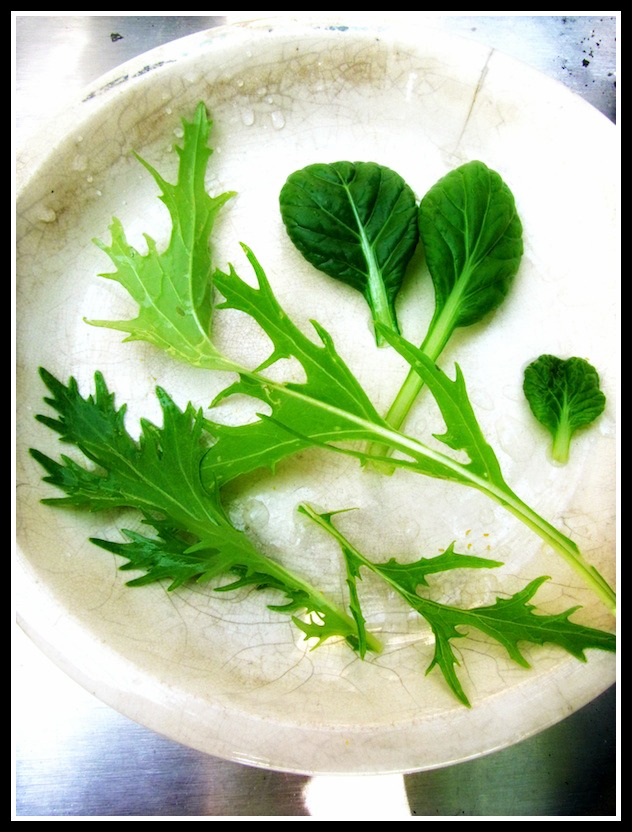
12. But probably our favorite thing to do with eggs is to make a veggie frittata. Usually I make one big one, but sometimes I’ll make little ones in a mini-muffin tin. Frittatas (like the leek and spinach one below) are incredibly versatile; you can eat them for breakfast, lunch, snacks or dinner. And they always taste better after sitting a bit (even overnight); I guess the flavors have more time to penetrate the custard. The method I learned years ago at Al Forno restaurant is easy to follow, and you can make up your own veggie combos, too. (I also love potatoes, mushrooms, corn, arugula, scallions, and broccoli in frittatas.) Just be sure to cook most veggies first to concentrate flavor and to reduce excess moisture. Be generous with fresh herbs and don’t forget the salt and pepper in the custard.
 Leek, Spinach, Thyme & Gruyere Frittata
This easy frittata method starts out on the stovetop and finishes baking in the oven—but there’s no tricky flipping involved. After cooling, I like to cut the frittata into small squares, rather than wedges, so that bite-size snacks are easy to grab. It’s also a great way to go for a potluck, book group meeting, or other casual gathering.
_______________________________
3 tablespoons unsalted butter
3 medium leeks (white and light green parts), sliced about 1/4-inch thick (about 2 cups) and well washed
Kosher salt
2 teaspoons minced fresh garlic
3 ounces baby spinach leaves
6 large eggs at room temperature
2/3 cup half ’n half
1 tablespoon roughly chopped thyme leaves
big pinch nutmeg
freshly ground pepper
1 cup (3 oz.) coarsely grated Gruyère
_______________________________
 Preheat the oven to 375°F. Make sure one of your oven racks is positioned in the center of the oven.
In a 10-inch heavy nonstick (ovenproof) skillet, melt 2 Tbsp. of the butter over medium-low heat. Add the leeks, season with a big pinch of salt, and cover. Cook, stirring occasionally, until the leeks are softened, 5 or 6 minutes. Uncover, raise the heat to medium, and continue to cook, stirring frequently, until the leeks are browned in spots, another 8 to 11 minutes. (Don’t worry if they get a little overbrown in places—that’s just great flavor.) Add the minced garlic and stir well. Add the spinach and 1/4 tsp. salt and, using tongs, toss and stir the spinach with the leeks until it is all wilted, 2 to 3 minutes. Remove the skillet from the heat and let the veggies cool a minute.
In a large mixing bowl, whisk together the eggs, half ’n half, 1/2 teaspoon kosher salt, the thyme, the nutmeg, and several grinds of fresh pepper. Stir in the Gruyère.
Return the skillet to medium-high heat and add the remaining 1 tablespoon of butter to it. When the butter has melted, pour and scrape all the custard mixture into the skillet. Using a silicone spatula, gently stir and move the contents of the pan around so that everything is evenly distributed. (You may have to nudge clumps of leeks and spinach apart.) Let the pan sit on the heat until the custard is just beginning to set all the way around the edge of the pan, 1 to 2 minutes. Transfer the pan to the oven and bake until the frittata is puffed, golden, and set, 22 to 24 minutes.
Before unmolding, let the frittata cool for 10 to 15 minutes. Shake the pan a bit, tip it, and use a spatula (silicone works great) to get under the frittata and slide it gently out onto a cutting board or serving plate. Cut into wedges and serve warm, or wait for a bit longer and serve at room temp. Refrigerate leftovers; this is even better the next day.
Serves 4 to 6

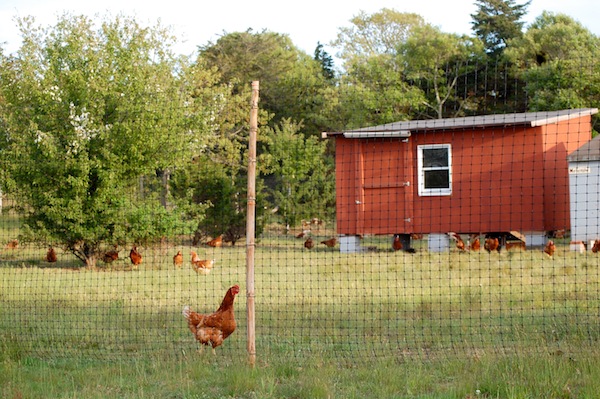 On my way out to the compost pile tonight with my kitchen scraps, I stopped to say hello to the pullets, who are grazing out on one of the nicest spots on the farm. They are just starting to lay in earnest; once a few of them really get going, it’s like the rest get the hint. We collected 24 eggs two days ago, 35 yesterday, 48 today. It will be 150 or so before we know it. That’s good–we’ll certainly need them this summer, if Memorial Day is any indication–over the weekend, we sold more than 100 dozen eggs (from the older hens, of course, not the pullets!), all at the farm stand!
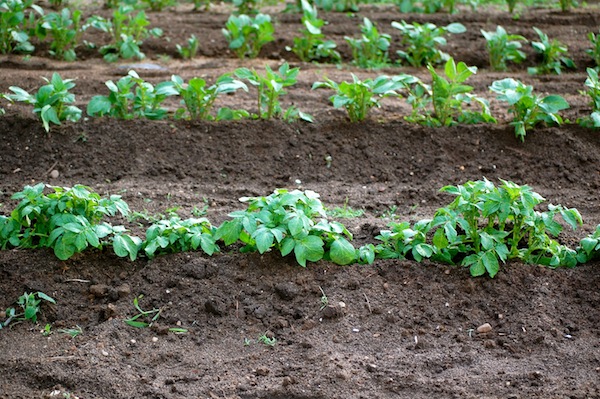 That’s the way it goes around here…I can hardly believe how fast things are moving now. The potatoes are already up. Not just up, but tall enough that Roy did the first “hilling” on them (raking soil up and around the base of the plant).