Tag Archives: Tomatoes

All the Pretty Cosmos, Seed by Seed

THE DAFFODILS have finally bloomed. (We might as well be living in Nova Scotia for all the spring we have.)

The peas have been planted. Hurrah.

Thirty-six tomato starts are on the heating mat. Wait, no, correction. The tomato seeds have germinated and are now under the lights of our new gizmo. (I like to call it a gizmo, but this is what it really is: An LED SunLite 2-Tier Grow Light System. A very home-gardener-ish piece of equipment, I’m happy to say. None of this interminable hacking a small farmer has to do!)

Peppers, eggplants, and the first flower starts have taken the place of the tomatoes on the heating mat.

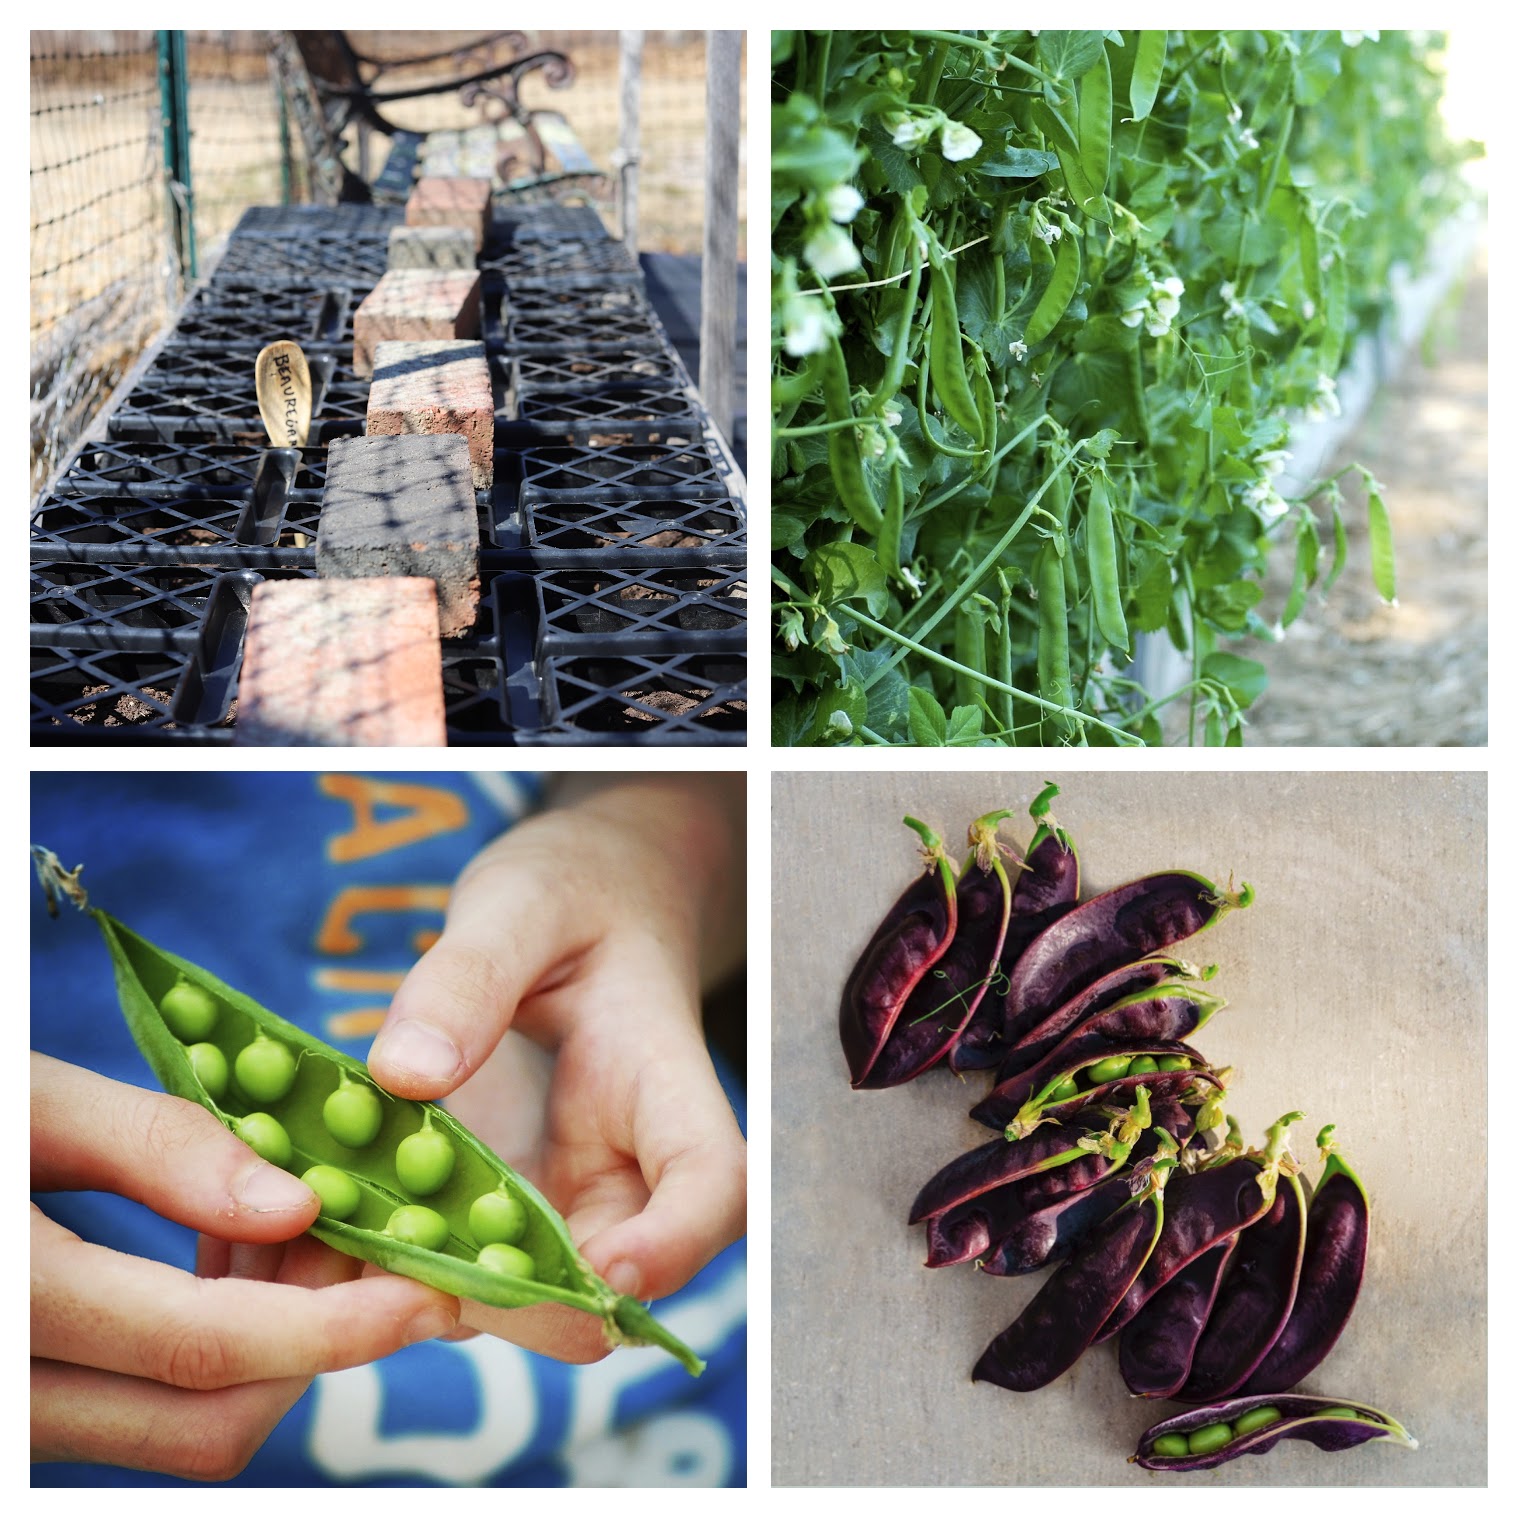
What varieties am I growing? First the peas. Green Arrow English shell peas, Super Sugar Snap peas, and the new purple Beauregarde snow pea from Row 7 seeds.

I always pre-sprout my peas by putting them between damp paper towels in a partially closed zip-top bag.

Then I make sure they’re coated with inoculant and plant them about an inch deep, pretty darn close together (no more than a couple inches apart so I can cram in a lot in one row!). I always think I’m going to thin them and I never do. And yet they yield prolifically. I think maybe because the roots grow down and not sideways.

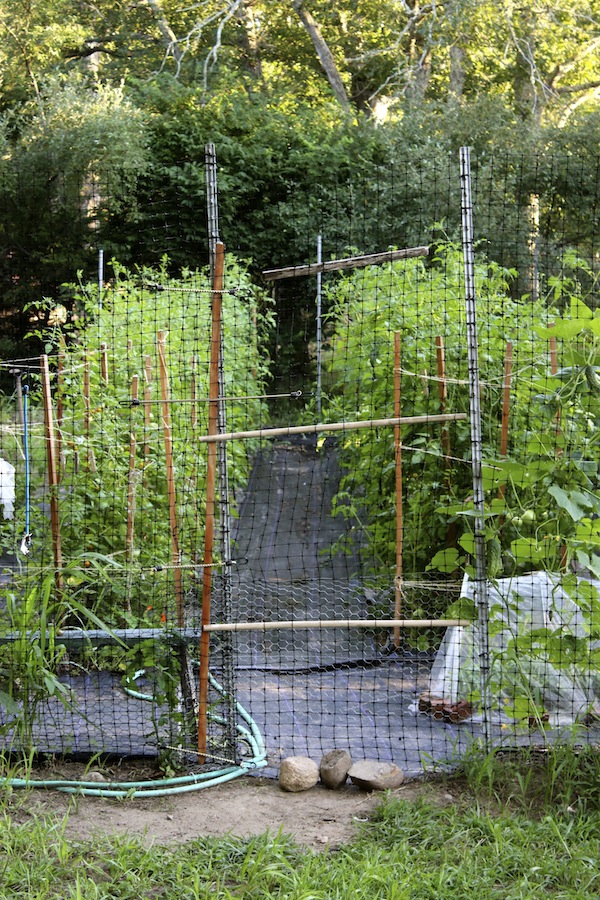
I always plant them along a makeshift trellis or along one fence in the garden.

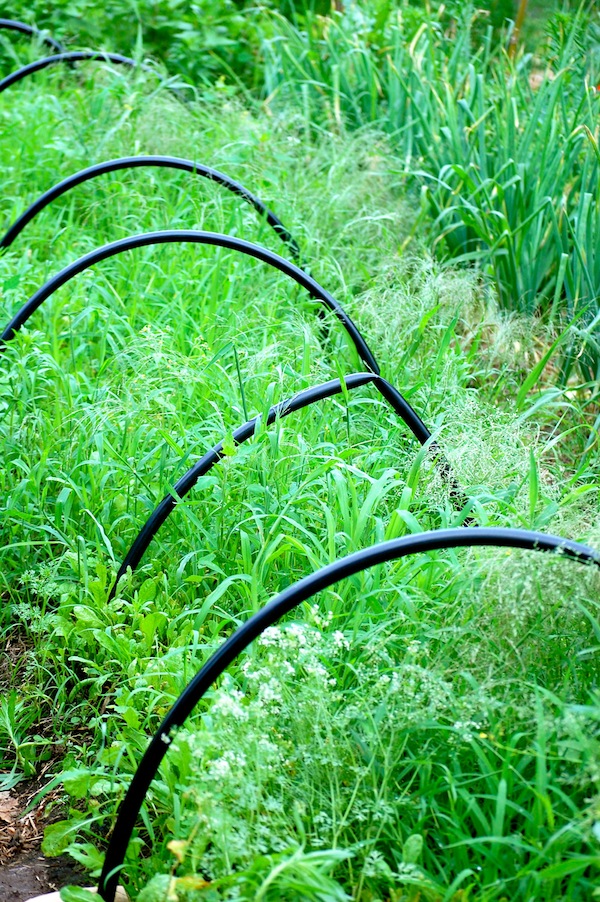
Most importantly, I protect the newly planted pea seeds from birds by covering them with fabric row cover or with upside-down plastic nursery trays (the kind with plenty of holes), weighted down with bricks to keep them from blowing away. I keep the cover on until the seedlings have a few sets of leaves.

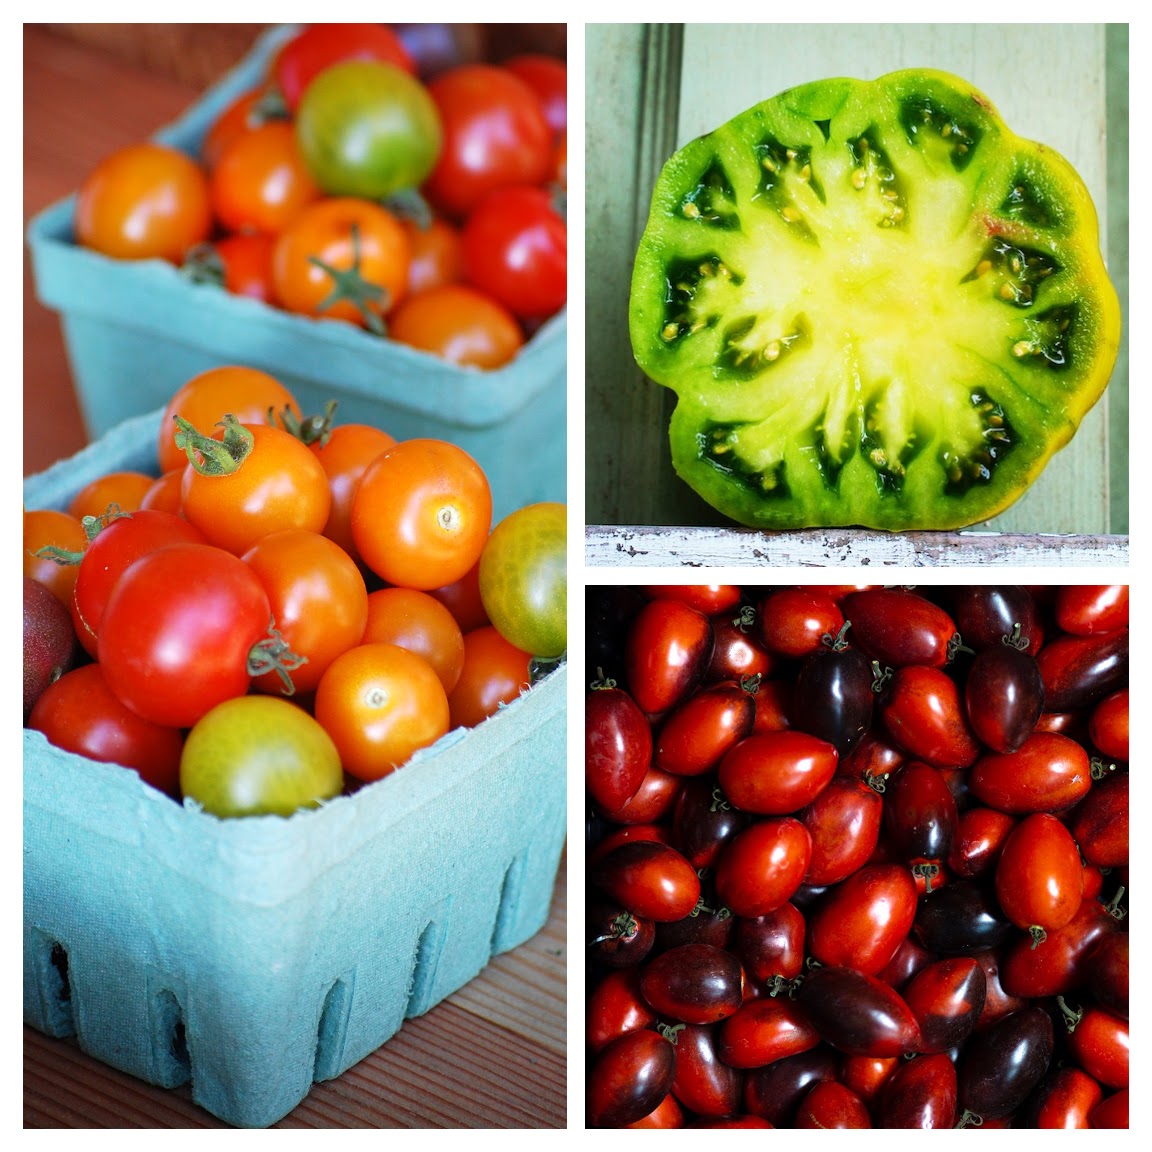
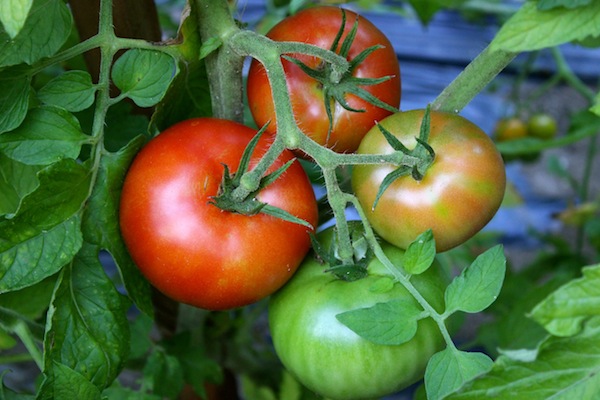
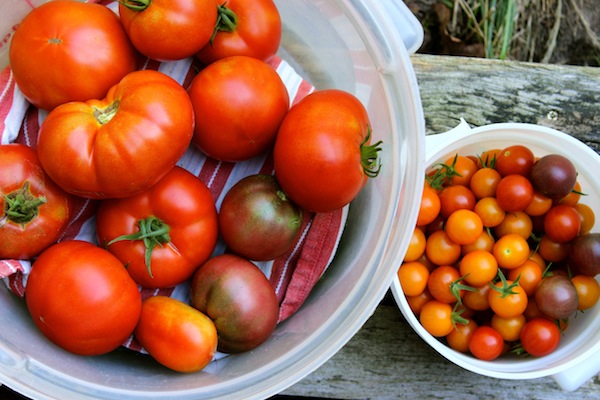
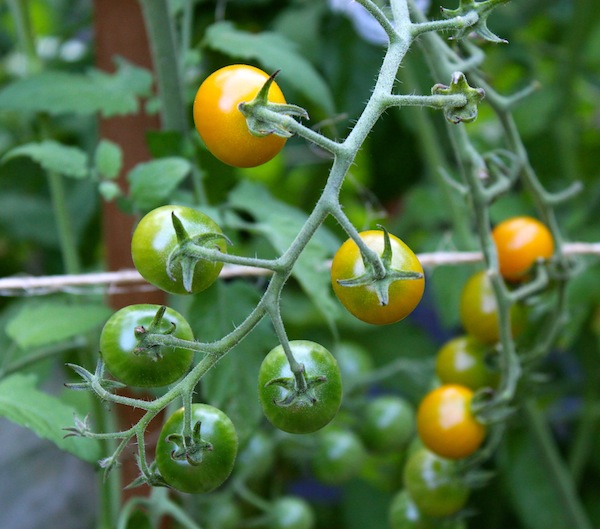
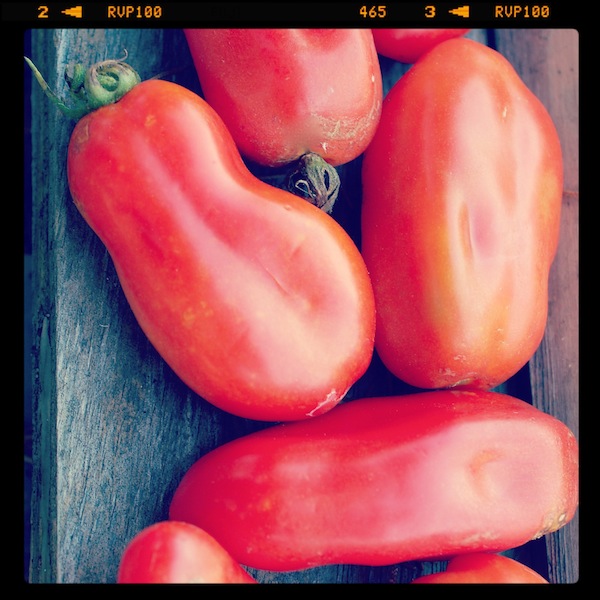
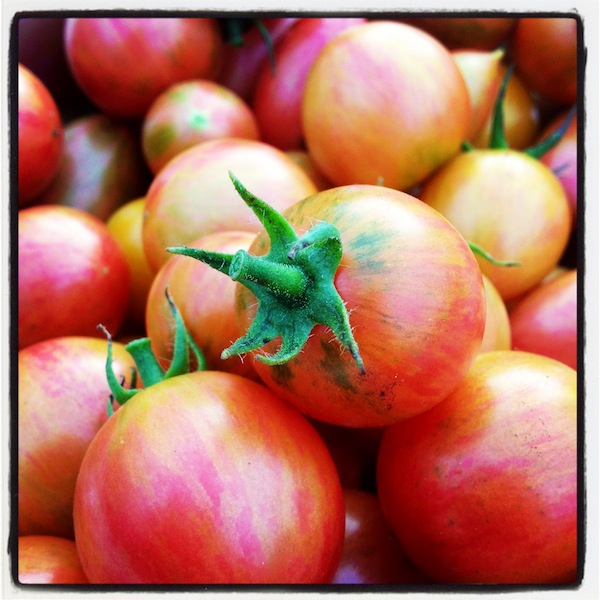
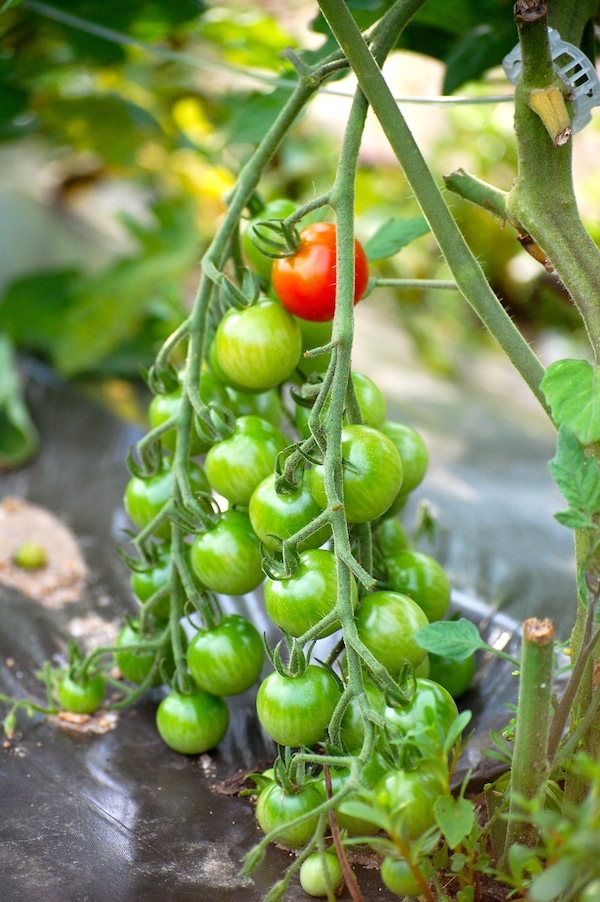
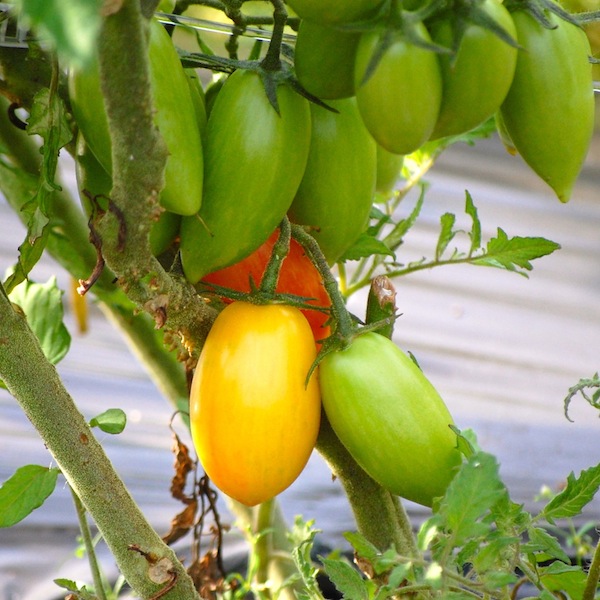
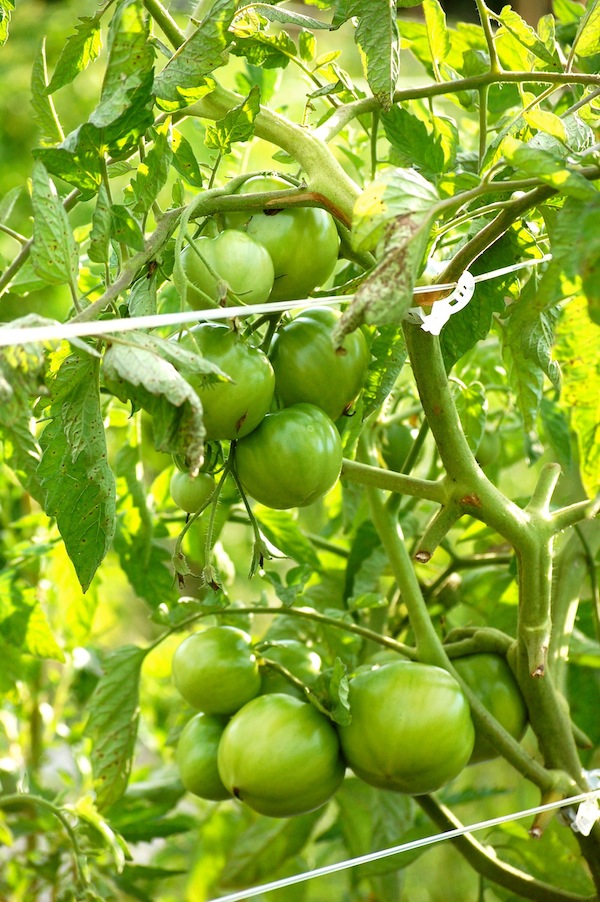
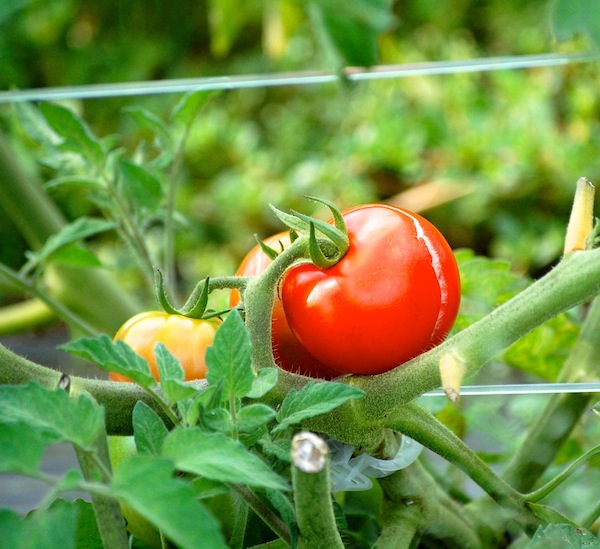
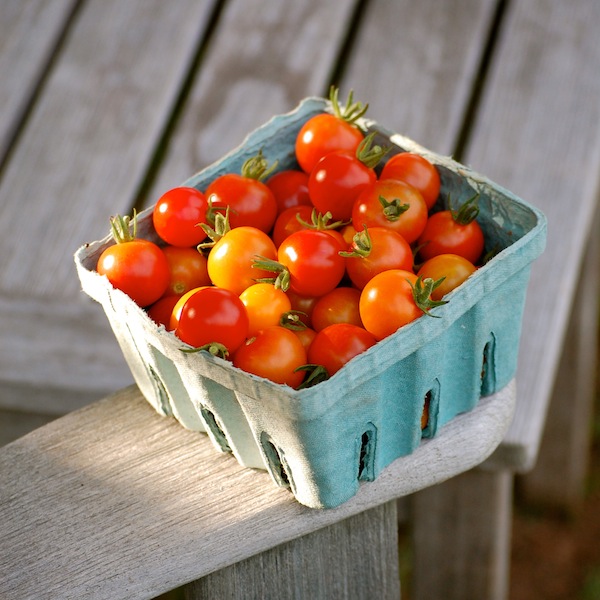
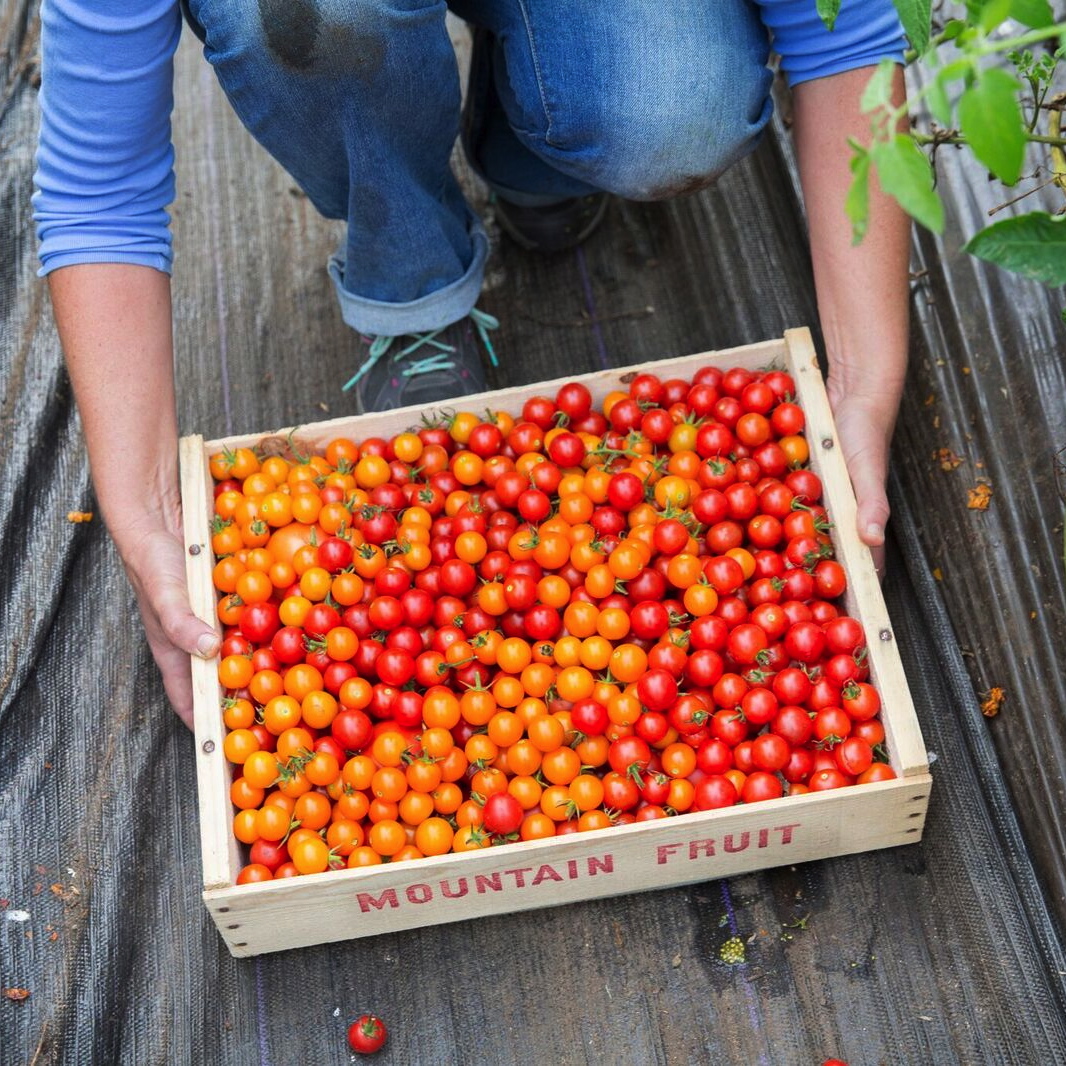
In the tomato department: In addition to my usual assortment of cherry tomatoes (this year Sun Gold, Sweet 100, and Cherry Bomb) and my favorite sandwich and beefsteak tomatoes, Jet Star and German Green, I’m most excited about a paste tomato (also from Row 7 seeds) called Midnight Roma

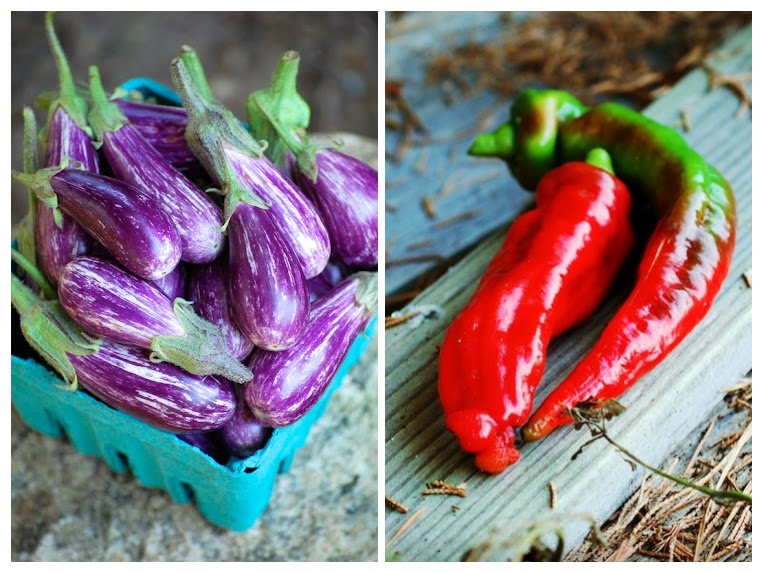
Peppers and eggplants? Since I have such limited space in the fenced garden, I’m going to lean on some mini-vegetables that I hope will yield abundantly. I know my favorite Fairy Tale eggplants will comply, but I’m hoping some Lunchbox Peppers from Johnny’s will do the same. I’m also growing the delicious heirloom Jimmy Nardello pepper for the first time in five years.

But of course, as much as I love my vegetables, it’s no secret that my obsession with flowers has become all-consuming. Honestly, the number one way I deal with my anxiety these days is by reading flower books at night, imagining colorful bouquets in my head, inventing names of flowers —alphabetically — to try to fall asleep, and so on. (Though none of this has been particularly helpful this week as I try to balance too much work with preparing to travel down to see my sister and father next weekend – without having been able to procure a vaccine. At least I am getting the oil changed in my car! But enough whining.)

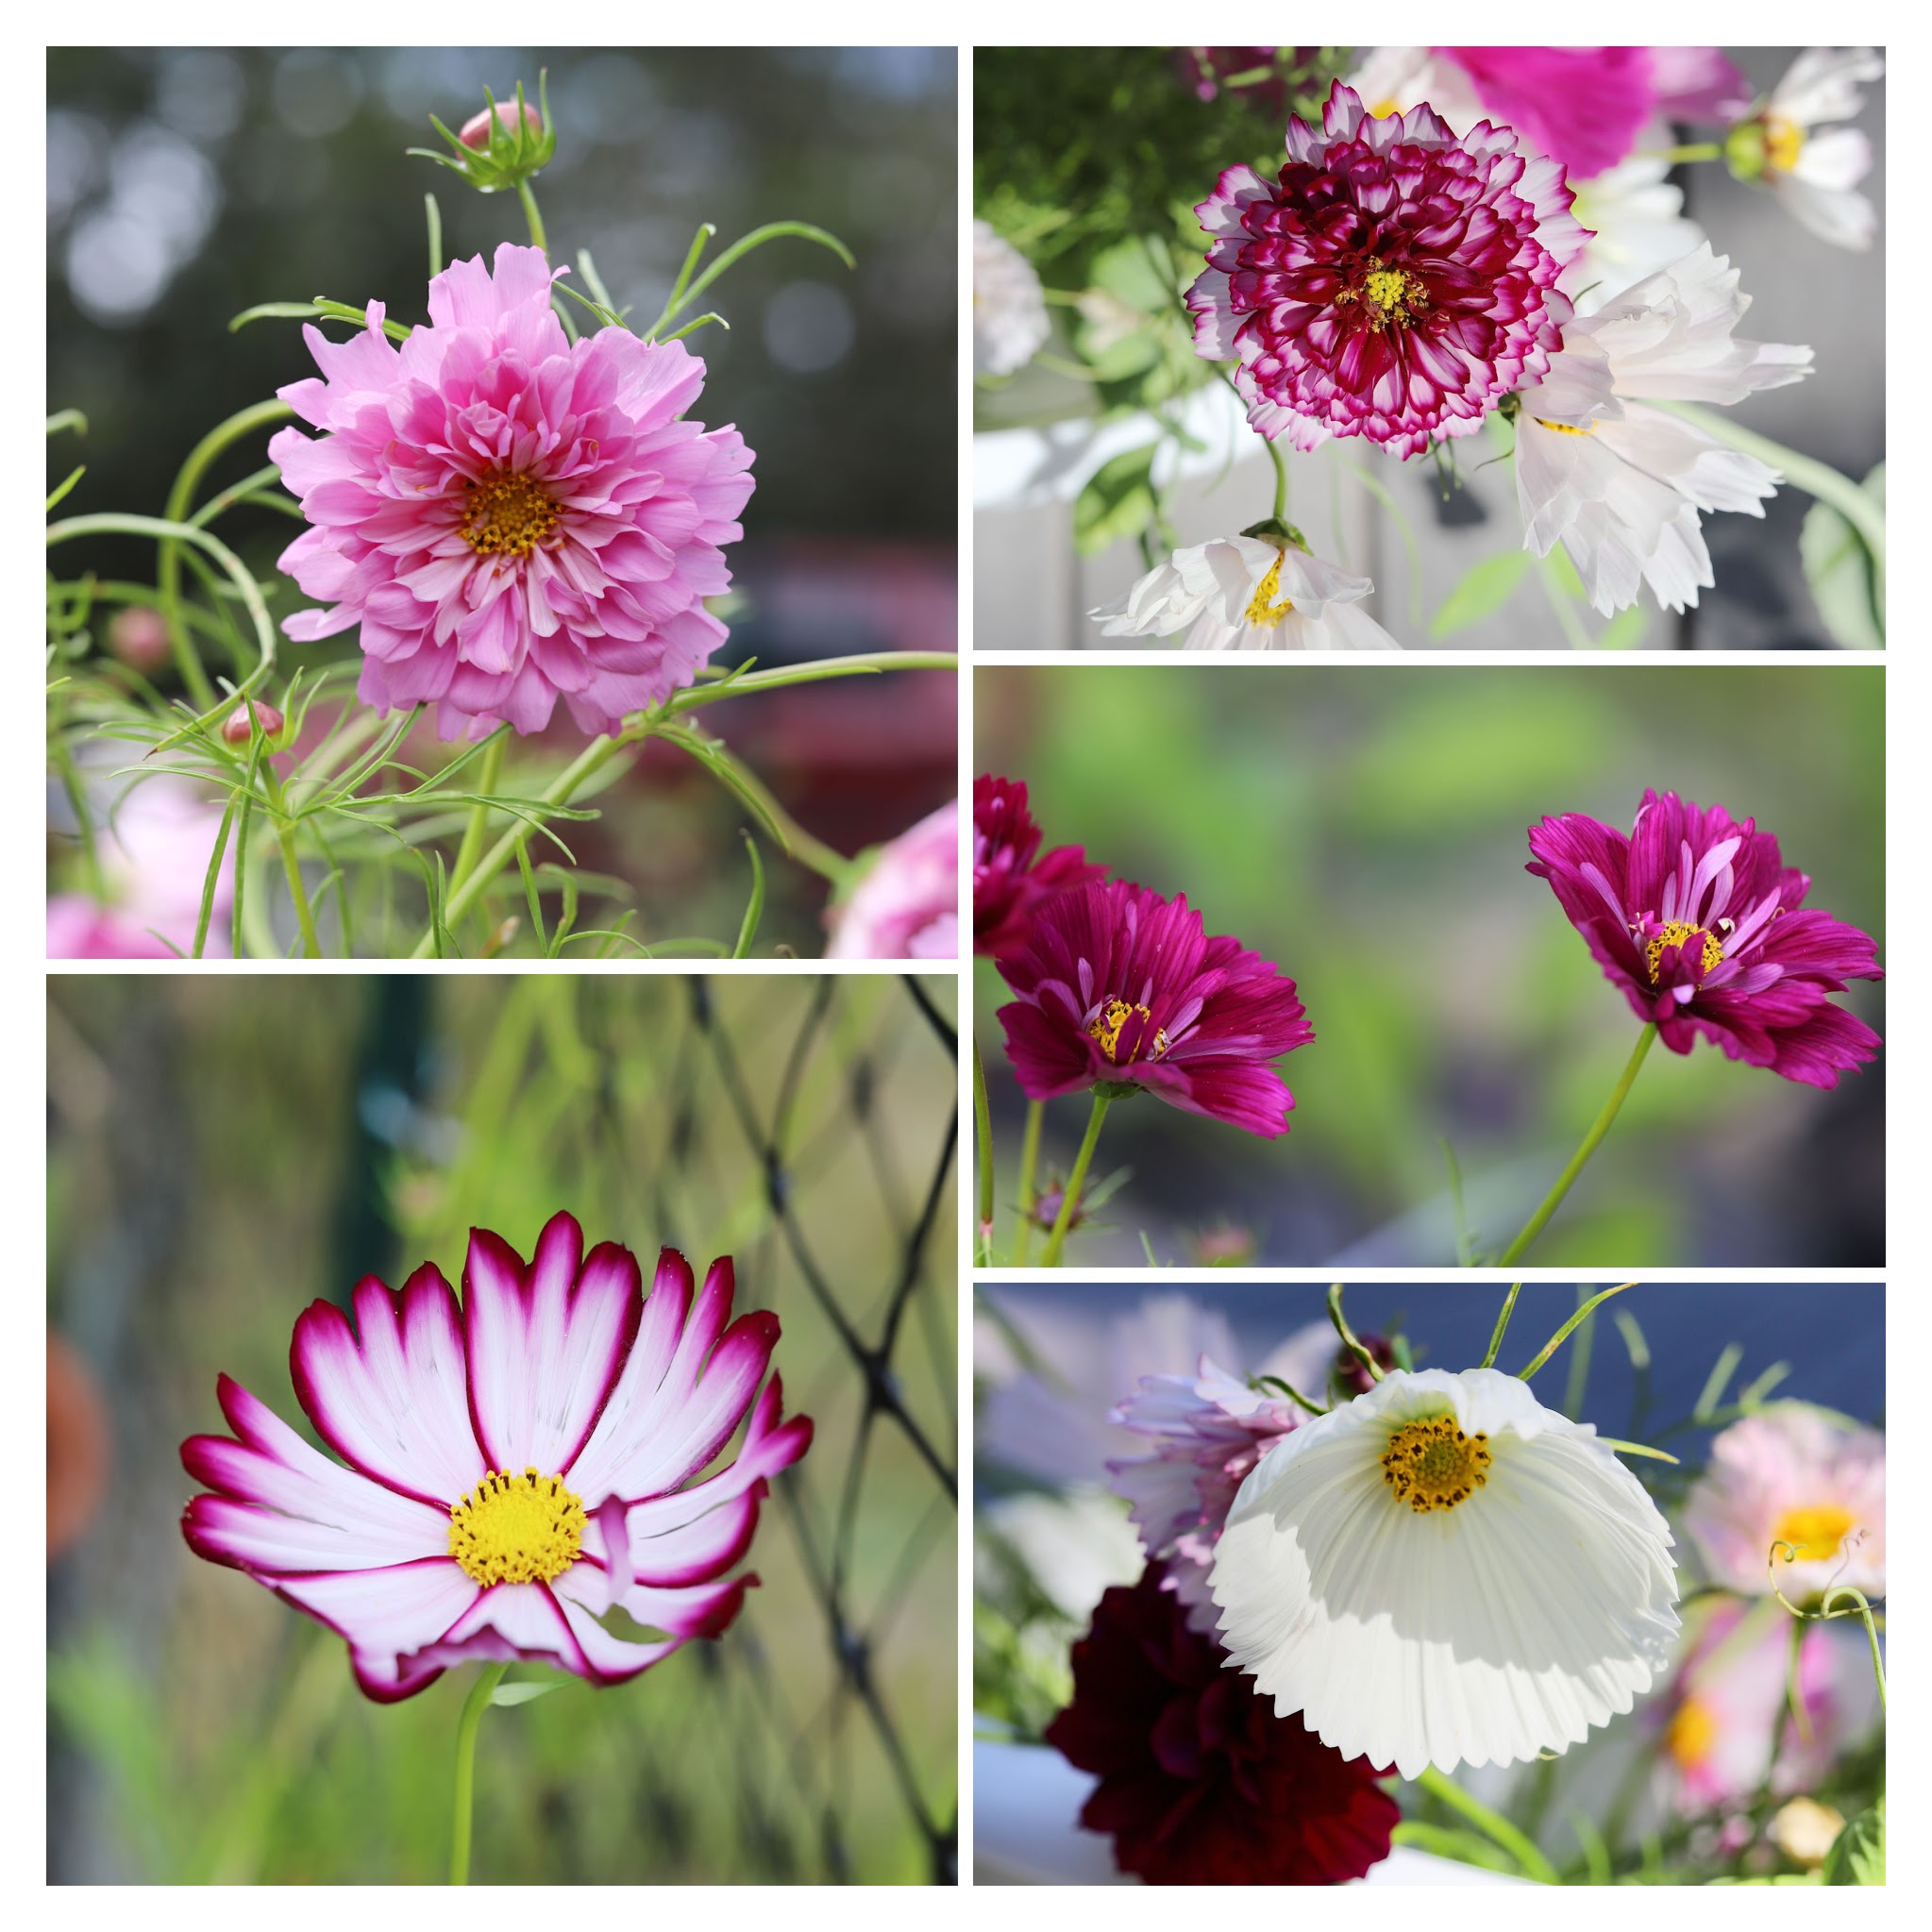
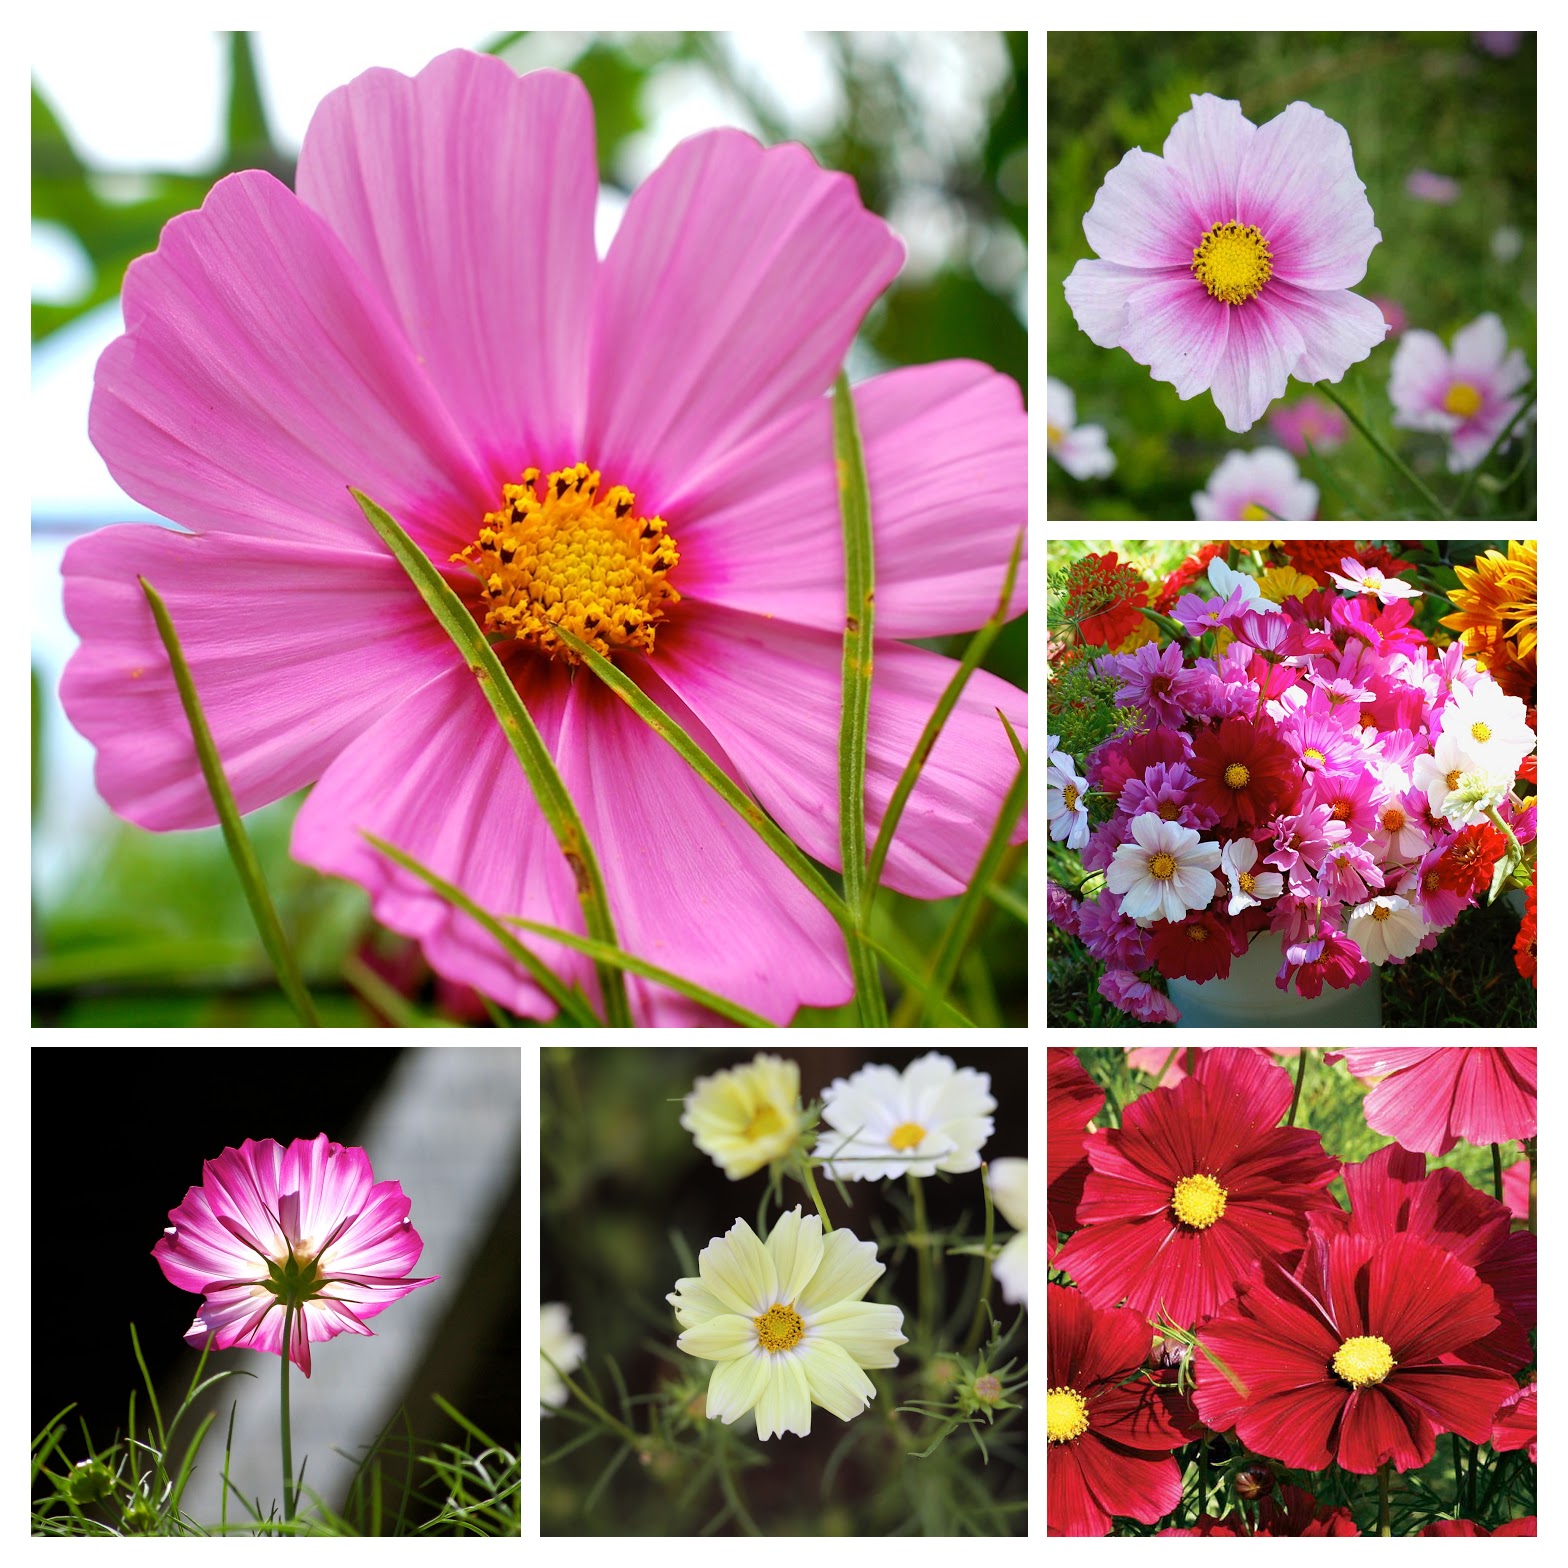
Clockwise from top: Cosmos ‘Double Click Rose Bonbon,’ Cosmos ‘Double Click Bicolor Violet,’ Cosmos ‘Double Click Cranberries,’ Cosmos ‘Cupcake White,’ Cosmos ‘Picotee’

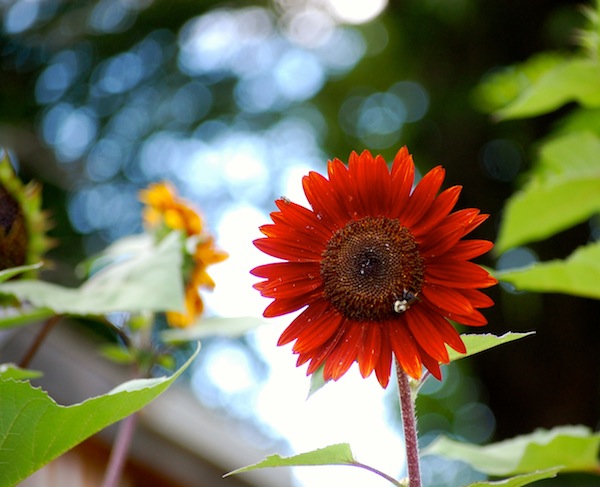
And while I’m excited about my new dahlia passion, I am deeply indebted to my first loves – cosmos and zinnias – for cheering me through many years. In their honor (and because I’m just fascinated by the number of different varieties now available of both), I am seeding more than a dozen varieties of each, the most I’ve ever started.

This week, I thought I’d gather photos (mostly that I’ve taken over the years and some of new varieties from websites) of all the cosmos varieties I’m hoping to grow this year. I’ve only been able to seed a few of each variety, and God knows where they are all going to be planted (some in friends’ gardens, I’m sure!), but it will be fun to think about the spectrum of beauty and color anyway.

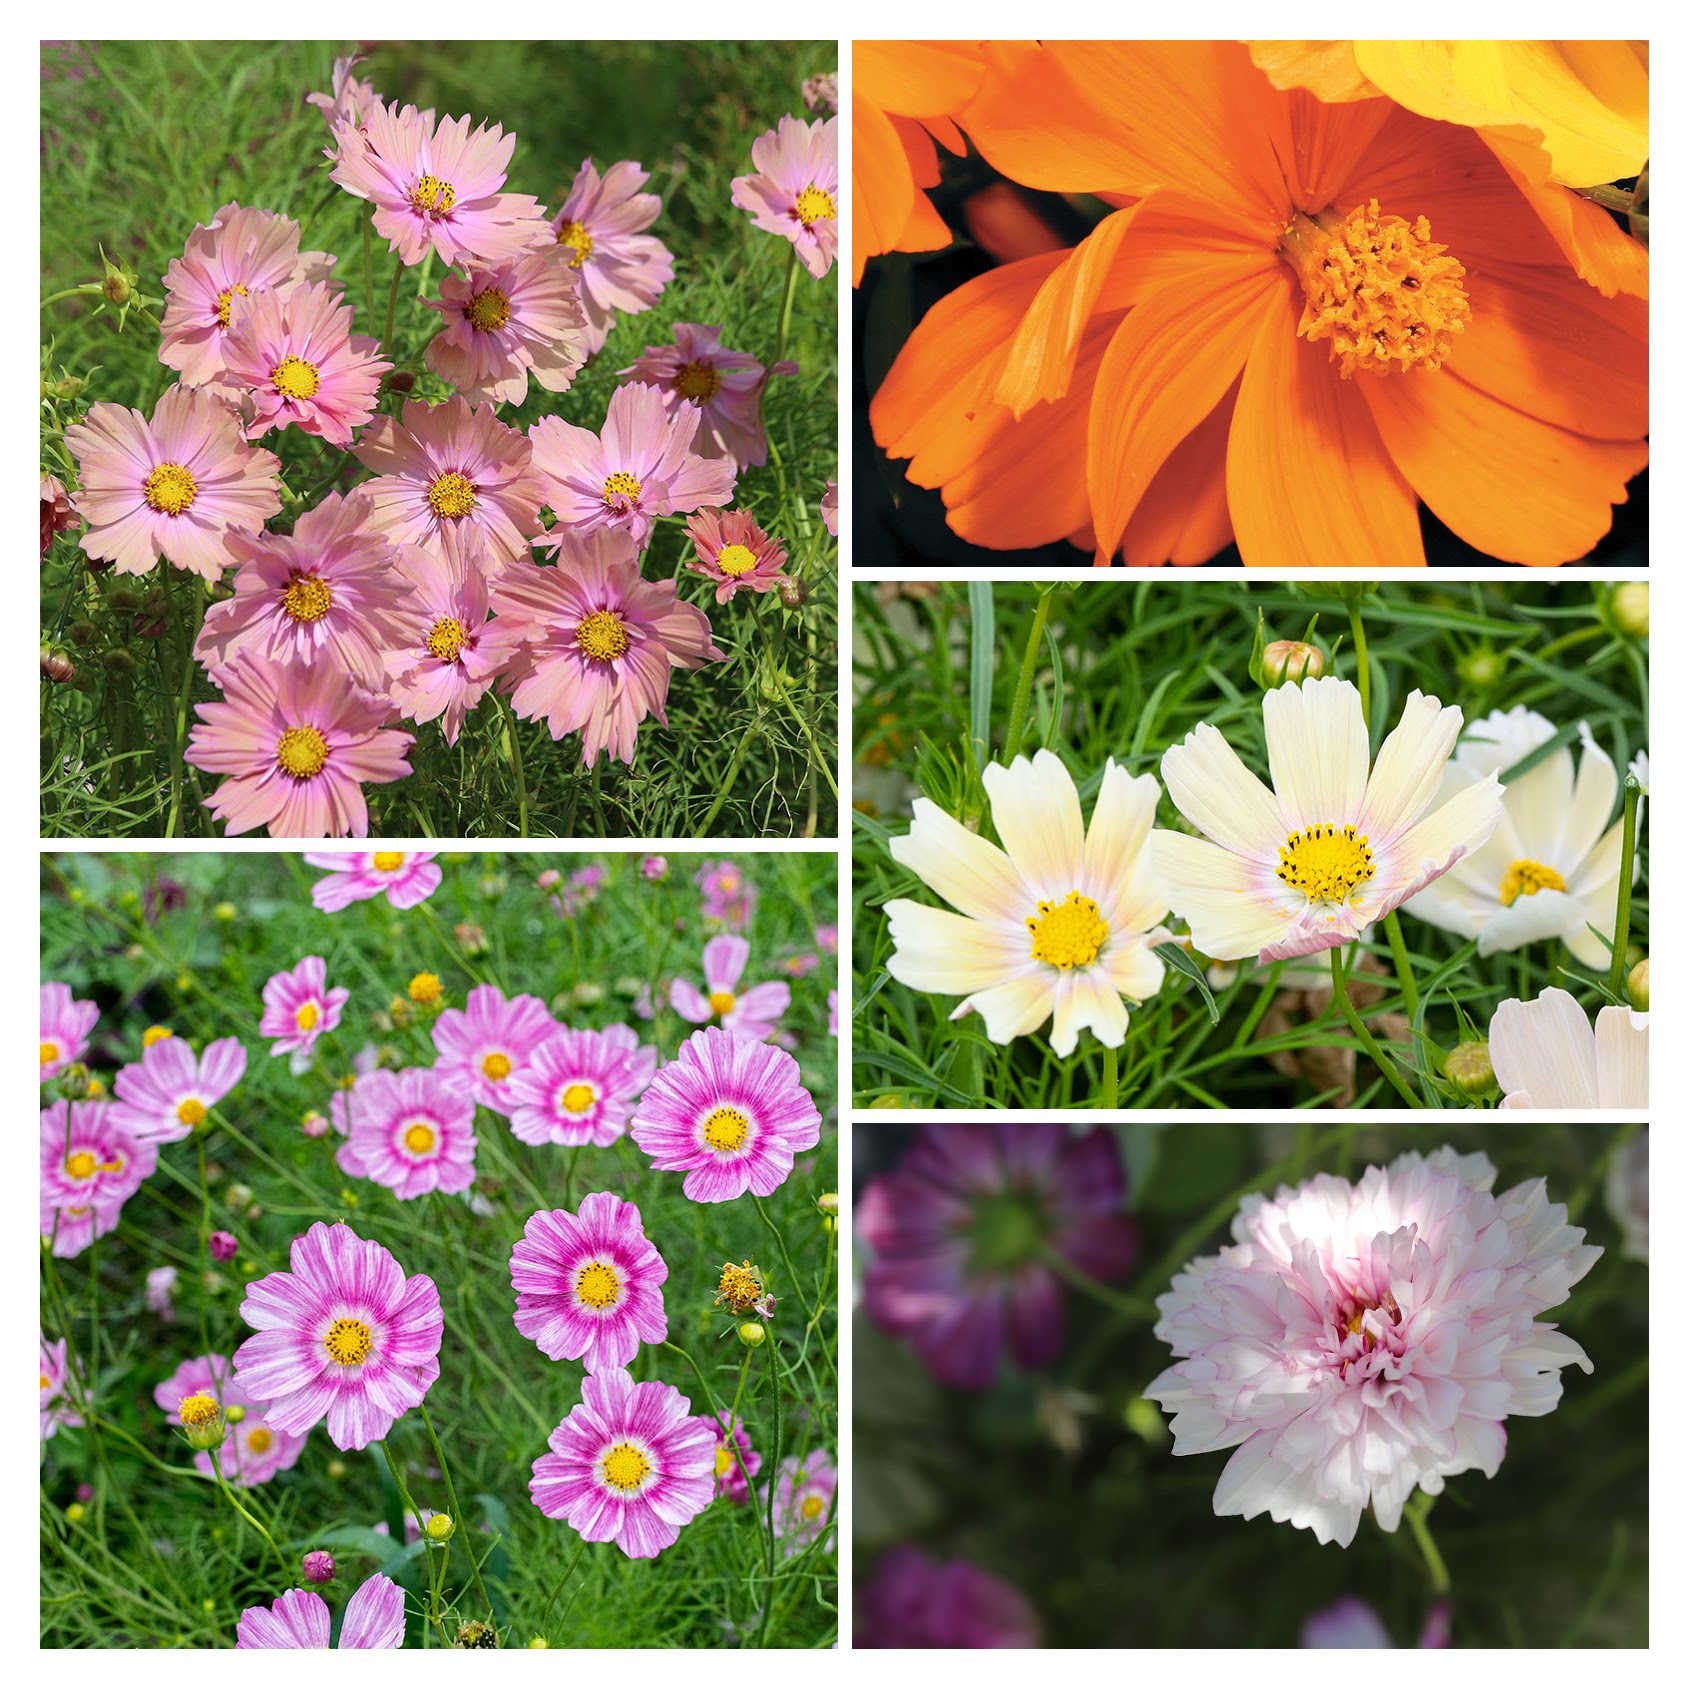
Clockwise from top: Cosmos ‘Apricotta,’ Cosmos ‘Sunset Orange,’ Cosmos ‘Apricot Lemonade,’ Cosmos ‘Double Click Bicolor Pink,’ Cosmos ‘Happy Ring’

If you’ve never grown cosmos, know that they are very user-friendly. The more you cut these annuals, the more they bloom. They get big and blousy and are quintessentially cottage-y. They don’t start blooming until mid-summer if you direct sow them in late May, but by starting them inside now, I’ll get blooms in June. And I learned from Erin at Floret that I should be cutting them when they are just about to open for the longest vase life.

Clockwise from top: Cosmos ‘Radiance,’ Cosmos ‘Daydream,’ Cosmos ‘Sensation Mix,’ Cosmos ‘Rubenza,’ Cosmos ‘Xanthos,’ Cosmos ‘Velouette’

Another thing I’ve learned about cosmos over the years is that I can cut down deeply into the plant to get stems long enough for arranging. It doesn’t matter that I’ll be cutting some unopened buds along with those stems, because the plant will just respond with more blooms. Some cosmos varieties grow very tall (up to six feet) and wide so give them a little space and consider corralling them with twine and stakes as the summer goes on, especially if you live in windy-world like we do. I invariably lose at least a few of my plants when the first hurricane threatens.

There they are. May the sight of them bring you joy. And if you live on the Island, give me a shout in about 8 weeks. I’ll have extra cosmos seedlings!


P.S. Good sources for Cosmos seeds include Select Seeds, Johnny’s Seeds, and Swallowtail Garden Seeds.


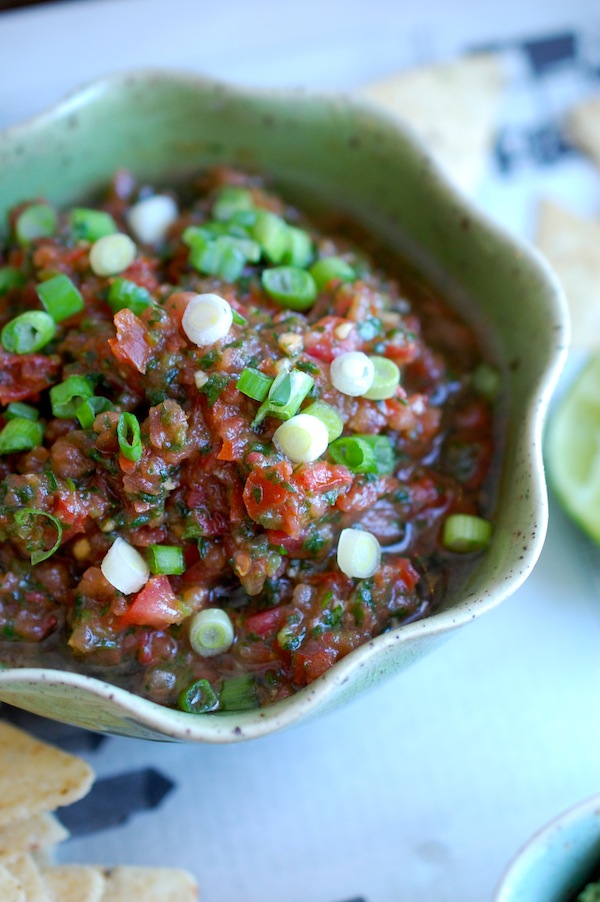
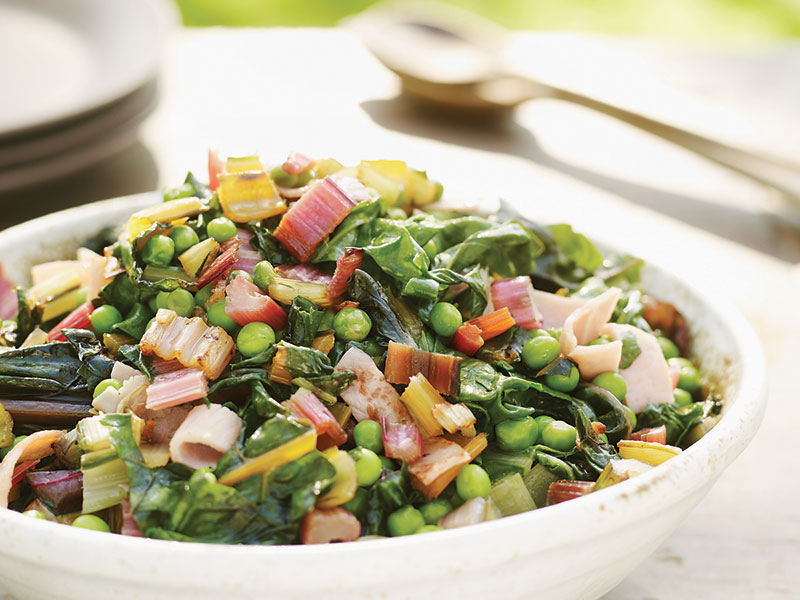
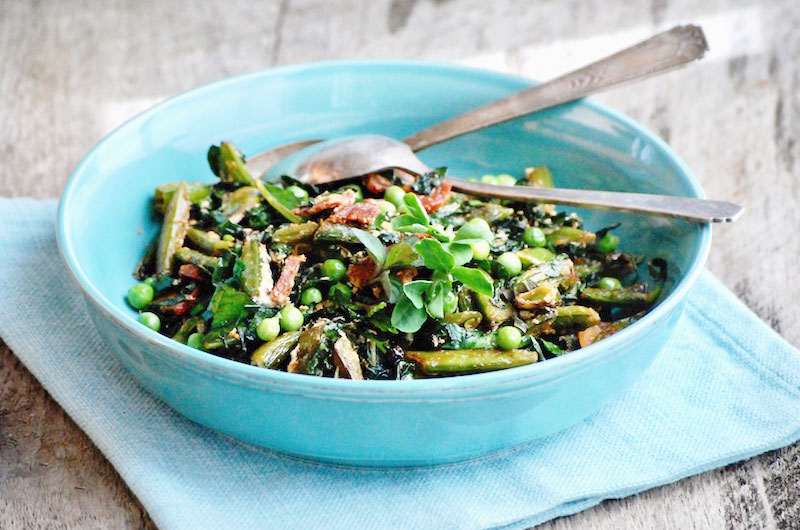
PEAS, PLEASE: In case you can’t wait until June to cook with peas, here are a couple of my favorite pea recipes, over on cookthevineyard.com.


If you arrived here from the internet and would like to subscribe to the Sixburnersue blog, click here.


And We’re Off! Simple Green Suppers is Live!


Just a quick update to let you know that Simple Green Suppers is off and running. We had a really awesome launch party at Morrice Florist. And we’re getting some great buzz! This week I’m guest-hosting the Instagram feed of my publisher @Roostbooks so please follow along to ogle some of @randibairdphoto‘s amazing photos. You’ll even get a glimpse at some great photos (like the one above of Little Gem and baby red Romaine lettuce, and the one of cherry tomatoes below) that didn’t make it into the book. (We took a ton of photos.) And while you’re at it, be sure to follow my Instagram feed @sixburnersue. If you’ve gotten the book and are enjoying it already, we’d really appreciate a 5-star (!) review on Amazon!

Just published this week–a great feature in Martha’s Vineyard Magazine (photo below) highlighting some of the recipes from the Toast chapter (with my, ahem, opinionated viewpoint on the best way to make toast!). And a feature blog on MindBodyGreen using leftovers from the Baby Potato, Greens, and Chickpea Hash in dishes throughout the week.

I’ve been doing some radio interviews and tomorrow I’ll return to my favorite–The Food Schmooze with Faith Middleton on WNPR.  Back in my Fine Cooking days, I used to ride up to New Haven every few weeks to be on the show with Faith and Chris Prosperi, and it was so much fun. 

In just a few weeks, I’ll be at the Grand Tasting at the Martha’s Vineyard Wine Festival (Saturday, May 13), so if you happen to be going, stop by my table! And I promise I’ll let you know about other events and news coming soon. (Garden is getting going too.)

In the meantime, I leave you this teaser from today’s Instagram activity. Quick Roasted Beet, Arugula, and Wheatberry Salad with Strawberry-Balsamic Dressing. (That would be on page 40 in the book!)

All photos here by Randi Baird Photography.

The Fly-By Summer

IMG_0140IMG_0101It’s a strange summer. Slow in getting here, fast in passing. The tomatoes have barely started to ripen and already it is time to pull the onions out of the ground. The weather is confused—dripping hot one day, New England chilly the next night. It’s like summer and fall all at once. But I’m okay with that. I like fall, and I feel a bit disconnected from summer this year.

I can’t complain. Grace and magic and kindness and opportunity have conspired to give me a new farmette business with a little farm stand plunked fortuitously close to the road.

IMG_0127My fencing and irrigation and weed controls are working as planned, so everything (well, most everything) is thriving, and the whole darn thing is actually manageable.

IMG_0133The soil still needs a lot of improvement, so my yields are not what they could be. But the real conundrum is space. The 4000 square feet I carved out this year isn’t enough for the little business to really thrive. 10,000 square feet is a quarter acre, and that would be great, but I can’t necessarily get to that here. I might be able to carve out 2000 more feet, but first I’m going to figure out a way to get a small hoop house built (and hopefully a chicken coop and pen, too). Then perhaps I will lease an extra little bit of land somewhere else next year, and grow more flowers on it. All things to consider this fall!

IMG_0172

I did finally break down and buy a new camera, as my old one died and I’ve been borrowing from friends. I went with the cheapest DSLR I could buy and still get good quality—an older Canon Rebel T5—and I just took it out of the box yesterday.

IMG_0094

IMG_0145So of course the first pictures I took were of tomatoes and flowers–probably my two favorite things about the late summer garden. Fortunately, with our warm fall out here, I’ll have tomatoes and flowers until late October of even early November.

IMG_0108

IMG_0130But I hope I can find some good tomatoes and flowers to enter in the Fair, which is–yikes!–next week! I did say summer was flying by.

IMG_0119

And the last bittersweet sign of changing seasons: The President and First Family arrived for their vacation last weekend. It still thrills me to see the motorcade whiz by, and I will always be grateful that they’ve chosen to come here for their vacations. Now if they’d just stop at the farmstand…

IMG_0174


Making Tomato Sauce While the Sun Shines

DSC_1006Until I moved to West Tisbury, the agricultural center of Martha’s Vineyard (that translates to small, rural town with many farms), I didn’t fully understand the origin of the expression “Making hay while the sun shines.”

Now that I am surrounded by hay fields, I’ve learned to note the passing of warm weather months according to whether it’s the first, second or sometimes even the third haying. The grass grows tall and down it goes. Cut, dried, rowed, and baled. It grows again and so on.

And I’ve also come to understand that rain and wet weather can ruin hay, so farmers look for a spell of sunny, dry weather to do the haying. Basically, they’re taking advantage of a window of opportunity.

DSC_1651It seems like there’s a lot of that proverbial “making hay while the sun shines” on a farm. For me this year it has been all about trying to do something with extra vegetables before they cross the line into compost. The race against time is especially frustrating because there is so very little spare time to begin with on a farm! (Well, especially a growing farm with only two people working on it.) The hours in between the morning and evening chores are when Roy and I try to get our other work done, while keeping an eye on the farm stand, too. (September is quieter, yes, but we’ve already sold out of eggs (30 dozen) today, so it isn’t that quiet!)

DSC_1660

DSC_1364Fortunately I got a magazine assignment to write about pickling, so I’ve been able to justify spending some of those in-between hours making pickles. The top shelf of the mud-room fridge is now Ball-jar central. And I did make blackberry jam.

But my hopes that this would finally be the year I’d be canning lots of tomatoes and tomato sauce were a bit unrealistic. (Though we do have a stack of quart Ball jars we keep hopefully tripping over, thinking they may still get used.) For one thing, I didn’t realize that the San Marzano tomato plants were indeterminate—meaning that they yield continuously. I thought they were determinate, and I imagined that at some point they would offer up a big batch of ripe plum tomatoes, and we would then stop everything and spend an afternoon canning. Ha! Turns out they’ve been continuously ripening since mid-August, so they must get dealt with periodically (and a few dozen or so at a time).

Secondly, after a great early yield, our beefsteak and plum tomatoes all began to suffer from disease brought on by stress. (It took us a while to figure out that a pressure valve in our irrigation system was malfunctioning.) As a result, most of the tomatoes (including the San Marzanos) have been developing small rot spots as they get close to ripening. Since we can’t sell damaged tomatoes, I’ve had to think of something to do with them once or twice a week, since many are perfectly fine for the most part.

DSC_8189

DSC_1757For any beefsteaks that aren’t too far gone, I’ve relied on my favorite technique. (Roasting, of course, but slow-roasting for these big guys.) Layered into containers, they freeze well for adding a great depth of flavor to just about anything in the winter months.

But for the San Marzanos, which still seem to be producing like crazy, I’ve been making small batches (a few quarts) of sauce for the freezer, which isn’t such a bad thing. (The freezer’s looking pretty promising, and I’m much happier with loads of tomato sauce rather than loads of pork like last year!)

DSC_1647

Making sauce so frequently has also let me perfect a tasty recipe that is easy to get started quickly so that I can do other things while it simmers away on the stove.

DSC_1002Here’s what I do: I chunk up a couple of our onions and several of our damaged carrots (which I have a lot of, too) and whiz them in the food processor. (I learned in my first restaurant cooking job how wonderful a generous amount of carrots can be in tomato recipes.) I melt butter (inspired by a Marcella Hazan recipe, I’ve switched from olive oil to butter in my sauce) in a big pot and sweat the veggies (salted of course) until they are soft. Meanwhile I mince several cloves of garlic and add that to the softened veggies. I sometimes add a splash of balsamic vinegar or a few red pepper flakes at this point.

Then I usually wind up taking the pot off the stove for a few minutes while I finish cutting up the tomatoes. But I don’t fuss over the tomatoes. In fact, I don’t peel or seed them—I just cut out any spots and roughly chop everything else. I add a bit more butter to the pot, add all of the tomatoes and bring to a simmer. (Usually the pot is full almost all the way up to the top.) I let the sauce bubble very gently on low heat and reduce by about half (until I like the consistency), usually between 2 and 3 hours. I stir when I walk by, of course.

photo-106After I take the stove off the pot, I let it cool a bit and then use my immersion blender to roughly puree it so that the remaining bits of skin won’t be bothersome to anyone. Then I portion into different sized containers, let cool some more, and refrigerate or freeze. Not rocket science, I know, but it is satisfying. And at least I don’t have to wring my hands over dumping beautiful tomatoes in the compost pile.

100 Veggie Photos in 100 Days—Done! Now 100 More, Fresh from the Farm

photo-104You might remember a few months back that I told you about a little challenge I set up for myself—to take a photo of a different veggie (or fruit or herb) on Green Island Farm every day for 100 days straight and to post it on Instagram. That was May 20—Day 1.

Well, Thursday, August 28 was Day 100, and I made it! I managed to post at least a different variety every day, and it was a kick doing it. For Thursday’s post (the “finale”), I did something a little different and arranged a bunch of things for the photo (above). It was kind of hokey—I spelled out “100” (sort of) with an eggplant and two sunflowers, and then filled in with assorted other veggies, herbs, and fruits. As usual, it was the end of the day and I was rushed, so I was pretty much winging it. Halfway through, it occurred to me that I should’ve tried to get 100 things in the picture! I went out and picked a few more random edibles—a fennel flower, an asparagus frond, a pea shoot—but it was too late to redo at that point. After I took the photo, I counted, and I had managed to get 67 different items in–not bad. The best thing about the photo was the cheery color.

I thought it would be fun to show you, in retrospect, the photos in the #100Veggies100Days that were the most popular on Instagram and Facebook. (Keep in mind that “popular” means among my dear friends and very small group of social media peeps!). Not surprisingly, many of the favorite photos were tomatoes, but I think my own personal favorite is the little pumpkin, because of the light and the wispy vine. (See photos below.)

And I also wanted to let you know that it is not too late to follow along. Egged on by a few friends, I decided to keep going for another 100 days, only with a slight shift from strictly veggies and garden edibles to a broader look at the farm–#100DaysFreshFromTheFarm. (Yes, I conveniently co-opted my cookbook title for the hashtag! And by the way, I’m also now writing a regular “Fresh from the Farm” column for Martha’s Vineyard Magazine. You can read the latest one on beefsteak tomatoes here.)  So sign up for Instagram or “like” my FaceBook business page, Susie Middleton Cooks, if you’d like to travel through fall on a small farm.

And here’s that look back:

photo-101

San Marzano tomatoes, most “liked” photo of all!.

photo-95

Purple baby bok choy.

photo-96

Chive Blossom (this was Day 1!).

photo-103

Sunrise Bee, one of the Artisan series tomatoes.

photo-99

Red Gold potatoes.

photo-105Jimmy Nardello heirloom sweet pepper.

photo-102 Little volunteer pumpkin.

photo-97

Black raspberries at the bottom of a cardboard pint box.

photo-98

Orient Charm eggplant in good company.

photo-100German Green heirloom tomato.


See you on Instagram!

P.S. The latest photos show up every day on the home page of sixburnersue.com, too.


August on the Vineyard—and Five Favorite Tomato Varieties


DSC_7835

Yesterday, I witnessed a traffic jam out front on State Road. A horse pulling a buggy had just trotted out onto the road from the Fair grounds. In front of him was a tractor fresh from haying the field next door. A moped was coming one way down State Road, a bicyclist going the other—and two or three cars trying to pass them all at once. (Note—no one was hurt here.) A few minutes later after all that was sorted out, the Presidential motorcade flew by.

That pretty much sums up what it is like out here in August.

DSC_8303The other reality is that there is a traffic jam at the farm stand every day. This is a very good thing for business, but a very bad thing for trying to find time to do anything (including sleeping, eating, showering—that sort of thing) else. What we do mostly is harvest (and put stuff in baskets). Pick-pick-pick-pick-pick. (The photo at right is an evening’s haul of tomatoes in the farm stand processing area.) But we are also, of course, trying to keep everything alive (watering, killing pests) and plant fall crops—turnips, arugula, etc.—at the same time.

So there is really no time to do things like write blogs. So I thought I’d share some current tomato favorites with you as a substitute!

DSC_8129 Heirloom German Green.  My friend Katie Cannon sent me this seed from Virginia. This is the second year we’ve grown it, and it is hands-down the best tasting tomato in our bunch. Tangy without being acidic. Smooth and luscious.

DSC_8118

Black Pear. This is the other seed Katie gave me. All the fruits have sun-scald due to a foliage issue we’re having. So only the bottom two-thirds of the fruits are ripe. Hence, I am not selling them, just keeping them all for us to eat (too bad). Rich, dark flesh with deep tomato flavor.

DSC_8160San Marzano.  The original Italian sauce tomato. These are starting to ripen seriously and I am so afraid they will all ripen up at once and not leave me time to make sauce with them. I’ve cooked with just a few of them and the flesh is amazing. When they get really red-ripe, the flavor is seriously fruity, too.

DSC_8571

Jet Star—We’ve never grown this old standby before, but I admired my neighbor’s so much that I decided to try it this year, still looking for the perfect farm stand beefsteak. While not as impressive in size as something like a Burpee Supersteak, Jet Star’s fruits are big, round, juicy–and abundant. Great yields–it’s a keeper.

Sweet 100 (or Sungold). (Okay, that makes six varieties. Both are pictured in the small photo above in white bus buckets.) Roy and I both go back and forth about which of these two cherries is our favorite. A Sungold when ripe is absolutely unbeatable in flavor. But the Sweet 100s yield and yield and yield—big droopy branches of dozens of red tomatoes. And when they’re perfectly shiny red, the flavor is more deeply tomatoey than a Sungold. Both are keepers for us—we’ve grown them every year and always will.

Happy August!


When Life Gives You Splitters, Make Tomato Confit

DSC_7815We’re growing a new variety of tomato (which shall remain nameless at this point, as it is not proving itself to be all that it was cracked up to be!), which tends to split. Especially after a lot of rain like we just had. (To be fair, there are some delicious tomatoes that have this trait. Inconsistent water wreaks havoc with tomatoes.)

I don’t like wasting all those splitters. Sadly, we used to feed them to Martha, Opti, Oreo, Sugar and the rest of our original hens. But they are no longer with us, and throwing one bowl of splitters into a yard of 200 hens is hardly fair, so I’ve had to think of other solutions.

DSC_7753

This week I simply cut them all up into chunks, tossed them with olive oil and salt, put them in a heavy roasting pan, and cooked them for about 2 hours at 300°. I checked on them from time to time, stirring and scraping. I cooked them until a lot of the moisture was gone and the texture was kind of jammy. At the very end, I folded in a little minced fresh garlic and a mixture of a small amount of balsamic vinegar and honey, and let the garlic soften and everything infuse for a couple minutes in the oven.

DSC_7772

I left the cooked-down tomatoes to cool for a short spell in the pan, and then tasted. Delicious! Even though these tomatoes didn’t start out with a very robust flavor, roasting them down concentrated their flavor (as roasting always does!). The result was kind of a confit (really just a tomato jam or conserve), though with seeds and skins left in, it might not be everyone’s cup of tea. The seeds and skins don’t bother me, and considering how dead simple this is—and that it greatly extends the life of a bunch of tomatoes that otherwise would probably rot before you could eat them—it’s a no-brainer. You could literally do it with any tomatoes, any time.

DSC_7782

I put the confit in a cute jar just to photograph it—I was not intending to can it or keep it for very long. But I imagine it will keep at least a week in the fridge and would freeze just fine for longer. We’ve put it on top of grilled bread with warm goat cheese, and I’m planning to use the rest in a baked pasta. You could put some on top of scrambled eggs or in a quesadilla (yum), top a pizza or use it as a base for a flavorful rice dish. Why not?

DSC_7820


Tomatoland

DSC_6774Some weeks are crazier than others around here, and I will just say that this week, I was pretty darn happy to see Friday arrive.

It’s also easy, this time of year, to look around a farm and get discouraged. Weeds are ravenous, pests are ravenous, farm stand customers are ravenous. (And our egg supply isn’t keeping up with demand.). The pretty green frilly stuff of spring has fled, replaced by dying pea vines (piled on the picnic table, below) and bolted lettuce and plants ravaged by potato beetles.

DSC_6713 But wait. That’s only one way to look at it.

DSC_6718

Despite what I consider to be a lot of messy, less-than-ideal aspects to the current state of things (like this entire row of weed-smothered arugula, above), there is, by far, much more to celebrate.

DSC_6733

For instance, the sunflowers are just killing me—they are so gorgeous, it hurts. And cheery? Nothing cheerier. And don’t even talk to me about the zinnias! (Okay, I realize that I’ve talked about the sunflowers and the zinnias for like the last three blogs in a row. I’m besotted.)

DSC_6730

And I think it is safe to say now, that barring a true tragedy (not just one that I imagine or one that calls itself a hurricane), we will have a bountiful tomato harvest this year, and far more tomatoes than any other year.

DSC_6777DSC_6788 Just look at all the fruits on these plants.  And there are 230 plants!

DSC_6793DSC_6798 This tomato thing is not to be under-rated. Everybody waits all year for these quintessential summer goodies, but not everyone is arranging their yearly budget around the tomato harvest. We have a lot to be expectant about.

DSC_6849

We’ll be harvesting tomatoes every evening now. They’re just trickling into ripeness—Roy picked this quart of Sungolds and Sweet 100s last night—but soon we will be looking for surfaces all over the place to put them on.

There’s plenty of other good stuff, of course. (I can’t believe we’re actually getting to the ripe black raspberries before the birds do! With any luck, Libby and I will make that berry ice cream this weekend. )

DSC_6828

Now that my pep talk is over, I can go back out and keep weeding. Underneath all those weeds are still some pretty nice vegetables!

DSC_6720


How to Make a Savory Rustic Tart with an Easy, Flaky Dough

xroastedtomatotartxTART DOUGH 20

My affection for buttery, flaky crusts and sweet, caramelized vegetables came together one magical day many years ago. I realized that the wonderfully easy food-processor tart dough I had learned as a young cook at Al Forno restaurant wasn’t just for dessert. As much as I like a good rustic fruit tart (and there is one to die for—Little Pear Crostatas with Hazelnut Crisp Topping—in Fresh from the Farm), I am always looking for a good destination for roasted or sautéed vegetables, too. And these fun-to-make, free-form tarts (no special pan needed) are perfect for showcasing all kinds of veggies.

xTARTS Ratatouille 2I really played out this idea in The Fresh & Green Table with four delicious recipes—Roasted Ratatouille Tart with Goat Cheese & Mint; Seven-Treasure Roasted Winter Veggie Tart; Roasted Butternut Squash, Cranberry, Shallot & Pecan Tart; and Savoy Cabbage, Apple, Onion & Gruyere Tart (pictured here). And, not being able to help myself, I’ve done it again in Fresh from the Farm with one of my favorite ingredients, roasted tomatoes (see photo at top.)

I’ve never blogged about the tarts, though, because the recipes take up a lot of vertical space. With both the tart dough and the completed tart recipe needing to run together, your eyes would get tired!

But today I was organizing some old photos and came across a series of decent test photos that Roy and I took while developing the tarts for The Fresh & Green Table. I realized that publishing them would go a long way towards illuminating the technique of making the dough and assembling the tarts, so I’ve decided to go ahead and post these photos here today. (Therefore, if you’re looking at one of the tart recipes in my book, you can now get a little idea of what the process is like by looking here. Next I should probably do a video!)

You’ll also find the tart dough recipe after the photos. And I will put the recipe for the Savoy Cabbage, Apple, Onion & Gruyere Tart (the one in these process photos) in a separate post so that you can print it out on its own (and make it right now, while winter cabbage reigns supreme). One of these days I will also finally get my recipe formatting software working—and then the recipes will truly be print friendly. It’s on the list, I promise.

By the way, rustic tarts are also variously called crostatas and galettes.

Making and Assembling a Savory Rustic Tart

xTART DOUGH 2

xTART DOUGH 1After pulsing the flour, salt, cold butter and a little ice water together in a food processor until the mixture looks like small pebbles, dump the mixture into a large mixing bowl. Use your fingers and the palm of your hand to knead the loose dough together into a mass.

xTART DOUGH 4xTART DOUGH 3

On a floured surface, pat and shape the dough into two flat disks, each about an inch thick. Wrap well in plastic and refrigerate for an hour or up to two days. Or freeze for a few weeks.


xTART DOUGH 5

Remove dough from fridge 30 to 45 minutes before rolling. Flour a large surface, get out a ruler, and begin rolling the dough disk out, lifting the dough up, tossing a little more flour underneath, and giving it a quarter turn after every roll. The lifting and flour help prevent sticking; the turn helps with shaping a rough circle. (I like a French pin with tapered ends, which also helps to keep you from rolling over the edges of the dough, which will squish it.) Continue to roll the dough until you have a circle roughly 12-inches wide.
xTART DOUGH 6Transfer the dough to a parchment- lined heavy duty baking sheet.

Make an egg wash by combining an egg yolk and heavy cream.

Arrange all your filling ingredients around your baking sheet to make assembly easiest. (In most tart recipes, you can cook the filling ingredients during the time it takes for your dough to come back up to cool room temperature.)

xtart dough 8

Arrange your first ingredient (usually cheese; in this case gruyere) in the center of the dough, leaving a 2-inch border all the way around. (Note, I could have done a much better job on this one–looks like 2 inches on one side and 4 on another! Maybe it was the camera angle.) Top with your next layer (in this case, sautéed cabbage).
xTART DOUGH 11xTART DOUGH 10Continue layering your filling ingredients until you are done.

xTART DOUGH 14

However you are most comfortable, pleat the edges of the dough up and over the filling.

xTART DOUGH 12

I often use the thumb and fingers of one hand to pinch while using the other hand to pull the dough up and begin the fold. (Okay, folks, by now you realize I don’t stand a chance at a career as a hand model. Yes, Roy took these pictures and those are my big hands!)


xTART DOUGH 16

xTART DOUGH 19


I find one pleat about every three  inches works well.  Continue pleating until the tart is contained. If cracks develop, don’t worry—you can pinch the dough together to seal it.

Brush the edges of the tart (and underneath the pleated folds) with egg wash. Sprinkle with herbs, a little cheese, or a bit of coarse salt.

xTARTS Cabbage 5


Bake until golden all over (see top photos) and brown and crisp on the bottom (check with a spatula). Depending on the size of the tart, this usually takes about 40 to 45 minutes at 400 degrees.

xTARTS Cabbage 2

Let cool for several minutes and cut into serving pieces. Salad or soup optional!


xTART DOUGH 4 xTARTS Ratatouille 2Savory Rustic Tart Dough Recipe

Easy, make-ahead, absolutely delicious. I swear, you no longer have to be afraid of pastry dough—of making it, rolling it out, shaping it—any of that. Yes, you’ll need a food processor (my favorite tool for making pizza dough, too), but oh, will you be happy with this ultra-buttery flaky crust.

The one thing you should keep in mind when making this dough is timing. It really works best to make the dough ahead. While it only takes 10 minutes to make, the dough needs to rest and chill in the fridge for at least an hour (and up to 2 days), and then, after taking it out of the fridge, it will need to warm back up to “cool” room temperature*, which will take about 45 to 55 minutes. So it’s a great idea to make the dough some morning or evening when you have just a few spare minutes. Pop it in the fridge and then when you’re ready to make a tart, you’ll only need to set aside the time it takes to warm it back up—and that’s the perfect amount of time to make your filling. It’s also really a joy to be able to reach in and grab that little wrapped present of dough already made up. (The dough will also keep in the freezer for 3 or 4 weeks.)

Makes enough dough for two 8- to 9-inch Rustic Tarts.

2 cups (9 ounces) unbleached all-purpose flour

1/2 teaspoon table salt

1/2 pound (16 Tbsp.) very cold unsalted butter, cut into ½-inch cubes

1/4 cup ice water

In the bowl of a food processor, combine the flour and salt. Pulse briefly to combine.

Add the cubes of butter. Pulse quickly about 20 times, or until the butter particles are quite small (like tiny pebbles). With the motor running, add the ice water in a steady stream. (This will take about 10 seconds). Stop the motor. Then pulse quickly six or eight times—just until the mixture begins to come off the sides of the bowl and clump together. The mixture will still be somewhat loose and crumbly—that’s okay. You will bring the dough together in the next step.

Turn the mixture out into a big mixing bowl and knead it briefly against the sides of the bowl to finish bringing it together into a dough. (Once you have incorporated all of the crumbs, knead once or twice to smooth out the dough just a bit. While you don’t want to over-handle the dough, you also don’t want to be afraid to handle it as much as you need to in order to bring all the bits of the dough together, as it will ultimately be easier to roll out.)

Divide the dough in half. (If you have a scale, you can weigh the dough pieces to make sure they’re of equal or close-to-equal weight. They should each weigh about 9 1/2 oz.)

Shape each piece into a disk about 1-inch thick (and about 4 inches across). (Again, don’t be afraid to handle the disk just enough to smooth out cracks and make a tidy disk.) Dust lightly with flour, wrap in plastic, and refrigerate for at least 1 hour or up to two days. (You will need to remove the dough from the fridge 45 minutes before rolling it.)

Alternatively, you can freeze the dough for up to a month. Defrost it in the fridge overnight before using.

*NOTE: Depending on how long your dough disk has been refrigerated, it will most likely be between 50 and 42 degrees when you take it out. Anything in this range is rock hard. You’re looking for the dough to warm up to about 60 degrees. Don’t worry, you don’t have to take its temperature—it will be ready when it is still slightly cool but somewhat pliable. Again, depending on the temperature the dough was chilled to, and the temperature of your kitchen, this will take anywhere from 40 to 60 minutes—leaving 45 or so minutes is a good bet, but also don’t worry if you get behind. There is a decent window of time, and on all but the hottest of days (or kitchens), it can usually sit for up to 30 minutes more before it gets too warm.


Super-Fresh, Super-Fast, Super Bowl Salsa & Guacamole: Recipe Preview, Fresh From the Farm

salsa guac 1

It’s hard not to dream about summer when your teeth are chattering.

Goodness, this cold weather is certainly getting to be a drag, isn’t it? Wouldn’t it be nice if you could walk outside right now, tip toe across the hot grass, swing open the garden gate, and tug a ripe juicy tomato off the vine? Uh, sorry. Not going to happen. I realize it’s not very nice of me to be teasing, and on top of that, I’m going to cheat, too. Because today I am offering you two recipes that are from the Summer section of Fresh From the Farm. So sue me.

guac 3It just so happens that my Lazy Day Summer Salsa with Serranos, Cilantro & Lime (a spoonable, dippable, versatile Mexican-restaurant style sauce) is pretty darn good made with store-bought plum tomatoes—especially if you let them sit on the counter for a few days. Paired with my Double-Cilantro Guacamole (the real deal here, no pureeing or added fillers), these are two of the freshest, healthiest, liveliest additions you can make to your Super Bowl spread. Really clean and fresh-tasting. (And yes, this may be one of the only times you see two Vegan and Gluten-Free recipes together on Sixburnersue at the same time!) Even if you’re not into the whole football thing (and here in New England, with the Patriots now out of it, we suddenly have a lot of people who’d rather shovel their sidewalks than watch the Super Bowl), I bet you’ve got a taco night planned, or you need a good way to liven up a fish or shrimp dish.

Honestly, these two recipes are repertoire essentials.

So I made them both yesterday in order to take pictures (alas, neither of these recipes is among the 200 photos in the book!), and I ate an entire half-batch of the guacamole myself. And the way this salsa comes together in the food processor so fast and easily makes me feel efficient every time I make it. We’re eating leftovers tonight on pork tacos.

cilantro flowers cilantro leavesA Sidenote About Cilantro

Both of these recipes use a good amount of cilantro (and a bit of ground coriander, the seed of the cilantro plant), and now is the time to plan for growing your own this year.

It’s very easy to grow, so order some seeds and plant early. It loves cool spring weather and tends to bolt around the summer solstice. One way to end-around this is to sow seed continuously (once a week or so). This way you can continuously harvest young plants before they bolt.

Once the plants bolt, though, all is not lost. The lovely flowers and fine foliage are just as tasty as the regular-sized leaves, if a bit more delicate.

The plants will also eventually form seed-heads, and at least some of them will drop and self-sow. I always have volunteer cilantro plants in my garden. If you leave the seed-heads on, they will dry and you can harvest coriander.

salsa 2Lazy Summer Day Salsa with Serranos, Cilantro & Lime

Recipe copyright 2014 from Fresh From the Farm: A Year of Recipes and Stories

This fast, easy restaurant-style food-processor salsa is just as great with chips as it is with grilled steak or on top of a quesadilla. It will have a loose, not chunky, consistency.

Yields 1 2/3 cup


1/2 cup lightly packed cilantro (leaves and any upper stems—just lop the top off a bunch)

1/2 teaspoon kosher salt, plus more to taste

1/2 teaspoon granulated sugar, plus more to taste

1 large clove garlic, peeled

1 small serrano pepper, roughly chopped

2 cups cored, seeded and roughly chopped very ripe plum tomatoes (about 14 to 15 ounces or 4 to 6 large plum tomatoes)

2 teaspoons olive oil

2 teaspoons fresh lime juice, more to taste

2 to 4 tablespoons thinly sliced scallions (white and as much of green part as you like)(optional)

Put the cilantro, salt, sugar, garlic and serrano in the bowl of a food processor. Process until finely chopped. Add the tomatoes and pulse six to eight times again until very finely chopped. (Don’t overprocess. The salsa will have a very loose consistency but should still have visible small chunks of veggies.) Scrape down the sides of the bowl and add the olive oil and lime juice. Pulse once or twice until combined. Taste for seasonings, adding more salt, sugar, or lime juice if desired, and process briefly again if necessary. Transfer the salsa to a bowl and stir in as many scallions as you like (or none at all). Serve right away or store in the fridge, well-covered, for several days.

guac againDouble Cilantro Guacamole

Recipe copyright 2014 from Fresh From the Farm: A Year of Recipes and Stories

I like my guacamole bright, fresh, and a little bit chunky. I don’t add tomatoes or onions or sour cream, and I don’t pulverize the avocado, but I do think of guacamole as the perfect destination for our garden cilantro. I call this “double cilantro” guacamole because I add a little ground coriander to the mix, too. When you buy cilantro at the grocery, give it a sniff to make sure it is fragrant. Some grocery-store cilantro can be devoid of flavor during certain times of the year. You can easily double this recipe.

Yields 1 1/2 cups

1 large clove garlic

1 serrano pepper

kosher salt

2 medium ripe Haas Avocados

1/8 teaspoon ground coriander

big pinch ground cumin

2 teaspoons lime juice, more if needed

1/4 cup chopped fresh cilantro, more if needed

On a cutting board, roughly chop the garlic and the serrano. Sprinkle them with a big pinch of salt and continue to chop until the garlic and serrano are very finely minced. Transfer to a mixing bowl. Peel and pit the avocados. Cut them into rough 3/4-inch dice or pieces and add them to the mixing bowl. Sprinkle a generous 1/4 teaspoon salt, the coriander, the cumin, and the lime juice over the avocado. Using the back of a fork, gently mash and stir the avocado just until everything is well-combined but the mixture is still a bit chunky. Add the cilantro, stir again, and taste. Add more salt or lime juice if needed.

lime