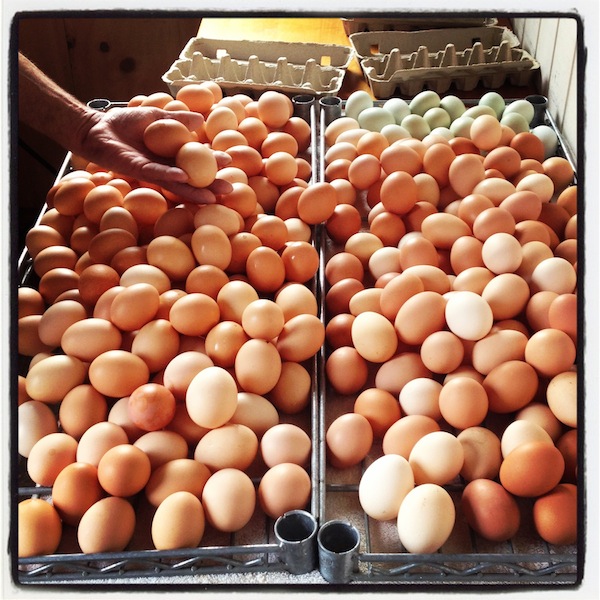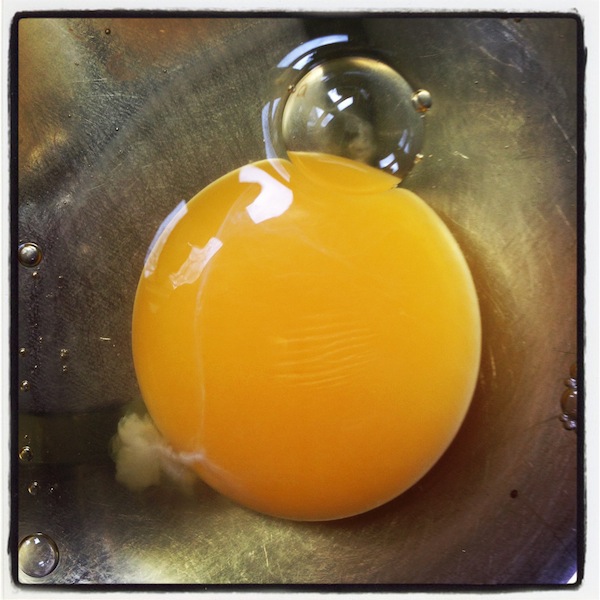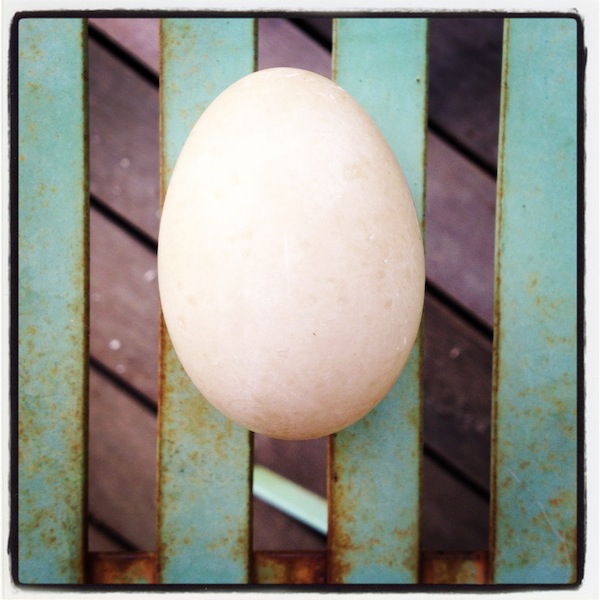
With hundreds of chickens (how many exactly, we’re not sure, as witnessed by a heated argument last night about this statistic), Easter eggs take on kind of a special importance around here. I started my day off washing eggs, and Roy will wash more when he gets home. The farm stand will be busy all weekend, with lots of seasonal residents on Island and, of course, eggs on everyone’s mind.
So since we’re busy here today, I am doing a quick round-up of some of my favorite egg recipes on Sixburnersue.com, and also giving you, right here, our farm recipe for deviled eggs, which happens to feature a yummy spinach-basil pesto recipe. (Recipe is from Fresh From the Farm: A Year of Recipes and Stories.) I hope you have a joyful—and delicious—Easter weekend. (And, oh, we have somewhere between 400 and 500 chickens, with 200 more on the way…we think.)
Here are my family’s favorite, popovers.
Here’s a nice asparagus bread pudding for a crowd.
Here’s a lovely leek, spinach, thyme, and gruyere frittata with more egg ideas, and here’s another delicious frittata with fingerling potatoes and goat cheese.
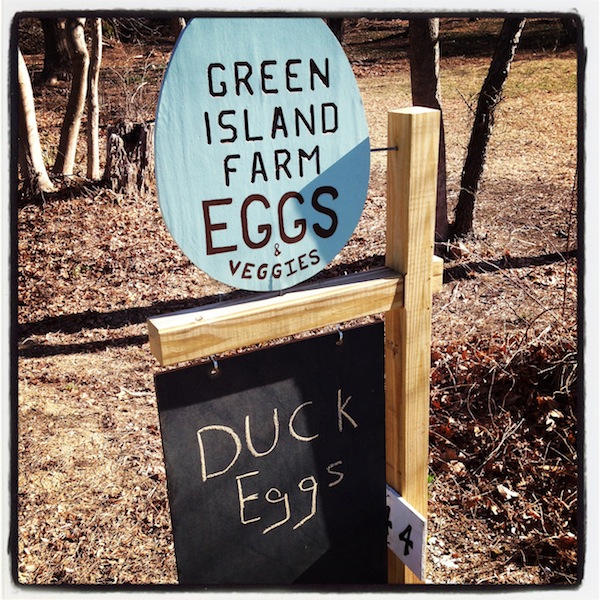
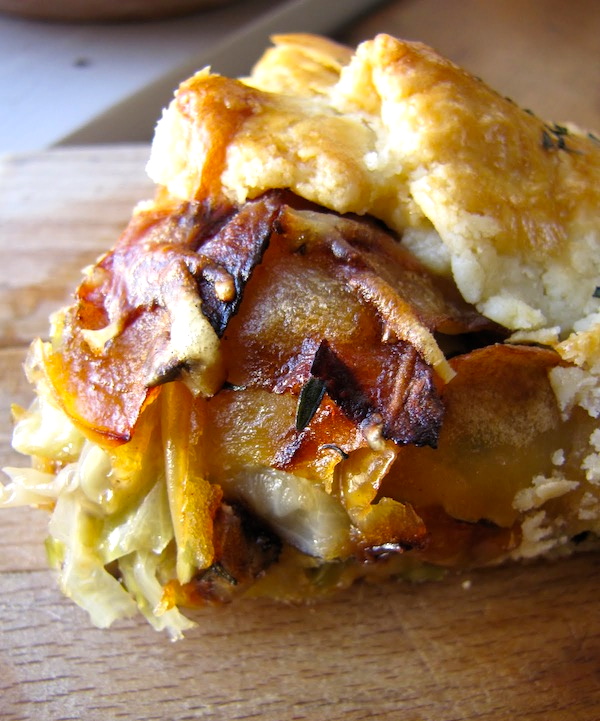
And one of my very favorites–the Green Island Farm egg sandwich.
And here are those delicious deviled eggs:
Deviled Eggs with Spinach, Basil & Toasted Pine Nut Pesto
Recipe copyright Susie Middleton, from Fresh From the Farm (Taunton Press, 2014) Photo at top by Alexandra Grablewski.
Even if you don’t live with 557 hens and a man who’d be happy eating meat loaf and deviled eggs every day, you should still have a great recipe for deviled eggs in your repertoire. Our favorite version goes green (and tasty) with a little Spinach, Basil & Toasted Pine Nut Pesto (recipe below) and a touch of lemon zest. No fancy piping required, though we do like to garnish with a tiny basil leaf and a pine nut. Wait to garnish until just before serving.
Makes 12 deviled eggs
__________________________________________
6 Hard-Cooked Eggs (see note below), peeled and sliced in half lengthwise
3 tablespoons mayonnaise
1 1/2 teaspoons Spinach, Basil & Toasted Pine Nut Pesto (recipe below), drained of excess olive oil
1/2 teaspoon fresh lemon juice
1/4 teaspoon freshly grated lemon zest
Kosher salt
Freshly ground black pepper
12 tiny fresh basil leaves, for garnish
12 whole toasted pine nuts, for garnish
_________________________________________
Gently scoop or squeeze out the yolk from each egg half. Arrange the whites on a plate.
In a small bowl, mash together the yolks, mayonnaise, pesto, lemon juice, lemon zest, a pinch of salt, and several grinds of fresh pepper until you get a smooth, pale-green filling. (I use a small silicone spatula.) Using a small spoon or mini spatula, spoon or dollop the mixture evenly back into the egg white halves. (I like to let the mixture sort of fall off the spoon, but do whatever works for you!)
Garnish each half with a basil leaf and a pine nut.
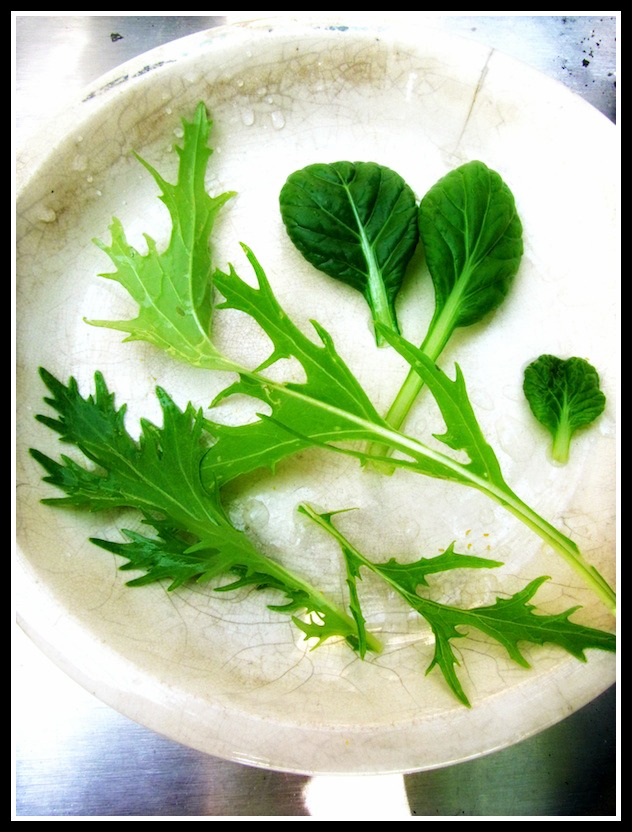
Spinach, Basil & Toasted Pine Nut Pesto
Recipe copyright Susie Middleton, from Fresh From the Farm (Taunton Press, 2014)
Lovely green spinach leaves are my inspiration for a greener basil pesto. Together with toasted pine nuts and lots of Parmigiano, they make a delicious, versatile sauce, which I use not only in deviled eggs, but over grilled veggies, in vinaigrettes, and even as a burger mix-in. Don’t forget to toast the pine nuts before you make the pesto.
Yields 1 1/3 cup
_________________________________
1 large clove garlic
1 1/2 cups packed fresh baby spinach leaves
1 1/2 cups packed fresh basil leaves
1/3 cup toasted pine nuts
1/2 cup extra-virgin olive oil; more if needed
1/3 cup grated Parmigiano-Reggiano
Kosher salt
Freshly ground black pepper
1 teaspoon fresh lemon juice
_______________________________
In the bowl of a food processor, process the garlic clove until it is minced. Add the spinach, basil, pine nuts, and 1 tablespoon olive oil. Process, stopping to scrape down the sides as necessary, until finely chopped. Add the Parmigiano, 1/4 teaspoon salt, several grinds of fresh black pepper, and the lemon juice and process until well-combined. With the motor running, gradually pour the remaining olive oil through the feed tube and process until you get a nice smooth pesto. If the pesto is too stiff, add a bit more olive oil, 1 tablespoon at a time, until you get the right consistency.
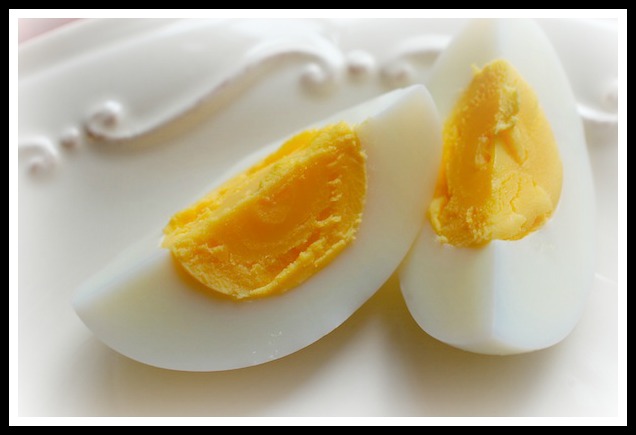
To Hard-Cook Eggs: To cook eggs for salads or to use as deviled eggs, put them in a saucepan wide enough to hold them in one layer and cover them cold water (that comes up an inch over the eggs). Bring the water to a slow boil over medium-high heat and once the water is boiling, immediately remove the pan from the heat. Cover the pan and steep the eggs for 12 minutes. Carefully drain off the hot water and run cold water over the eggs until they are cool to the touch. (Or plunge into an ice-bath.) Refrigerate until completely chilled before peeling.