
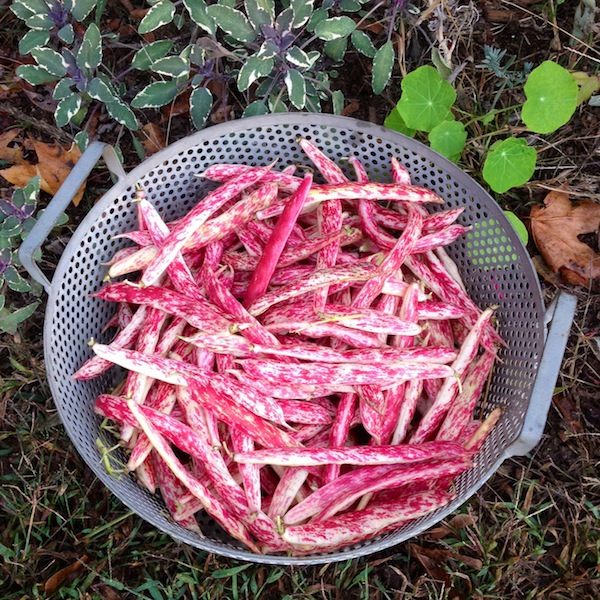
Depending on the season, the month, the hour, the minute, my vote for “prettiest garden vegetable” changes. My allegiance is fleeting, I know, but I can’t help it when something new bursts on the scene. Right now, I am totally captivated by cranberry beans. This year’s variety, planted in July after the peas came out, is Vermont Cranberry Bean, and it took a little longer to mature than the similar Borlotti bean I’ve grown in the past. (In the confusing world of bean varieties, there happen to be several different shell beans with similar characteristics but slightly different growing habits that are referred to as cranberry beans.)
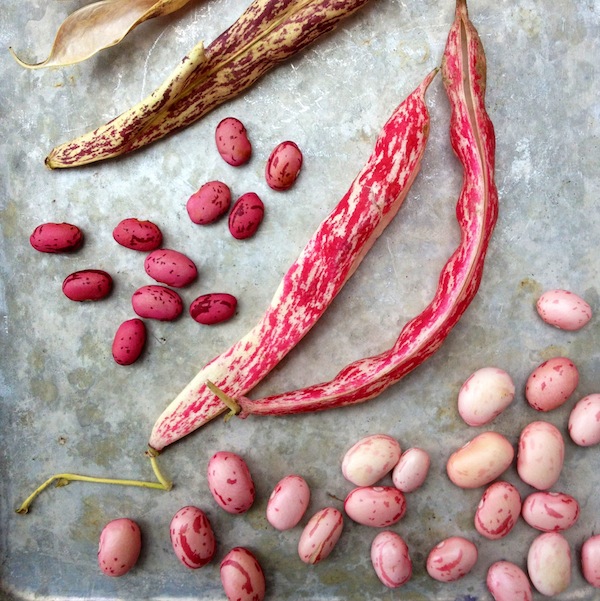
But with both the varieties I’ve grown, the “harvest me” sign is the same—the background color of the pod turns from green to white. (The “speckled” foreground color of course is bright pink.) Inside, the beans are plump and pinkish, also having lost all signs of greenness.
As the beans begin to dry out, their color darkens to a deep magenta (on the upper left in the photo above.) You can let the beans dry out either on the plant or in a dry spot if you want to save them to use over the winter. But I prefer to nab the beans at their plump, pinkish stage, because fresh shell beans are a real treat. Their defining characteristic is a very smooth, creamy texture, achieved after simmering for only about 25 minutes. Usually at that point, I will toss the beans in warm garlic and rosemary oil (and sometimes cooked pancetta) and serve them over arugula, Roman-style. Or I will use them as a great excuse to make minestrone. (Either way, their lovely color dulls, unfortunately.)
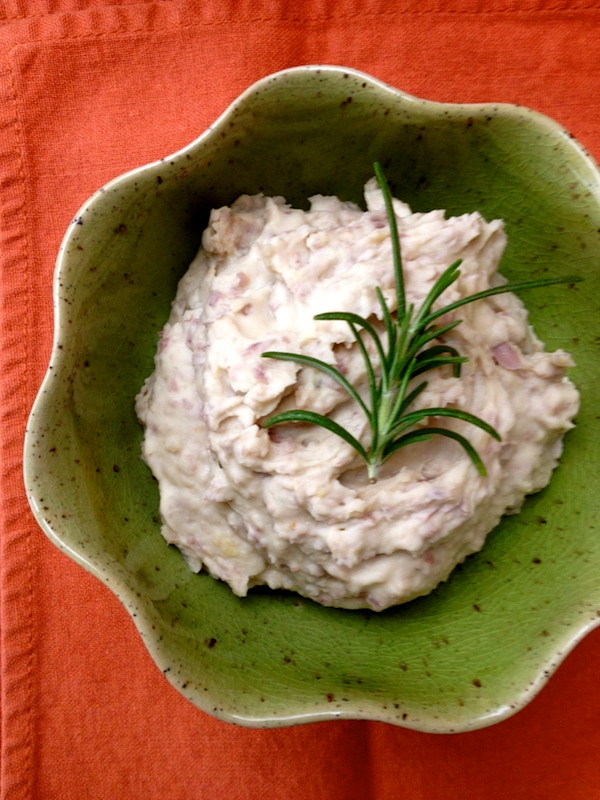
But this year I wanted to do something else with them, and I landed on the perfect thing when I came across an old recipe of mine for a white bean and roasted garlic dip. How much better the cranberry beans would be, I thought, with their lovely texture. Sure enough, when I made the dip/spread/puree yesterday, the texture was almost fluffy and pillowy. And the flavor awesome.
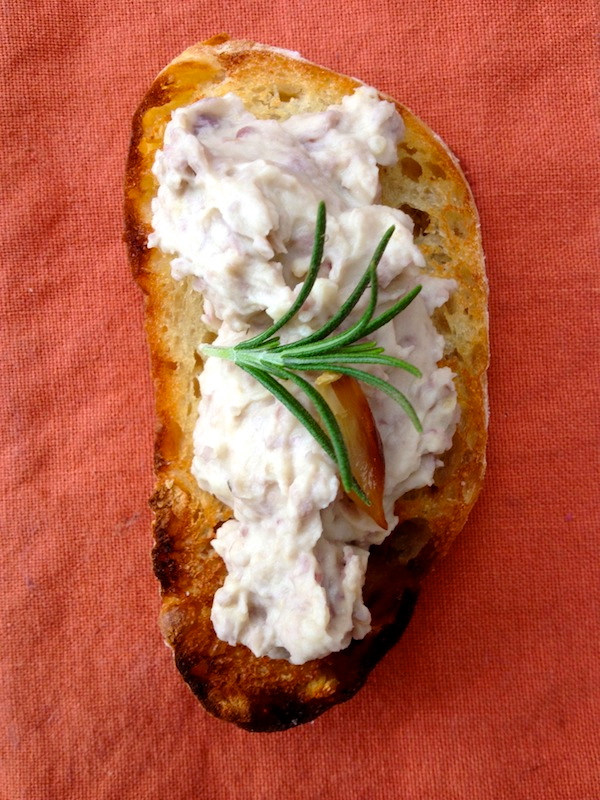 I ate some of the puree on toasted ciabatta, but you could serve it with raw vegetables or pita as a dip or even use it as a bed for grilled or roasted lamb or pork.
If you don’t see cranberry beans or any other fresh shell bean in your market this fall, you can make this with dried beans (such as Great Northerns) that you cook until very tender. Remember to save the cooking liquid to thin the puree a bit.
Roasted Garlic and Cranberry Bean Puree/Dip/Spread
1 ½ cups shelled fresh Cranberry beans (from about a pound of pods)
2 small spring fresh rosemary
6 cloves roasted garlic (see Tip below)
3 tablespoons extra-virgin olive oil
kosher salt
Put the beans, the rosemary, and a pinch of salt in a large saucepan and cover with cold water by at least an inch and a half. Bring to a boil, reduce to a simmer, and cook until very tender, about 25 minutes. You can add about ¼ teaspoon of salt after 15 or 20 minutes if you like. Remove the pan from the heat and use a slotted spoon to transfer the beans to a plate or bowl. Reserve the cooking liquid. (In other words, don’t throw it away, you’re going to use it!). Let everything cool for 10 or 15 minutes. Discard the rosemary sprigs, but don’t worry if a few wayward leaves are left behind to go into the puree.
 In the bowl of a small food processor, combine the beans, the roasted garlic, the olive oil, 2 tablespoons of cooking liquid, and ¼ teaspoon salt. Process, stopping often to scrape down the sides of the bowl, until the mixture is just roughly chopped. Add more cooking liquid, a few teaspoons at a time, if necessary, and continue processing until you achieve a light, creamy texture. (Taste at this point to discern the texture, because the look will still be a bit coarse. You don’t want to process or add any more cooking liquid than is necessary, though this is probably a matter of personal taste!) Serve right away or refrigerate. It will hold well for a day or so. Bring it to room temperature before serving.
Roasting Garlic Tip
Instead of roasting a whole head of garlic, I usually break the head into individual cloves, toss them with olive oil, arrange in a small baking dish, cover with foil, and bake at 375°F for 30 to 35 minutes. Then I pop the cloves out of their papery skins. It’s a little quicker, and maybe a bit less messy, though some of the cloves will brown a bit from contact with the pan. Using all larger cloves is a way around this problem.