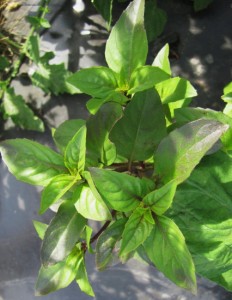
 A nice couple stopped by the farm stand early this morning while I was still getting the veggies and herbs set up. “We’re in need of basil,” they announced. “How much?” I said. “About this much,” the man gestured, hands open as if he were about to pass a basketball. “Okay, I’ll go pick it for you if you’ve got a second. You can go take a look at the baby goats if you like.”
Off they went and I headed to the garden to harvest the basil. We’ve got sweet basil, lime basil, Thai basil (right), and purple basil, all flourishing in the semi-shade among the tomato plants. Those tomatoes, so spindly when we transplanted them, are now lush and vigorous, covered with little yellow blossoms and tiny green fruits. We planted 40 tomato plants, and basil between each, so basil is something we have oodles of. I was so happy to be able to go out and harvest something I grew myself and hand it over to some appreciative folks who wanted and needed it.
 This whole weekend has been like that. Out by the road, we have a new sign that Roy made, and with the crush of visitors to the Island for the July 4th holiday (and those adorable baby goats), the farm stand is hopping. This morning we sold our first harvest of fingerling potatoes, and yesterday we couldn’t keep bunches of carrots around for longer than it took to pull them out of the ground. I get goose bumps just thinking about it—I’ve always wanted to grow and sell vegetables, and now here we are actually doing it. Only wish we had planted more, as we can already see we’ll run out of carrots (and lots of stuff) well before the next planting can mature.
Now I have another dilemma. We’re going to a potluck party this afternoon, and I, of course, have to bring something garden-y, something vegetable-y—something you’d expect the author of a vegetable cookbook who grows vegetables to bring to a potluck. But I don’t want to harvest anything we can sell!! So I thought about that basil. There’s plenty of it, and the more you pick it, the bushier it gets. So last night I made my first batch of pesto for the summer.
I had the Parmigiano and the olive oil, but my pine nuts were rancid. After swearing at the Stop ‘n Shop, I decided to make pesto without nuts. (I don’t know why I go anywhere near that grocery store, except that last weekend I had a cooking demonstration to do at Morning Glory Farm, and needed a lot of pine nuts for a Swiss chard dish. Two out of the three jars I bought were bad. Yuck. Be sure to smell nuts before you use them, and when you buy them fresh, store them in the freezer if you’ll not be using them all right away.)
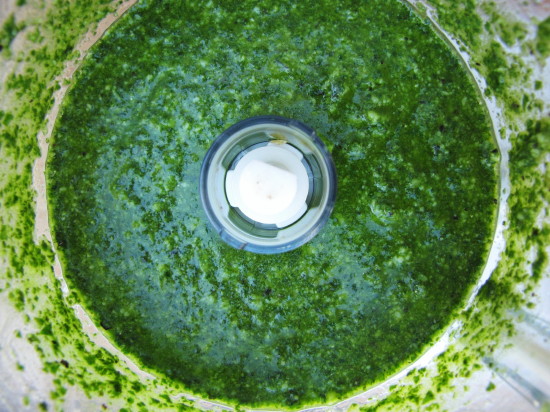
My pesto came out plenty tasty. (I added a little parsley, too, to keep it a bit greener.) So you can certainly make pesto without pine nuts, or you can substitute walnuts or almonds. But ideally, I not only like to use the pine nuts, but I also like to toast them first to pump up the flavor. Here’s the basic basil pesto recipe I usually follow (more or less!). I find the food processer easiest for making a quick pesto. Following the recipe are some ideas for what to do with your pesto once you make it.
Food Processor Basil Pesto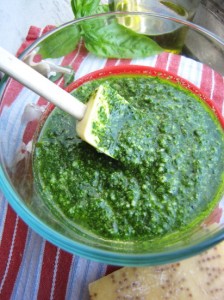
________________________________________
A 1-inch chunk of Parmigiano or ¼ cup grated Parmigiano
1 clove garlic
¼ cup toasted pine nuts
3 cups packed fresh basil leaves
1 tablespoon plus ½ cup extra virgin olive oil
kosher salt
several grinds of fresh pepper
___________________________________________
Get out your food processor. (I have a smallish one I like to use. Not tiny, but not huge.)
If your Parmigiano is a chunk, cut off about a 1-inch piece and process that until it is nicely grated. (Grating Parmigiano in the food processor turns it into fine sandy pebbles, giving a bit more body to something like pesto than finely grated cheese would.) Add the garlic clove and process until minced.
If you’re using grated Parmigiano (and make sure it is Parmigiano, not the pre-grated fake stuff, which will taste like dust, or worse), start by putting the garlic clove in the processor first and processing it until minced. Then add the grated cheese. Next, add all of the toasted pine nuts and process.
Add all of the basil, a good pinch of salt, several grinds of fresh pepper and a tablespoon or so of the olive oil. Process until very pasty. Then, with the processor running, gradually add the rest of the olive oil—or as much as you like—through the feed tube to get a nice, smooth pesto. Adding the olive oil with the motor running will help the pesto emulsify a bit for a more creamy texture. Taste again and add more salt and pepper to taste if you like.
Yields about 1 cup.
How to use your pesto:
- In a vinaigrette. Combine with white balsamic vinegar, a little lemon juice and a bit more olive oil. Drizzle on grilled vegetables, green beans or new potatoes.
- On pizza. Use as a base instead of tomato sauce. Add sliced cherry tomatoes and fresh mozzarella.
- In sandwiches. Sure, you can use it on bread, but try it in a different kind of sandwich—one made with two slices of grilled eggplant or grilled zucchini. After cooking the veggies, let them cool and put a bit of goat cheese or mozzarella and some pesto between two slices for a fun appetizer or side dish.
- On pasta, of course! Toss with warm angel hair or linguine, fresh peas, and grilled shrimp. Yum.
- With fish. Top a white fish fillet like halibut or striper with a bit of pesto and some fresh breadcrumbs before baking.
- On crostini. Slice and toast baguette, spread with pesto, top with a slice of fresh mozzarella and a roasted or sundried tomato.
- With soup. Swril a little pesto into a cold carrot or potato or tomato soup. Or drizzle some into a seafood chowder.
- In a dip. Layer softened goat cheese, pesto, chopped sundried tomatoes, and chopped toasted pine nuts in a wide, straight-sided dish (4 or 5 inches across, a few inches deep). Repeat the layers. Serve with crackers or bread.
- With eggs. Add a little pesto to omelettes, frittatas, or even scrambled eggs.
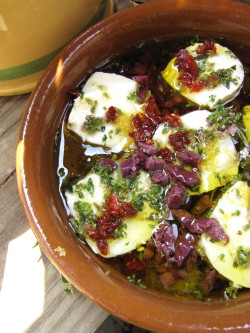
- On tomatoes. Dress up the classic tomato and fresh mozzarella antipasto with pesto instead of fresh basil and a smattering of pitted Nicoise olives.
 You meet the most interesting people. If you have a farm stand in your back yard, that is. The farm stand didn’t start out as close to the house as it is now, but there were a couple of little problems that forced our decision to move it down the driveway. On a positive note, now when people get out of their cars, they get a great view of the garden, and some even wander over to take a look at the chickens and Cocoa bunny. Also, since I am often outside working, I get to meet more of them now.
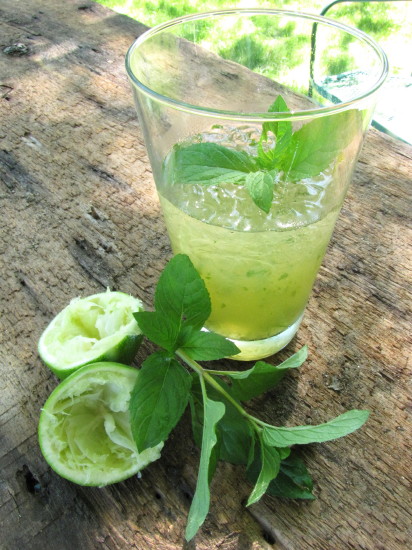
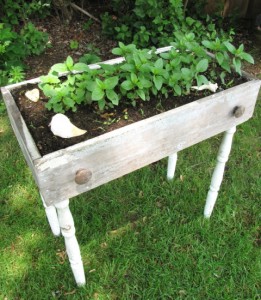 This past weekend I was chatting with a lady who’d just returned from a trip to Paris with her husband. She had her eye on our “pick your own mint” patch (which is actually mint planted in an old dresser drawer—very cute!), because she wanted to recreate a drink she had in Paris for her friends on the Vineyard. She told me it was a (non-alcoholic) combination of lime juice, apple juice, and mint, with lots of ice and a splash of soda. I didn’t get any more details, but the notion of making one of these stuck in my head because it sounded so refreshing, and I love any concoction that takes advantage of the lime-mint synchronicity.
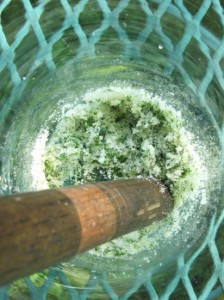 Back at my desk, I did a quick Google search of similar drinks and couldn’t find one just like that. But since the drink sounded a bit like a mojito to me, I decided to follow the method in a mojito recipe by Jen Armentrout over at Finecooking.com. I started out by using the handle of a wooden spoon to “muddle” the mint with a little bit of sugar (not too much since apple juice is sweet, also). I added a pretty generous amount of freshly squeezed lime juice, a little apple juice, lots of crushed ice and a bit of club soda. It was delicious and a dead-on thirst quencher. I drank the whole thing right up as I seem to be constantly thirsty from working outside. But I’ve no doubt you could sip on one, too (and add a splash of your favorite spirit), in the cool shade of a maple—or a palm—tree.
