Tag Archives: Sauces

Who’s Eating the Tomatoes? Call in CSI, please!

There is a scene in the Nutcracker ballet where the evil Mouse king dances with his mouse-followers beneath the giant Christmas tree at midnight. When I look at our tomatoes every morning, I envision something like this having gone on the night before. There are tomatoes strewn everywhere, little bites taken out of just-ripening cherry tomatoes, and big bites taken out of bigger tomatoes. Mr. Mouse or Mr. Rat is, apparently, also joined by his close personal friends, Mr. and Mrs. Hornworm (and all their prodigy), and a flock (or several flocks) of sparrows, all of whom enjoy illicit tomato-tastings under the light of the moon. It’s not hard to imagine how fun this is—we planted our tomatoes way too close together, so the two big rows form sort of a hedge. It’s really more like a forrest, and even I can appreciate the magical wonder of that leafy canopy when I am crawling around on my hands and knees in there looking for signs of invaders. It’s like a cool fort, stocked with candy.

Today Roy bought an inflatable owl. A big one. And stuck it right on top of one of the tomato stakes.
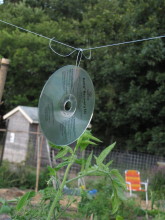
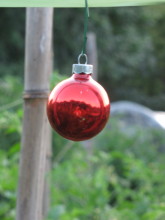
Last night, we strung monofilament line between the bamboo stakes, and hung shiny CDs and yellow streamers from it.  I also hung a few red Christmas ball ornaments around, which are supposed to lure birds into pecking at them instead of tomatoes (and thereby discourage further pecking).

Discouraging the rats and birds might work (will keep you posted). But we’ve yet to capture a hornworm. Normally, if you look hard enough, you can spot these big, ugly (and I mean UGLY) caterpillars, but we’ve looked and looked and haven’t seen one yet.

All this is incredibly frustrating, as we have 40 tomato plants, hundreds (maybe thousands because of the prolific little Sun Golds) of tomatoes ripening, and so many visitors (including POTUS, of course) coming to the Island in August, that we are looking at missing our best opportunity to make a little bit of real money at the farm stand.

In the short term, I’ve taken the advice of several farmers and started harvesting tomatoes that are just starting to blush. Apparently once they’ve started coloring, the quality will not be affected by ripening on a windowsill. (This doesn’t work with rock hard, dark green tomatoes that haven’t begun the ripening process.) This is hardly ideal, but right now, leaving anything with any color on the vine seems to be an automatic death sentence for the tomato.

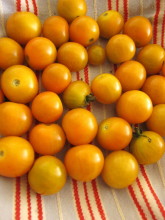
Roy remembered that putting tomatoes in a bag with an apple will help ripen them, too, so we tried that with a batch of Sun Golds.  We put them in a shallow bowl with a ripe apple cut into pieces and covered the whole thing with an upside down stainless steel bowl. In two days, most of the tomatoes had turned yellow and were heading for the even deeper orange color of a perfectly ripe Sun Gold. They tasted good, but some were still a tiny bit green on the inside. They’re best when they’re orange all the way through.

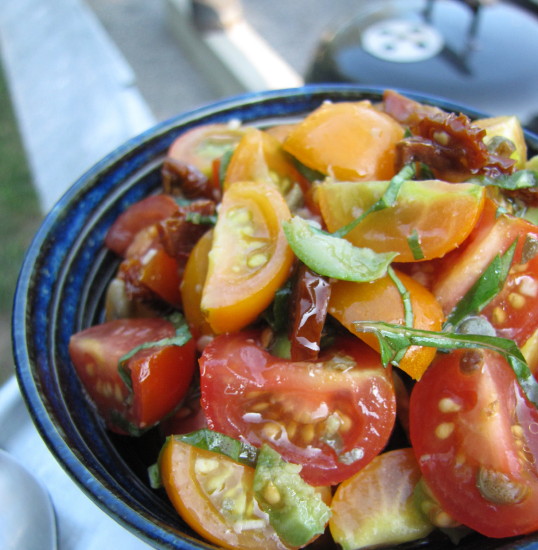
Nevertheless, we celebrated this small ripening feat by making one of my favorite easy summer cherry tomato concoctions last night. It’s a versatile dressing, kind of a loose salsa, that’s delicious over grilled vegetables, grilled meats, and even grilled bread. We had it atop a grilled sirloin and some grilled zucchini from our garden.

The version I made last night (below) is a variation on a recipe in Fast, Fresh & Green which I drape over a roasted pepper that is lightly stuffed with warm goat cheese. It’s a showcase for your tiniest, tastiest tomatoes, but it gets a depth of flavor from a bit of sundried tomato mixed in, too. The dressing has a Spanish-y feel, with a few minced capers, sherry vinegar, garlic, and sometimes a few sliced olives mixed in. I used mint and basil both last night, but any fresh herb would work. Fresh ginger is also a natural with tomatoes, so you could vary the dressing to include some ginger, too. Any way you make it, this no-cook versatile recipe is a fast flavor boost for a weeknight supper (or a weekend party). Of course, it’s a whole lot more satisfying with your own vine-ripened tomatoes, but take what you can get!
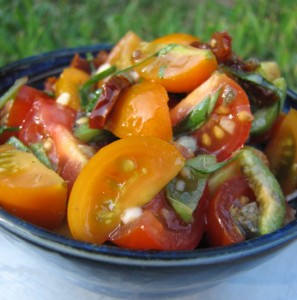
Summer Cherry Tomato Dressing, V2

Please don’t make this with those honking cherry tomatoes from the grocery store. They won’t taste great and will be too cumbersome for a salsa-like dressing, even if they’re quartered. Stick with small cherries, Sun Golds, Red Pears, and other fun little tomatoes. Be sure to get a brand of sundried tomatoes that isn’t marinated too heavily with overbearing dried herbs (I’ve had this experience—sundried tomatoes vary in flavor and quality a lot) as they might adversely affect the flavor of your dressing.

____________________________________________________

8 ounces small cherry or other tiny tomatoes, halved or quartered depending on size

3 tablespoons extra-virgin olive oil

2 tablespoons very finely sliced, drained, oil-packed sundried tomatoes

1 tablespoon finely sliced basil and/or mint leaves

2 teaspoons drained capers, very lightly chopped

4 green olives, pitted and sliced (optional)

1 tablespoon sherry vinegar

1 teaspoon orange juice

½ teaspoon minced garlic

¼ teaspoon teaspoon kosher salt

____________________________________________________

Combine all of the ingredients in a small bowl and stir gently to combine. Let sit for 10 to 15 minutes (or up to 30 minutes) to let the flavors mingle and to let the tomatoes marinate a bit. Stir gently again before serving.

Yields about 1 ¼ cups, enough to dress up four dinners

Summer’s First Basil Pesto—And 10 Things To Do With It

A nice couple stopped by the farm stand early this morning while I was still getting the veggies and herbs set up. “We’re in need of basil,” they announced. “How much?” I said. “About this much,” the man gestured, hands open as if he were about to pass a basketball. “Okay, I’ll go pick it for you if you’ve got a second. You can go take a look at the baby goats if you like.”

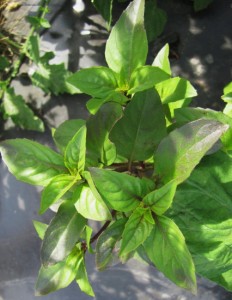
Off they went and I headed to the garden to harvest the basil. We’ve got sweet basil, lime basil, Thai basil (right), and purple basil, all flourishing in the semi-shade among the tomato plants. Those tomatoes, so spindly when we transplanted them, are now lush and vigorous, covered with little yellow blossoms and tiny green fruits. We planted 40 tomato plants, and basil between each, so basil is something we have oodles of. I was so happy to be able to go out and harvest something I grew myself and hand it over to some appreciative folks who wanted and needed it.

This whole weekend has been like that. Out by the road, we have a new sign that Roy made, and with the crush of visitors to the Island for the July 4th holiday (and those adorable baby goats), the farm stand is hopping. This morning we sold our first harvest of fingerling potatoes, and yesterday we couldn’t keep bunches of carrots around for longer than it took to pull them out of the ground.  I get goose bumps just thinking about it—I’ve always wanted to grow and sell vegetables, and now here we are actually doing it. Only wish we had planted more, as we can already see we’ll run out of carrots (and lots of stuff) well before the next planting can mature.

Now I have another dilemma. We’re going to a potluck party this afternoon, and I, of course, have to bring something garden-y, something vegetable-y—something you’d expect the author of a vegetable cookbook who grows vegetables to bring to a potluck. But I don’t want to harvest anything we can sell!! So I thought about that basil. There’s plenty of it, and the more you pick it, the bushier it gets. So last night I made my first batch of pesto for the summer.

I had the Parmigiano and the olive oil, but my pine nuts were rancid. After swearing at the Stop ‘n Shop, I decided to make pesto without nuts.  (I don’t know why I go anywhere near that grocery store, except that last weekend I had a cooking demonstration to do at Morning Glory Farm, and needed a lot of pine nuts for a Swiss chard dish. Two out of the three jars I bought were bad. Yuck. Be sure to smell nuts before you use them, and when you buy them fresh, store them in the freezer if you’ll not be using them all right away.)

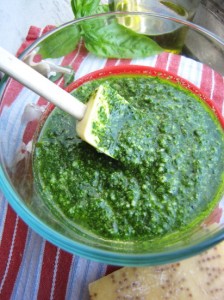
My pesto came out plenty tasty. (I added a little parsley, too, to keep it a bit greener.) So you can certainly make pesto without pine nuts, or you can substitute walnuts or almonds. But ideally, I not only like to use the pine nuts, but I also like to toast them first to pump up the flavor. Here’s the basic basil pesto recipe I usually follow (more or less!). I find the food processer easiest for making a quick pesto. Following the recipe are some ideas for what to do with your pesto once you make it.

Food Processor Basil Pesto

________________________________________

A 1-inch chunk of Parmigiano or ¼ cup grated Parmigiano

1 clove garlic

¼ cup toasted pine nuts

3 cups packed fresh basil leaves

1 tablespoon plus ½ cup extra virgin olive oil

kosher salt

several grinds of fresh pepper

___________________________________________

Get out your food processor. (I have a smallish one I like to use. Not tiny, but not huge.)

If your Parmigiano is a chunk, cut off about a 1-inch piece and process that until it is nicely grated. (Grating Parmigiano in the food processor turns it into fine sandy pebbles, giving a bit more body to something like pesto than finely grated cheese would.) Add the garlic clove and process until minced.

If you’re using grated Parmigiano (and make sure it is Parmigiano, not the pre-grated fake stuff, which will taste like dust, or worse), start by putting the garlic clove in the processor first and processing it until minced. Then add the grated cheese. Next, add all of the toasted pine nuts and process.

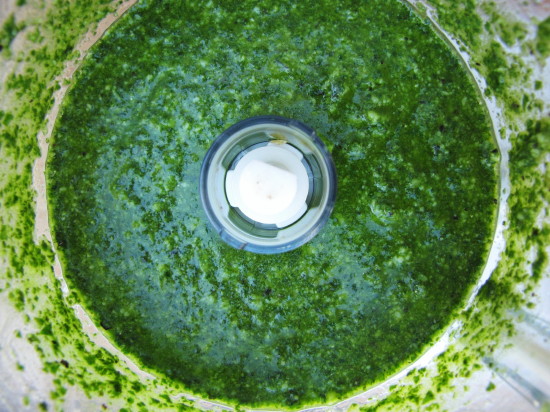
Add all of the basil, a good pinch of salt, several grinds of fresh pepper and a tablespoon or so of the olive oil. Process until very pasty. Then, with the processor running, gradually add the rest of the olive oil—or as much as you like—through the feed tube to get a nice, smooth pesto. Adding the olive oil with the motor running will help the pesto emulsify a bit for a more creamy texture. Taste again and add more salt and pepper to taste if you like.

Yields about 1 cup.

How to use your pesto:

  • In a vinaigrette. Combine with white balsamic vinegar, a little lemon juice and a bit more olive oil. Drizzle on grilled vegetables, green beans or new potatoes.
  • On pizza. Use as a base instead of tomato sauce. Add sliced cherry tomatoes and fresh mozzarella.
  • In sandwiches. Sure, you can use it on bread, but try it in a different kind of sandwich—one made with two slices of grilled eggplant or grilled zucchini. After cooking the veggies, let them cool and put a bit of goat cheese or mozzarella and some pesto between two slices for a fun appetizer or side dish.
  • On pasta, of course! Toss with warm angel hair or linguine, fresh peas, and grilled shrimp. Yum.
  • With fish. Top a white fish fillet like halibut or striper with a bit of pesto and some fresh breadcrumbs before baking.
  • On crostini. Slice and toast baguette, spread with pesto, top with a slice of fresh mozzarella and a roasted or sundried tomato.
  • With soup. Swril a little pesto into a cold carrot or potato or tomato soup. Or drizzle some into a seafood chowder.
  • In a dip. Layer softened goat cheese, pesto, chopped sundried tomatoes, and chopped toasted pine nuts in a wide, straight-sided dish (4 or 5 inches across, a few inches deep). Repeat the layers. Serve with crackers or bread.
  • With eggs. Add a little pesto to omelettes, frittatas, or even scrambled eggs.
  • On tomatoes. Dress up the classic tomato and fresh mozzarella antipasto with pesto instead of fresh basil and a smattering of pitted Nicoise olives.

I Like Mine Extra-Crispy—Roasted Broccoli, That Is

Wouldn’t you know it, I went skipping off to the grocery store yesterday, smugly thinking I’d pick up some fiddlehead ferns and/or baby artichokes and blog about cooking one or both of them this week.  The grocery store had other plans. In other words, it had neither. I swear I saw fiddleheads somewhere recently, even though I know the wild ones aren’t up yet around here. But I must have been imagining things (not surprising). I’m sure I didn’t imagine the baby artichokes; they’re at the other grocery store—the one I didn’t plan to go to yesterday.  Oh well, soon enough for both.

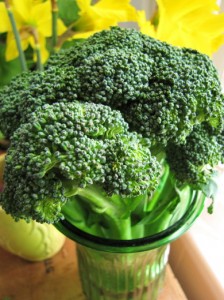
Instead I bought broccoli. I know, broccoli. But it was, truthfully, the best looking thing at the store. And I think maybe I had a tiny cruciferous craving, as suddenly I had to have several of the perky purple-green crowns to roast for our dinner. (And a couple to put in a vase near the daffodils–weird but true.) I realized, too, that I needed something I could throw together pretty quickly, with a minimum of hands-on time, as I was probably going to be unloading the rest of my groceries all night! (I’m working on three recipes for Fine Cooking magazine today.)

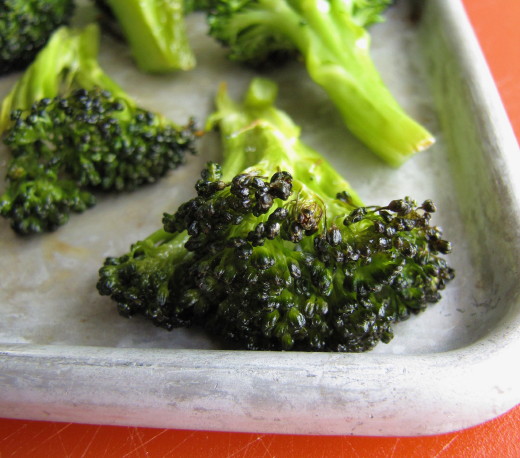
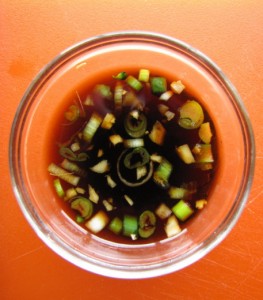
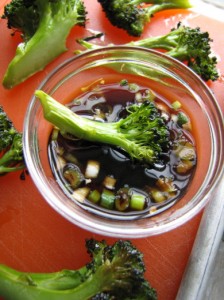
If you’re a roasted broccoli convert already, you know what I’m talking about in terms of bang for your buck. With very little effort, you get a vegetable so tasty and crispy-toasty that even the pickiest veggie-disdainers will eat it straight off the sheet pan. That’s why I usually make a dipping sauce for the florets—to encourage kids and adults alike to eat roasted broccoli just like any other finger food. Last night I made a quick soy-lime-honey-ginger sauce, but you’ll find plenty more quick sauce and herb butter recipes for roasted veg in Fast, Fresh & Green, too. (Sorry to be a tease about the book–it really will be released from the warehouse in only three weeks!)

Whether or not you’re a seasoned broccoli-roaster, you can follow some tips for the best results. First, I use a very hot oven (475°) and spread the florets out in one loose layer on a large sheet pan. The combination of high heat and good air circulation guarantees that the broccoli will roast, not steam. If you have a convection function on your oven, turn it on for roasting broccoli. When I cut up broccoli for roasting, I try to cut through whole florets to create flat sides. The flat sides have more surface area and will brown more against the pan. Lastly, I give the broccoli pieces a pretty generous coating of olive oil—again to draw the heat into the florets.

Roasted Broccoli with Soy-Lime-Honey-Ginger Dipping Sauce

You can easily double this recipe if you like, and the one-pound of florets will fit on a large (18×13) sheet pan. Any more than that should go on two sheet pans. I like to use parchment paper to line my sheet pans when roasting vegetables, but it’s not necessary here, as the broccoli will not stick to the pan.

_________________________________________

½ pound broccoli florets (from about 2 small crowns), each about 2 inches long, with one flat side

1 ½ to 2 tablespoons extra virgin olive oil

½ teaspoon kosher salt

2 tablespoons low sodium soy sauce

2 tablespoons freshly squeezed lime juice

2 tablespoons honey

2 tablespoons chopped scallions

1 (generous) tablespoon chopped fresh ginger

_________________________________________

Heat the oven to 475°. In a large mixing bowl, toss the broccoli florets with enough olive oil to generously coat them. Add the kosher salt, toss, and spread the florets in one layer, cut sides down, on a heavy, rimmed sheet pan. (A small-to-medium sized pan is fine for this amount of florets.) Roast until the florets are browned and crispy at their outer edges, and the cut sides are lightly browned on the bottom, about 15 to 17 minutes. Transfer the broccoli to serving dishes or a platter if you like.

Meanwhile, combine the soy sauce, lime juice, honey, scallions and ginger and mix well. Transfer to one or more dipping bowls and serve with the broccoli.

Serves 2 to 3