All posts by Susie Middleton

Something About October

DSC_2544What is it about October? Darn if I don’t get all gushy and grateful this time of year.

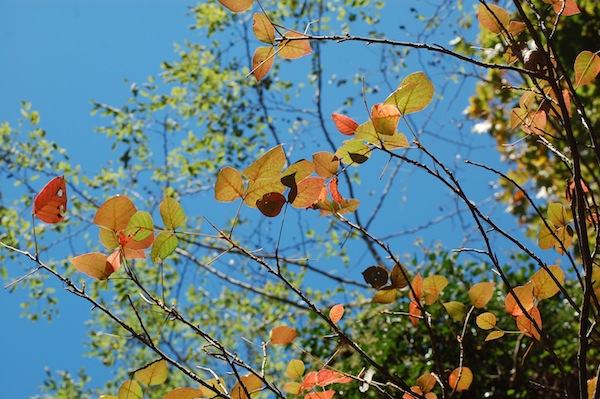
It may be just that we are finally slowly, slowly, slowly but surely winding down from summer’s hectic pace. (Whew, I am relieved). There’s time to stretch a bit, ponder a lot. Time to appreciate the magic of warm days, bright blue skies, falling leaves, and cool, crisp nights.

DSC_3019

Yes. That’s it. It’s not just the loosening up of our schedules, but the perspective it gives me on why I love this quirky life of mine. Whether I’m puttering around the farm or spending a delicious hour away from the farm with Roy and Libby at our favorite beach, I now have the brain space to realize this: I am very fortunate to spend so much time outdoors. It’s something I longed for unknowingly when I worked all day in an office.

DSC_2614

To work outside is a gift of grace, I now understand. And to be outside in October is to enjoy the world at its best.

DSC_2620

Here are some things I love about October, both on-farm and off. I bet you have yours, too.

The light and the shadows.

DSC_2055DSC_2096

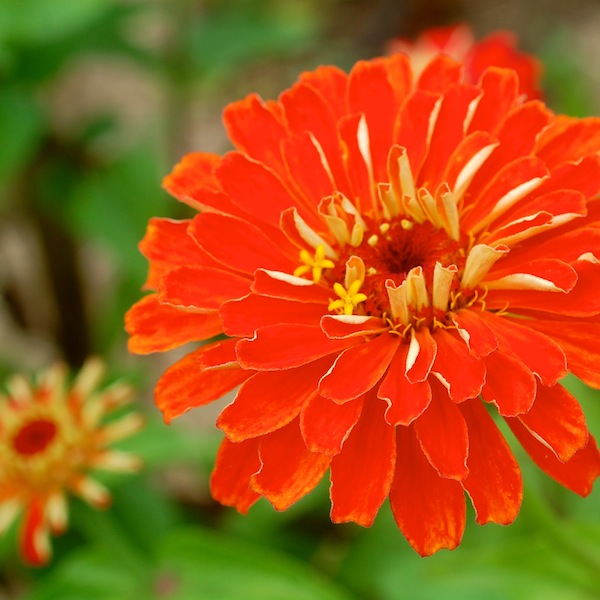
The color orange, of course.

DSC_2235 DSC_3033

Having the beach nearly all to ourselves.

DSC_2550DSC_2562

Well, almost all to ourselves…

DSC_2588


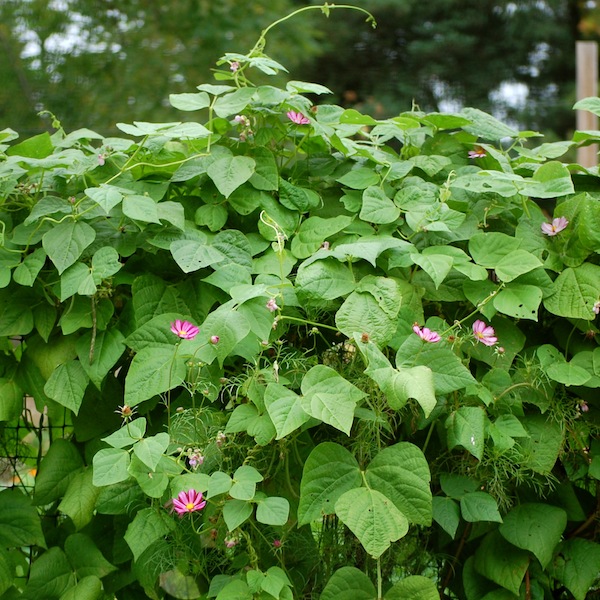
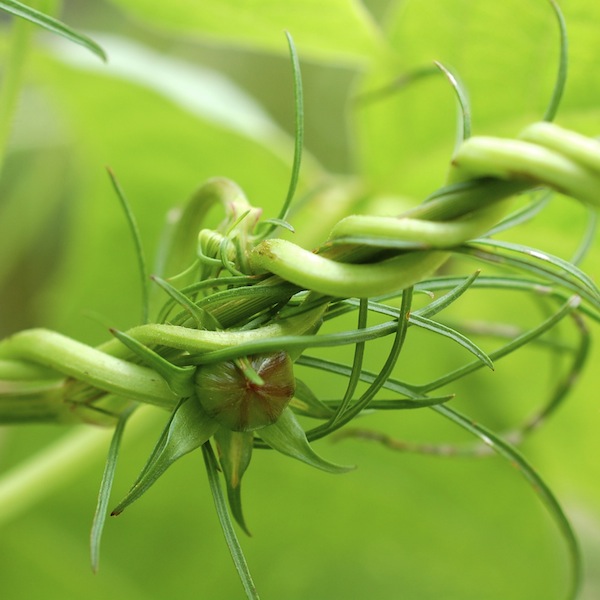
Things in the garden get all tangled up together, beautifully.

DSC_2270

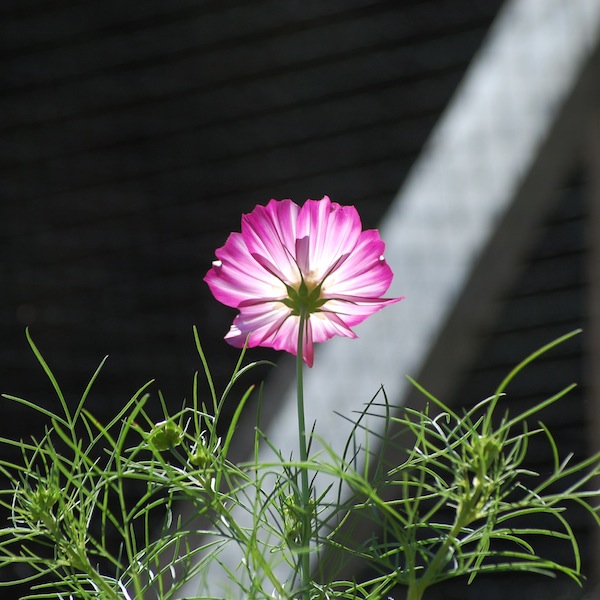
Like these cosmos and beans

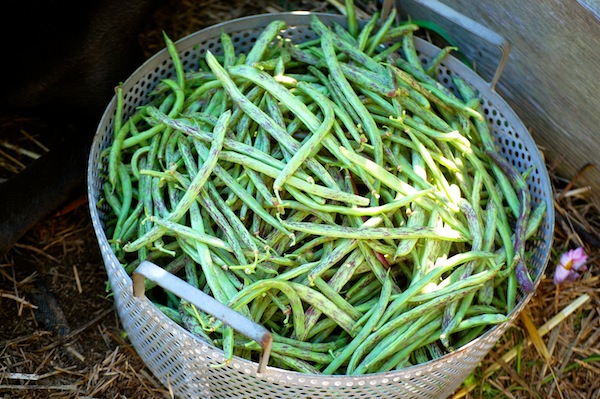
DSC_2820And the vegetables themselves are hurtling towards the last harvest hurrah, going big before going away.
DSC_2310

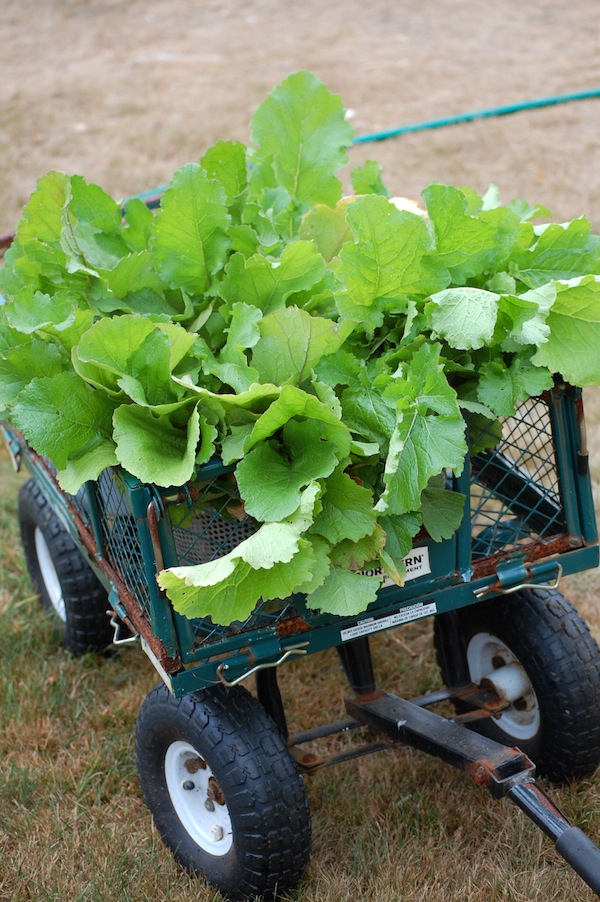
Greens love the cool nights.

DSC_2411

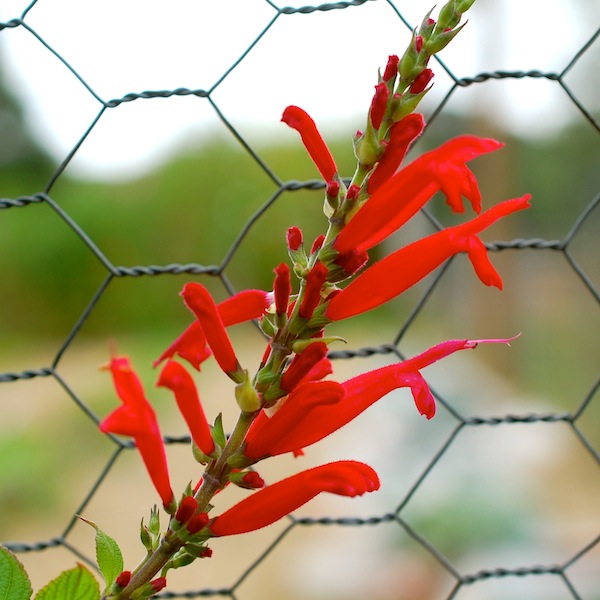
Some flowers, like my favorite bright red pineapple sage blossoms, don’t even arrive until October. Others are spent and withered, yet still some of the most interesting things on the October horizon.

DSC_2799DSC_2024

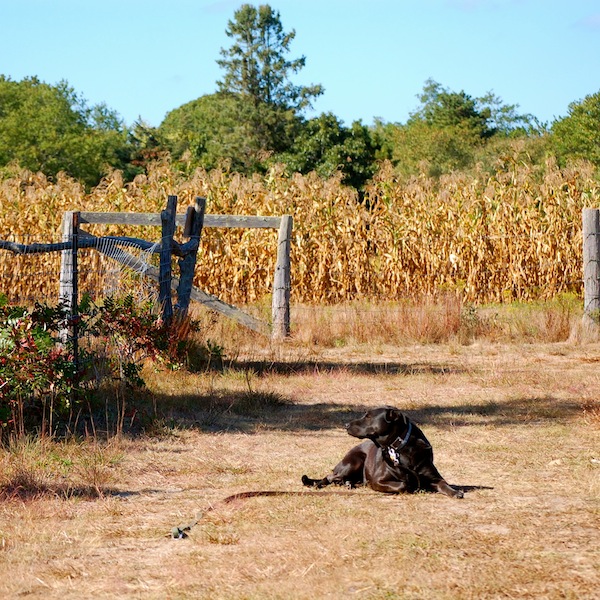
Farmer loves October, too. It’s been a busy summer. He needs to relax.

DSC_2137

October is gold and blue, warm and cool, soft and crisp. Did I mention it’s my favorite month?

DSC_2551


Our Best Turnip Harvest Ever & 3 Delicious Turnip Recipes

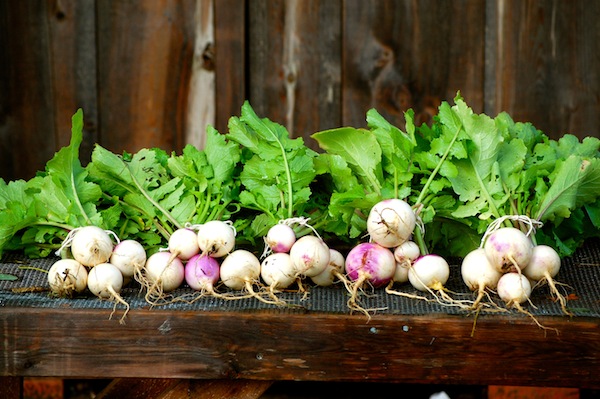
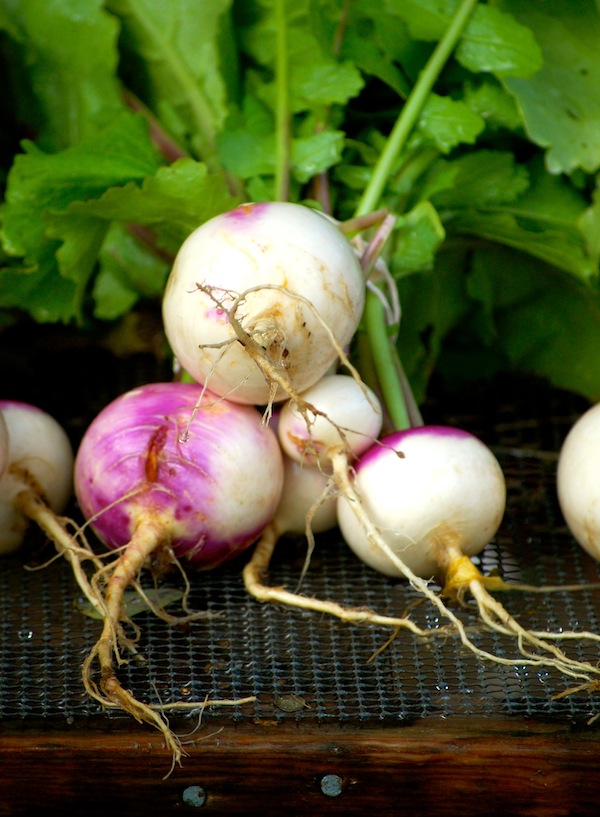
DSC_2469Flipping out, I am, about our beautiful turnip harvest. For the first time, we planted a lot of fall turnips–almost 200 linear feet, which translates to hundreds of turnips. Better still, the greens are lush and not riddled with pest holes. The bulbs are plump and beautiful and also (so far) pretty damage-free. (We harvested the first roots yesterday and more today.) With the drought we’ve had, we were forced to turn the sprinklers on every day, and I think maybe the turnips really appreciated it.

And while we still have pears in mind from last week’s post (I’m doing another batch of honey-vanilla-roasted as I write), I wanted to remind you of one of my favorite quick recipes for roasting turnips and pears together and finishing with rosemary before I forget! (I’m pretty psyched that we have pears and turnips together on the farm stand right now, but I keep forgetting to put copies of that recipe out there!) But there are two other great ways to use turnips here on Sixburnersue.com. The first is in a great-technique for a stovetop slow sauté, a recipe called Caramelized Turnips, Potatoes & Carrots, with Onion and Thyme. And the second is in a beautiful winter salad. I also have many more turnip recipes in my books, including Honey Roasted Baby Turnips with Cremini Mushrooms in Fresh From the Farm. That’s a super easy recipe. So if you stumble upon some fresh turnips this weekend at your fall farmers’ market, don’t say I didn’t let you know what to do with them!

DSC_2471

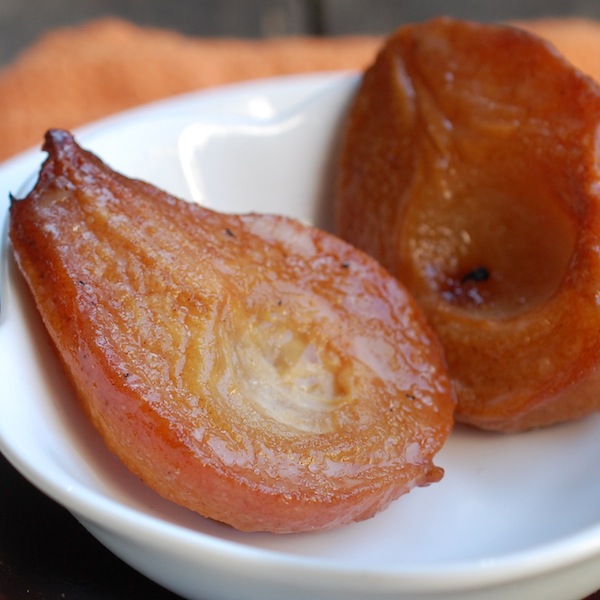
Honey-Vanilla Roasted Pear Recipe, Fresh From the Farm

35b. Honey Roasted Pears SM 4Maybe the best thing about being a cookbook author is that some of your own favorite recipes are, well, in a book! You completely forget about something, and then maybe the season rolls around and the memory of it floats back. But instead of rifling through a pile of magazine clips or trolling the internet, all you have to do is open your own cookbook to find the recipe.  (This is particularly helpful to absent-minded me, as my own record keeping system has deteriorated over the years.)

honey vanilla pears 5

Lately, recipe-memories have been bombarding me. Something about the end of summer and the start of fall really makes me want to cook, plus we have so many fruit-and-vegetable odds and ends migrating from the farm stand into the house. Mostly the recipes coming to mind are ones (not surprisingly) in the Indian Summer and Early Fall section of Fresh from the Farm: A Year of Recipes and Stories. In fact, some of my favorite recipes in the book are in that section–Winter  Green Market Meatloaf; Roasted Beet “Jewels” with Cranberries, Toasted Pecans & Balsamic Butter; Mac ‘N Cheese with Kale, Goat Cheese & Sundried Tomatoes; and Indian Summer Minestrone with Late Tomatoes and Beans, which I’m definitely going to make this week.

DSC_2354

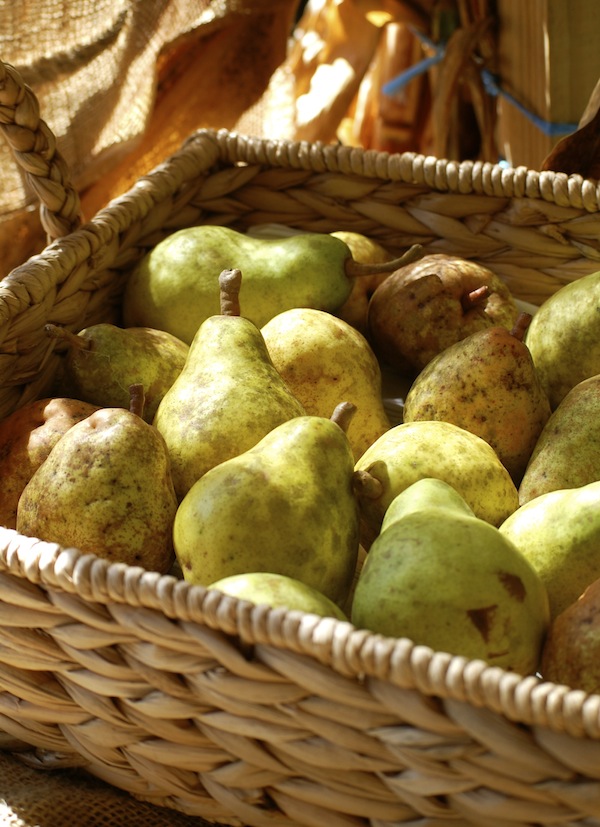
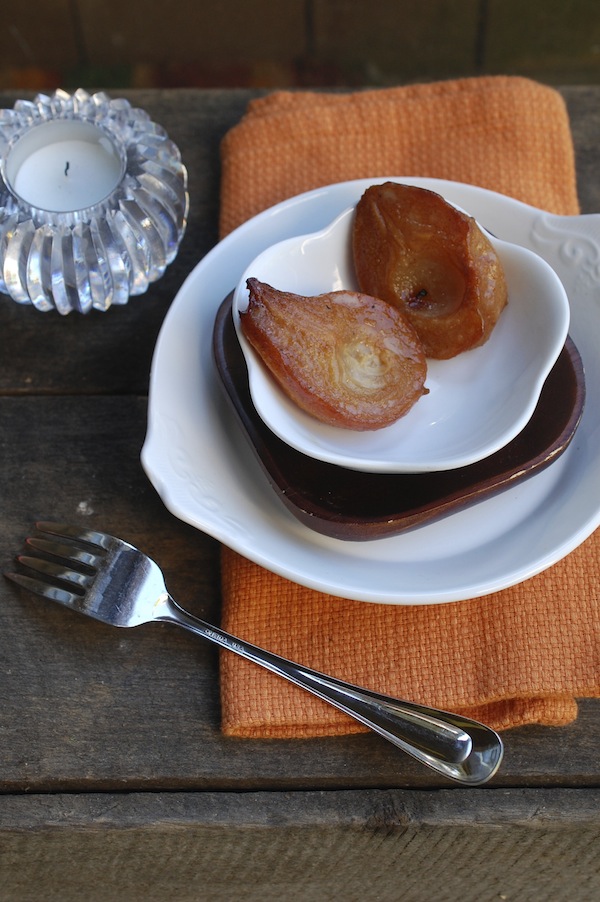
And now Roy is picking pears for the farm stand. Which means I’m getting the discards, ones with a blemish or two. I got this idea in my head that I might make pear butter out of them. I began looking at various recipes and then decided not only that the process was too time-consuming, but also that I wasn’t entirely sure how much pear butter Roy and I could consume.  Probably very little, I realized. Finally the memory light bulb went off and I thought, don’t I already know the perfect easy and delicious thing to do with these pears? Yes, of course. Roast them. With honey and butter and vanilla. A là Fresh From the Farm. So good.

MolassesCrinkleswithHoneyVanillaRoastedPearsPg.232

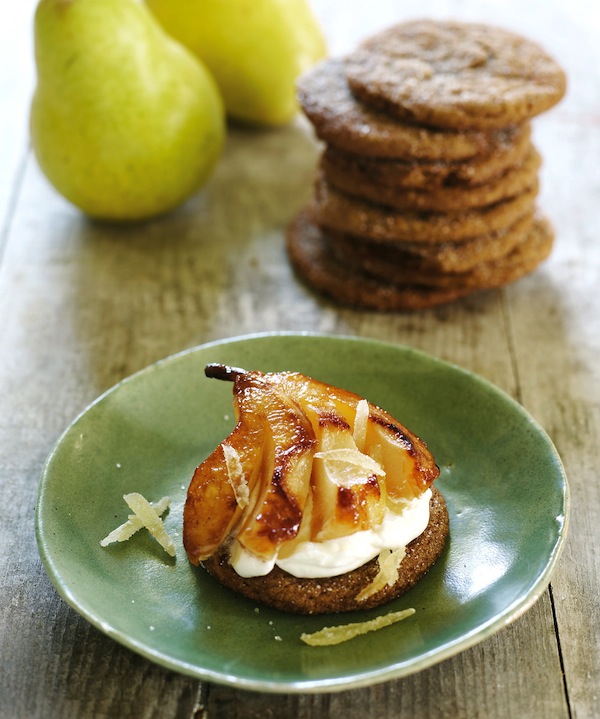
The recipe I developed for the book goes one step further and uses the pears in a totally groovy dessert that showcases the pears on a pillow of ginger mascarpone cream on top of a giant soft molasses cookie (photo above). Yep. That is a mighty good recipe, I will tell you, but in the interest of time, you can just make the Honey Vanilla Roasted Pears and you’re good to go, with or without vanilla ice cream. (I also developed a variation on this recipe for Martha’s Vineyard Sea Salt’s website. I used maple syrup and crystallized ginger instead of honey for roasting the pears, and then paired them with vanilla ice cream, chocolate sauce, and sea salt, of course.)

I thought I’d share the Honey-Vanilla Roasted Pear Recipe with you today in case you’ve lucked into a bounty of quickly ripening pears (or just have a few from the grocery store—this isn’t a big quantity recipe!). And then, if you like them, you can find the entire cookie dessert recipe in Fresh From the From!! Sneaky me. Some of my brain cells are apparently still firing, even after this summer.

DSC_9063

Honey-Vanilla Roasted Pears

We like to roast our no-name Bartlett-look-alike pears (very sweet and delicious), but an iconic Bosc makes a lovely shape when roasted, too. I think using pears that are on the smaller side is best with this method; you’ll need to extend the baking time a bit for bigger pears. Be sure to baste frequently with the pan drippings, and add a bit of water to the pan if juices are burning. The roasted pears are delicious on their own, but also great with vanilla or ginger ice cream. Caramel sauce or chocolate sauce and a sprinkling of sea salt are nice finishes, too. To serve with Molasses Crinkles and Whipped Ginger Mascarpone Cream, see p. 233 of Fresh from the Farm: A Year of Recipes and Stories.

Makes 6 roasted pear halves

______________________________________________________________

2 tablespoons unsalted butter, plus more for baking dish

3 small firm-ripe pears (6 to 7 ounces each), peeled, cored, and halved

Kosher salt

2 tablespoons honey

1 teaspoon pure vanilla extract

_______________________________________________________________

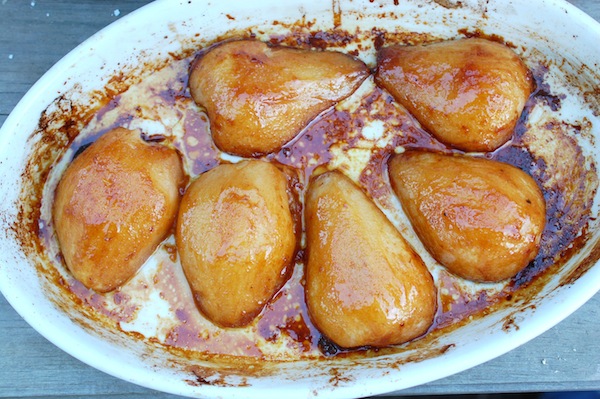
Heat the oven to 450°F. Choose a 1 1/2- to 2-quart shallow baking dish (oval is nice) that fits the pear halves comfortably but does not leave too much room around them. Butter it lightly. Arrange the pear halves, cut side up, in the baking dish. Sprinkle each with just a pinch of salt.

Melt the 2 tablespoons butter in a small saucepan over medium-low heat. Add the honey, the vanilla, and a big pinch of salt. Cook, stirring, until the honey has loosened and the mixture is warm. Use a small basting brush to brush the tops of the pears with some of the honey butter.

Bake the pears for 10 minutes, baste again with some of the honey-butter (rewarmed to loosen if necessary), and bake for 10 minutes more. (If your pears are on the larger size, bake for 5 to 10 additional minutes on this side.) Gently turn the pears over, baste with some of the butter and some of the pan drippings and cook for 15 to 20 minutes longer, basting after 5 minutes and again every couple of minutes. (When you baste, be sure to “wash” the bottom and edges of the pan with the pastry brush to prevent burning. If the pan is getting too dark, add 1 to 2 tablespoons of hot water and “wash” the pan juices again.) Cook until the pears are nicely browned all over and caramelized around the edges (you can peek underneath with a very thin spatula). Let them cool for 5 to 10 minutes in the pan and then transfer to a plate. (If you let them cool completely in the pan, the sugar will begin to harden and they may stick.) Eat right away or keep well covered in the fridge for up to several days.


Making Tomato Sauce While the Sun Shines

DSC_1006Until I moved to West Tisbury, the agricultural center of Martha’s Vineyard (that translates to small, rural town with many farms), I didn’t fully understand the origin of the expression “Making hay while the sun shines.”

Now that I am surrounded by hay fields, I’ve learned to note the passing of warm weather months according to whether it’s the first, second or sometimes even the third haying. The grass grows tall and down it goes. Cut, dried, rowed, and baled. It grows again and so on.

And I’ve also come to understand that rain and wet weather can ruin hay, so farmers look for a spell of sunny, dry weather to do the haying. Basically, they’re taking advantage of a window of opportunity.

DSC_1651It seems like there’s a lot of that proverbial “making hay while the sun shines” on a farm. For me this year it has been all about trying to do something with extra vegetables before they cross the line into compost. The race against time is especially frustrating because there is so very little spare time to begin with on a farm! (Well, especially a growing farm with only two people working on it.) The hours in between the morning and evening chores are when Roy and I try to get our other work done, while keeping an eye on the farm stand, too. (September is quieter, yes, but we’ve already sold out of eggs (30 dozen) today, so it isn’t that quiet!)

DSC_1660

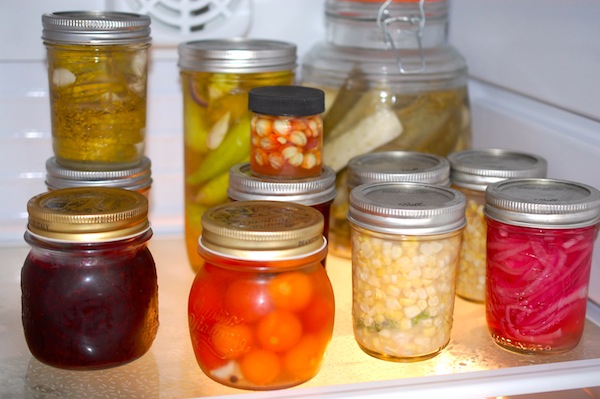
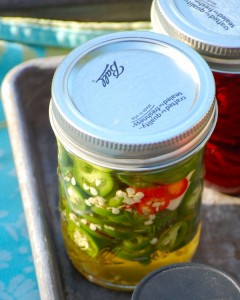
DSC_1364Fortunately I got a magazine assignment to write about pickling, so I’ve been able to justify spending some of those in-between hours making pickles. The top shelf of the mud-room fridge is now Ball-jar central. And I did make blackberry jam.

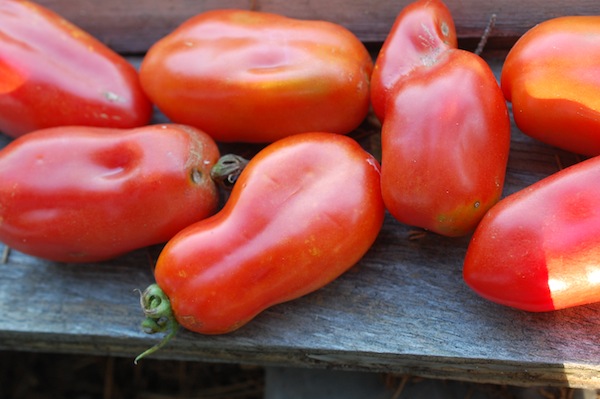
But my hopes that this would finally be the year I’d be canning lots of tomatoes and tomato sauce were a bit unrealistic. (Though we do have a stack of quart Ball jars we keep hopefully tripping over, thinking they may still get used.) For one thing, I didn’t realize that the San Marzano tomato plants were indeterminate—meaning that they yield continuously. I thought they were determinate, and I imagined that at some point they would offer up a big batch of ripe plum tomatoes, and we would then stop everything and spend an afternoon canning. Ha! Turns out they’ve been continuously ripening since mid-August, so they must get dealt with periodically (and a few dozen or so at a time).

Secondly, after a great early yield, our beefsteak and plum tomatoes all began to suffer from disease brought on by stress. (It took us a while to figure out that a pressure valve in our irrigation system was malfunctioning.) As a result, most of the tomatoes (including the San Marzanos) have been developing small rot spots as they get close to ripening. Since we can’t sell damaged tomatoes, I’ve had to think of something to do with them once or twice a week, since many are perfectly fine for the most part.

DSC_8189

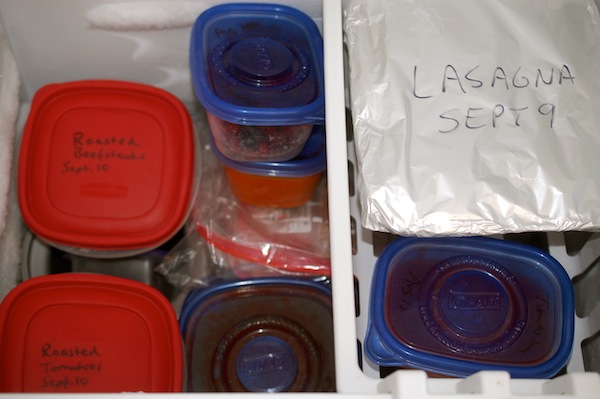
DSC_1757For any beefsteaks that aren’t too far gone, I’ve relied on my favorite technique. (Roasting, of course, but slow-roasting for these big guys.) Layered into containers, they freeze well for adding a great depth of flavor to just about anything in the winter months.

But for the San Marzanos, which still seem to be producing like crazy, I’ve been making small batches (a few quarts) of sauce for the freezer, which isn’t such a bad thing. (The freezer’s looking pretty promising, and I’m much happier with loads of tomato sauce rather than loads of pork like last year!)

DSC_1647

Making sauce so frequently has also let me perfect a tasty recipe that is easy to get started quickly so that I can do other things while it simmers away on the stove.

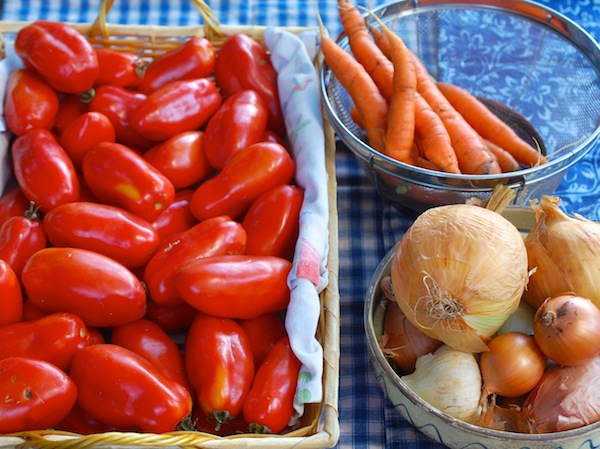
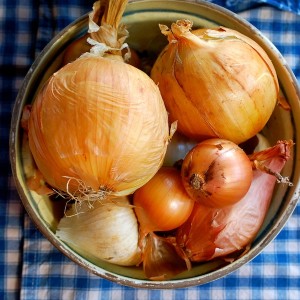
DSC_1002Here’s what I do: I chunk up a couple of our onions and several of our damaged carrots (which I have a lot of, too) and whiz them in the food processor. (I learned in my first restaurant cooking job how wonderful a generous amount of carrots can be in tomato recipes.) I melt butter (inspired by a Marcella Hazan recipe, I’ve switched from olive oil to butter in my sauce) in a big pot and sweat the veggies (salted of course) until they are soft. Meanwhile I mince several cloves of garlic and add that to the softened veggies. I sometimes add a splash of balsamic vinegar or a few red pepper flakes at this point.

Then I usually wind up taking the pot off the stove for a few minutes while I finish cutting up the tomatoes. But I don’t fuss over the tomatoes. In fact, I don’t peel or seed them—I just cut out any spots and roughly chop everything else. I add a bit more butter to the pot, add all of the tomatoes and bring to a simmer. (Usually the pot is full almost all the way up to the top.) I let the sauce bubble very gently on low heat and reduce by about half (until I like the consistency), usually between 2 and 3 hours. I stir when I walk by, of course.

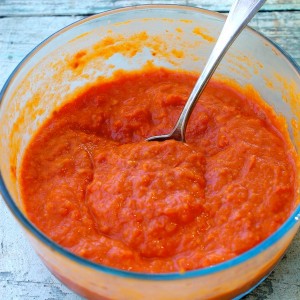
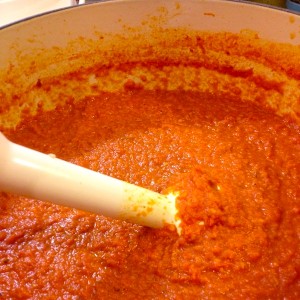
photo-106After I take the stove off the pot, I let it cool a bit and then use my immersion blender to roughly puree it so that the remaining bits of skin won’t be bothersome to anyone. Then I portion into different sized containers, let cool some more, and refrigerate or freeze. Not rocket science, I know, but it is satisfying. And at least I don’t have to wring my hands over dumping beautiful tomatoes in the compost pile.

How Much Water Does a Small Farm Need? A lot!

DSC_0185Just when I thought things were going to calm down a bit around here, a whole posse of trucks shows up in the driveway. First it was the electrician and his assistant. They’re here to update the wiring in this old farm house. This is actually a very big deal (maybe we’ll have an outlet in the bathroom!), but I didn’t realize that the work was going to start, er, this week. Already the house is even messier than it usually is with a dog, a cat, no closets, no storage space, etc. Bits of wires and plastic and plaster are everywhere.

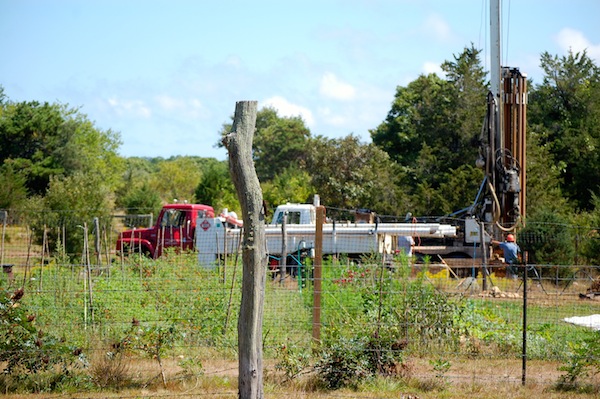
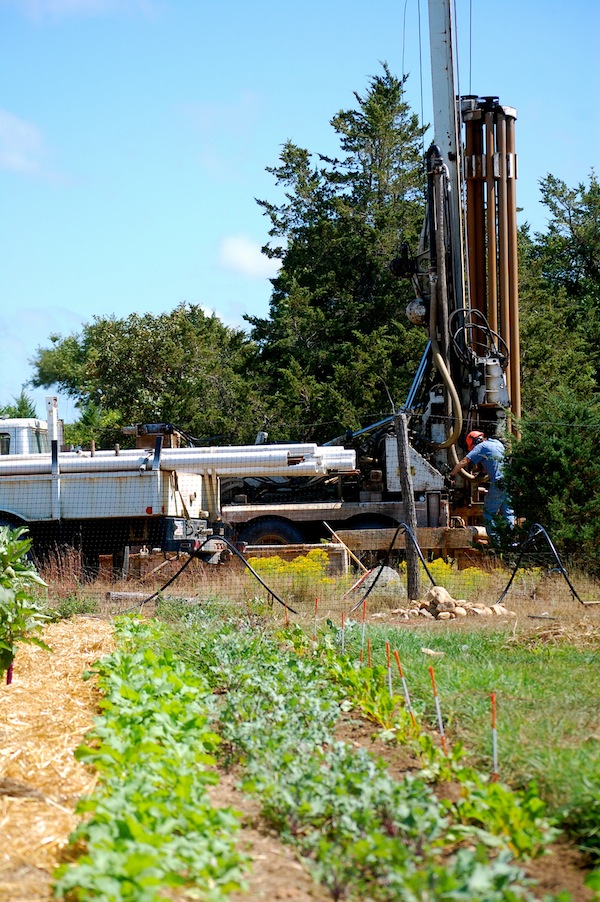
Next, I look out and see two very large trucks with very large gizmos on them pull into the lower field. The well guys are here! This is perhaps an even bigger deal.
DSC_0909

All this traffic is on top of the farm stand traffic, which quieted down after the Labor Day exodus of thousands of people from Martha’s Vineyard for maybe one whole day before picking up again. Good for business, which I have to keep reminding myself, we are in. (Business was awesome in August, if exhausting.) I am trying to test and photograph a feature for Martha’s Vineyard Magazine this week, plus put up some tomato sauce and pickles, and do my regular farm chores of harvesting, seeding for fall, and watering—so the chaos is distracting.

DSC_0769

Watering, in fact, is probably the most important thing we do all day–and why the new well is so badly needed. We could neglect everything else but that and the farm would still soldier forward. But no watering, no chickens, no eggs–and no crops (or very little).

The chickens drink an enormous amount of water—the barrels and troughs we’ve set up in the chicken yards have to be filled every day. A laying hen won’t lay if she doesn’t have enough water. (Good thing we don’t have cows—each can drink 20 to 30 gallons of water a day.)
DSC_0911

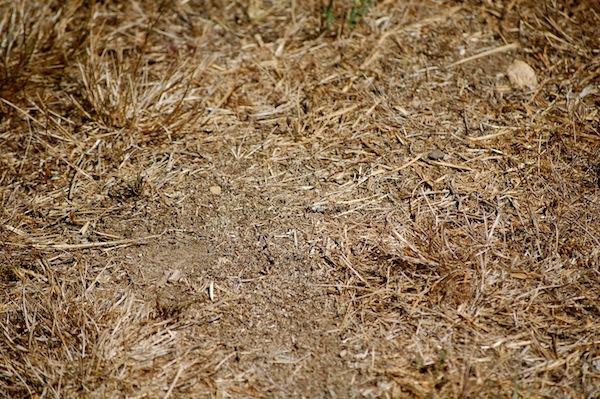
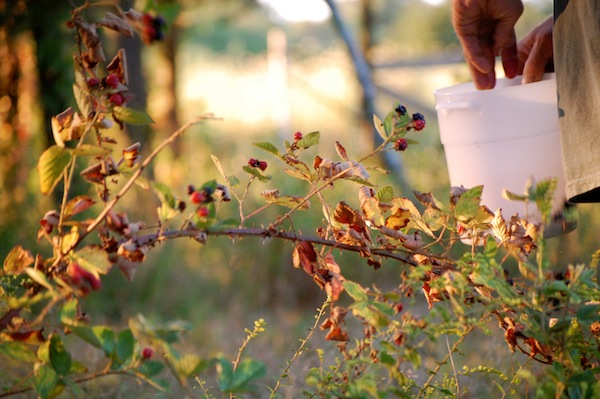
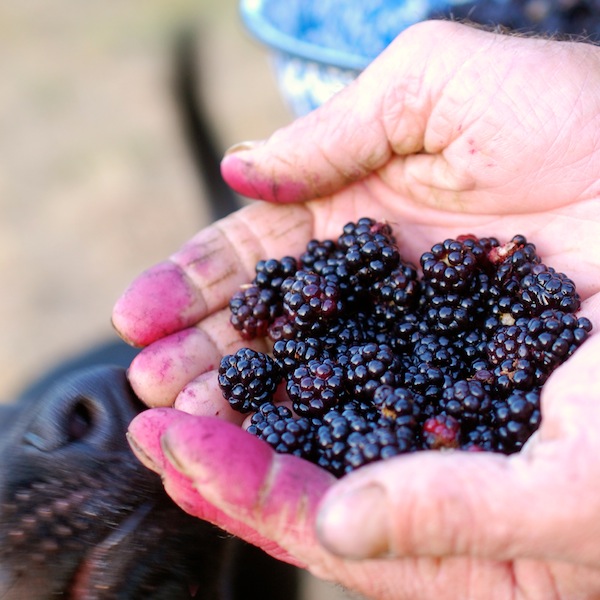
It hasn’t rained here in any appreciable way in weeks, so to say it is dry is an understatement. Every time a car comes down the driveway, a cloud of dust enshrouds it. A lot of the grass looks like the photo above. And we can tell when we go to pick blackberries now that the vines are really stressed (below), and a lot of the berries shriveled up. Also, it’s been hotter so far in September than it was in August.
DSC_0403

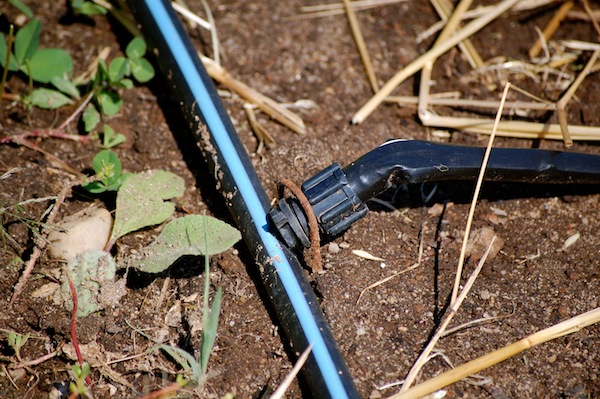
So our cobbled together system of hoses, sprinklers, drip hoses and irrigation tape has to be activated, area by area, every day.
DSC_0918

In some areas, like a seasonal seed-starting set-up, or a newly planted apple tree, we have no choice but to hand-water with the hose.
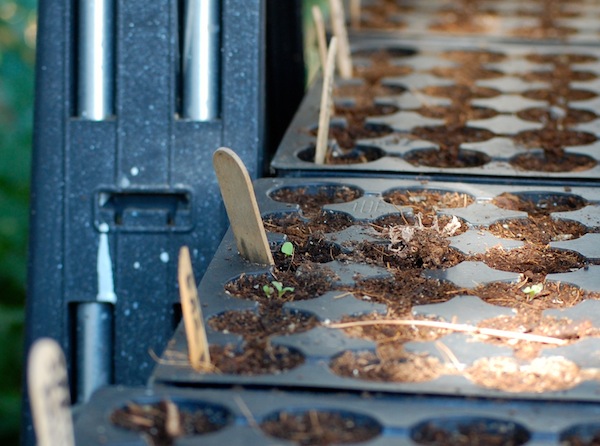
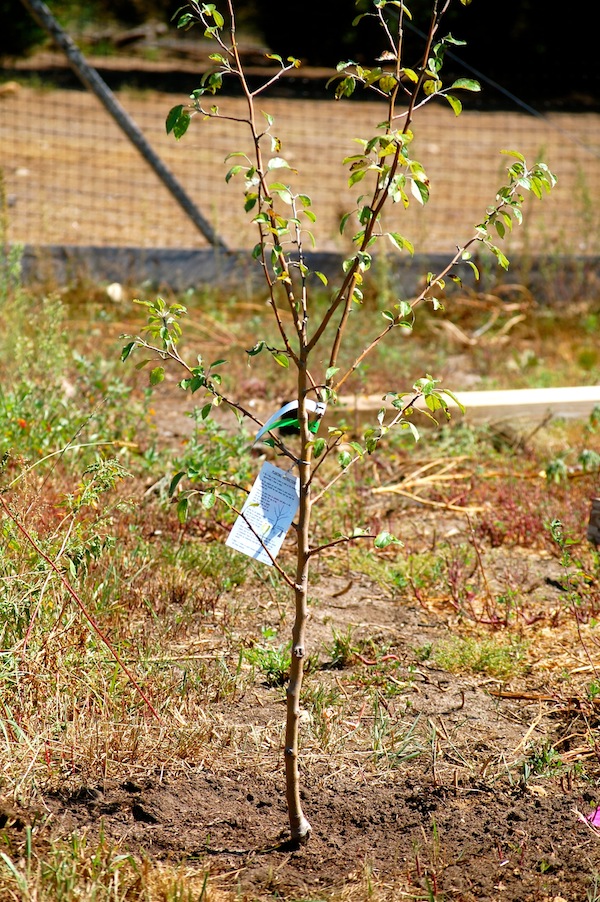
DSC_0906

DSC_0925

Basil thrives in the hoop house, but only if it is watered absolutely every day.
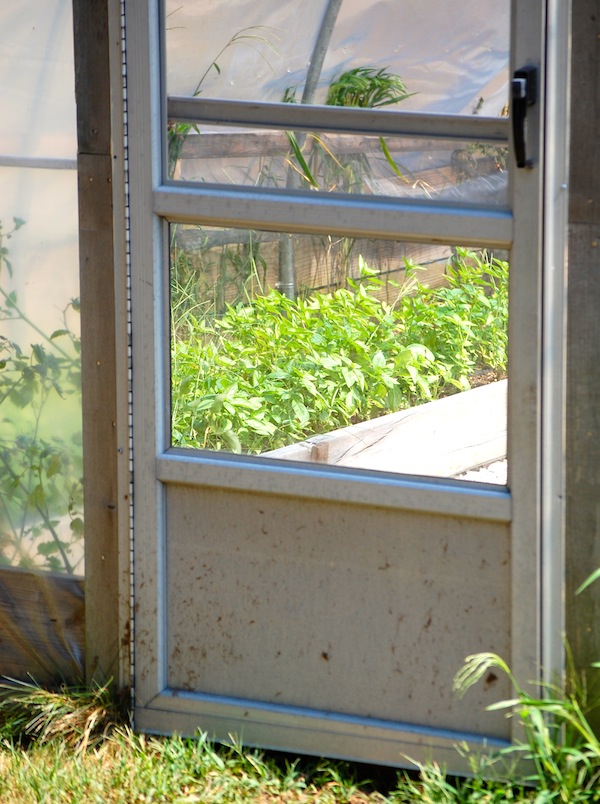
DSC_0903

Without the drip hose, this new round of arugula wouldn’t be so perky.
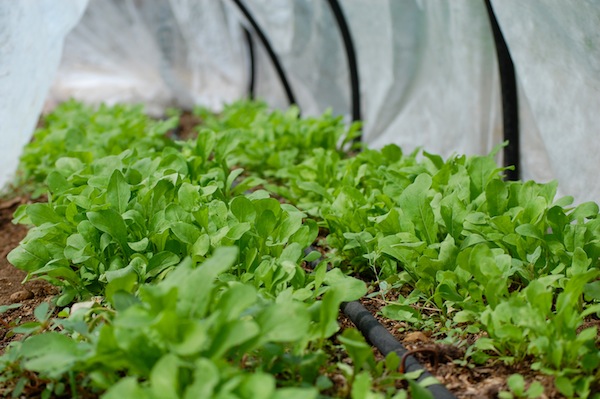
DSC_0901

Between turning everything on and off, checking, hand-watering, hooking and unhooking, topping-off, etc., it takes a while.

Plus everything is being run off of our house well. We thought Roy’s efforts at installing a new well in the lower field this spring were going to work, but a couple pieces of equipment failed, and ultimately our landlord offered to hire the guys with the big equipment to come dig the well. It just took until the end of the summer for it to get going.
DSC_0919

When the well is complete, we will have a separate water source for all the chicken areas and the lower field of crops, as well as the duck pen and the fruit trees, and we will also be able to install a few more permanent watering fixtures that will make some of the daily chores go more quickly.

DSC_0917

So I am certainly not going to complain (to whom, anyway?) about this happening right now.

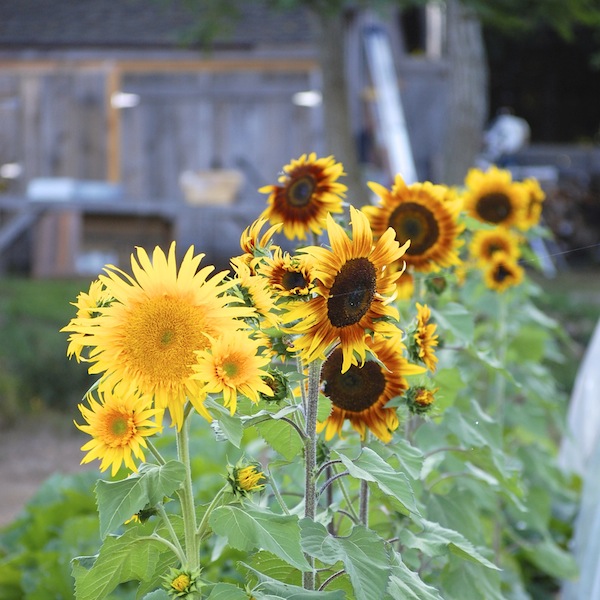
In the meantime, I’m in awe of the plants that seem to thrive even without the best attention to their watering, like these amazing Joker sunflowers.
DSC_0375

And as for the chaos inside the house? Well fortunately, I have two doors on my little office here and both are shut. Barney and Farmer are hiding out in here with me for now (the noise scares them a bit). The afternoon sea breeze has kicked up and is gently pulsing across the room thanks to opposing windows. And in another hour or so, the sun will be far enough down behind the trees for us to go out and finish those farm chores. Maybe we’ll even go berry-picking tonight. Farmer says yes, please.
DSC_0450


100 Veggie Photos in 100 Days—Done! Now 100 More, Fresh from the Farm

photo-104You might remember a few months back that I told you about a little challenge I set up for myself—to take a photo of a different veggie (or fruit or herb) on Green Island Farm every day for 100 days straight and to post it on Instagram. That was May 20—Day 1.

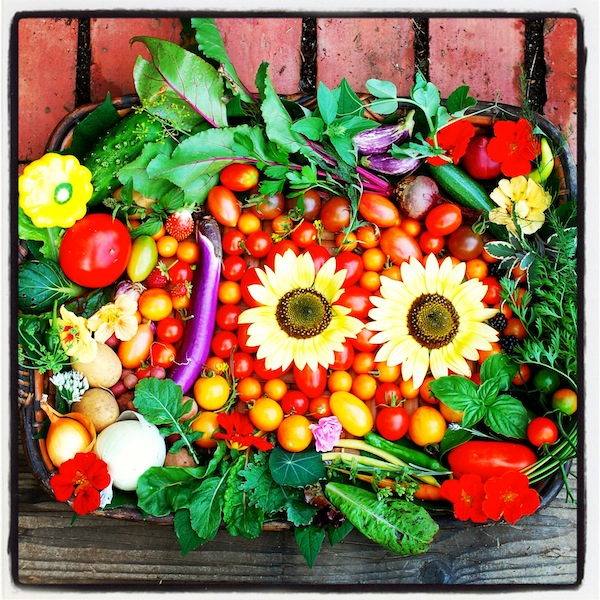
Well, Thursday, August 28 was Day 100, and I made it! I managed to post at least a different variety every day, and it was a kick doing it. For Thursday’s post (the “finale”), I did something a little different and arranged a bunch of things for the photo (above). It was kind of hokey—I spelled out “100” (sort of) with an eggplant and two sunflowers, and then filled in with assorted other veggies, herbs, and fruits. As usual, it was the end of the day and I was rushed, so I was pretty much winging it. Halfway through, it occurred to me that I should’ve tried to get 100 things in the picture! I went out and picked a few more random edibles—a fennel flower, an asparagus frond, a pea shoot—but it was too late to redo at that point. After I took the photo, I counted, and I had managed to get 67 different items in–not bad. The best thing about the photo was the cheery color.

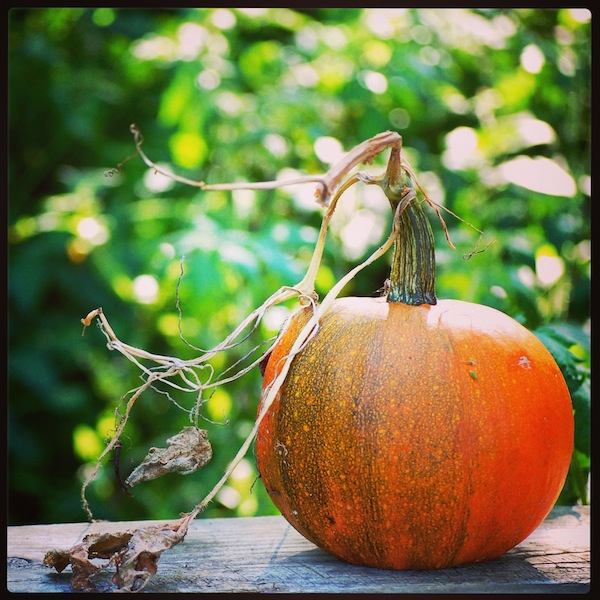
I thought it would be fun to show you, in retrospect, the photos in the #100Veggies100Days that were the most popular on Instagram and Facebook. (Keep in mind that “popular” means among my dear friends and very small group of social media peeps!). Not surprisingly, many of the favorite photos were tomatoes, but I think my own personal favorite is the little pumpkin, because of the light and the wispy vine. (See photos below.)

And I also wanted to let you know that it is not too late to follow along. Egged on by a few friends, I decided to keep going for another 100 days, only with a slight shift from strictly veggies and garden edibles to a broader look at the farm–#100DaysFreshFromTheFarm. (Yes, I conveniently co-opted my cookbook title for the hashtag! And by the way, I’m also now writing a regular “Fresh from the Farm” column for Martha’s Vineyard Magazine. You can read the latest one on beefsteak tomatoes here.)  So sign up for Instagram or “like” my FaceBook business page, Susie Middleton Cooks, if you’d like to travel through fall on a small farm.

And here’s that look back:

photo-101

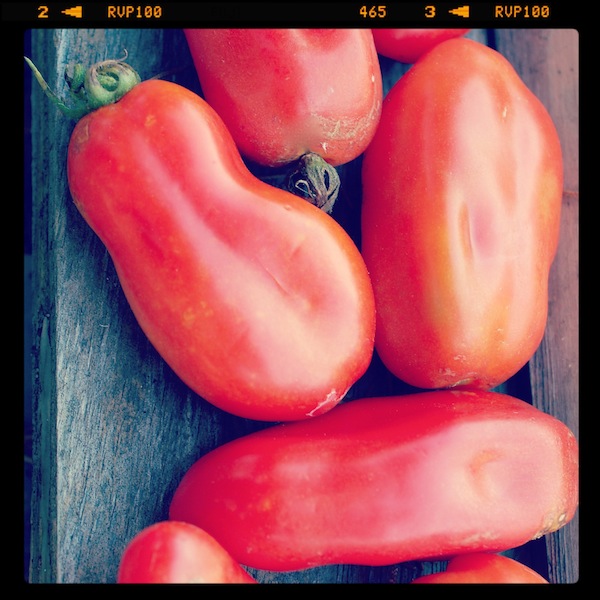
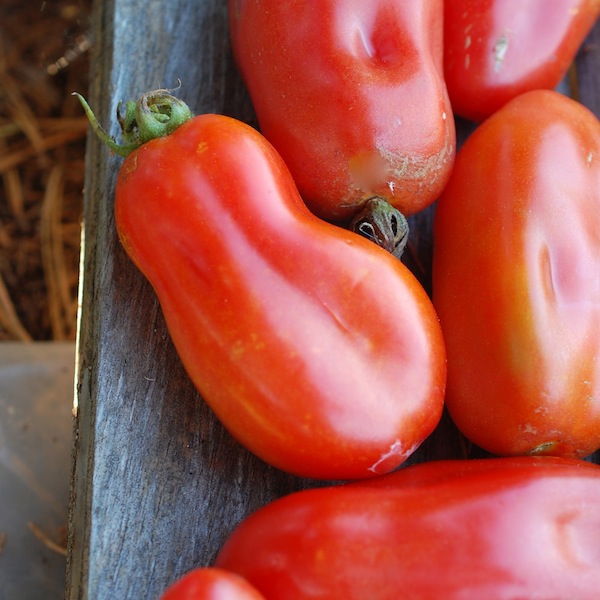
San Marzano tomatoes, most “liked” photo of all!.

photo-95

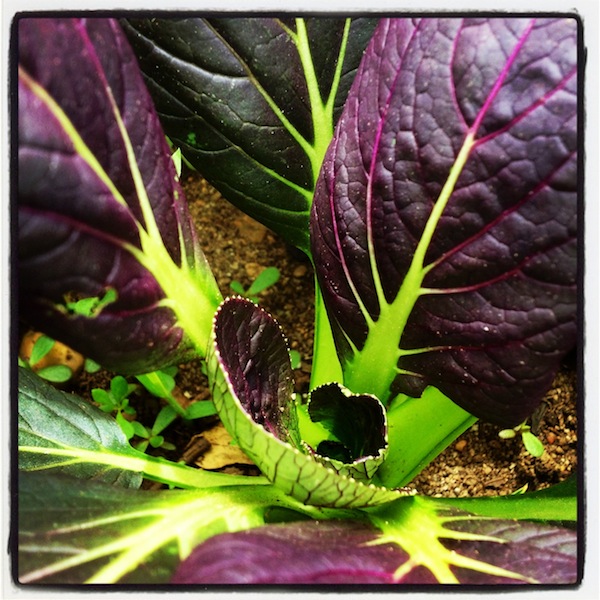
Purple baby bok choy.

photo-96

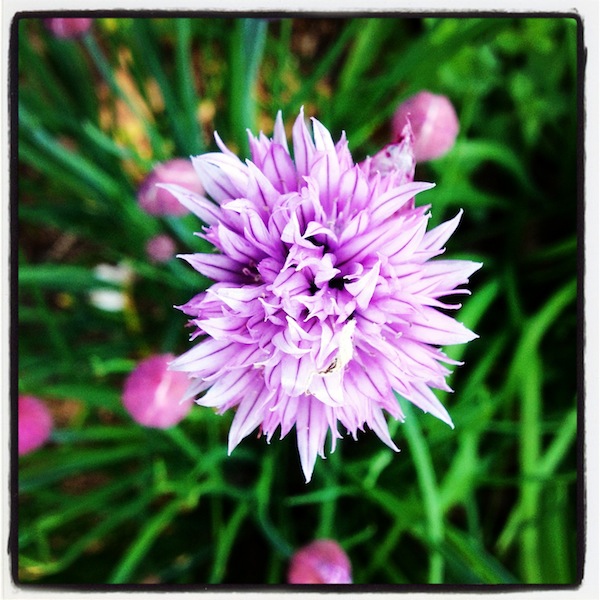
Chive Blossom (this was Day 1!).

photo-103

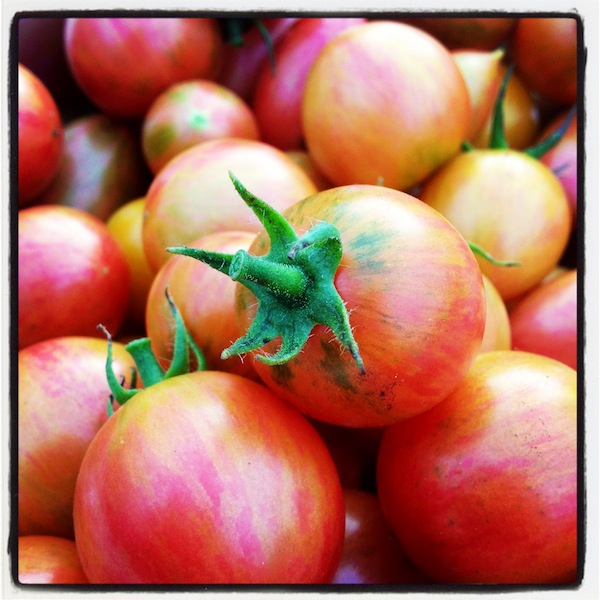
Sunrise Bee, one of the Artisan series tomatoes.

photo-99

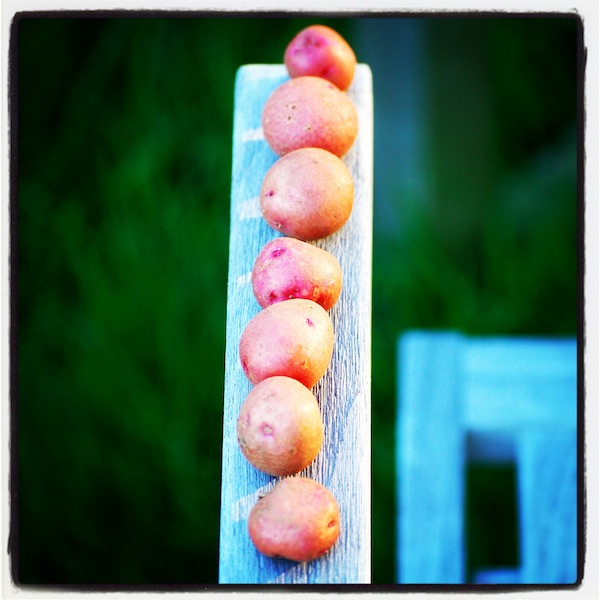
Red Gold potatoes.

photo-105Jimmy Nardello heirloom sweet pepper.

photo-102 Little volunteer pumpkin.

photo-97

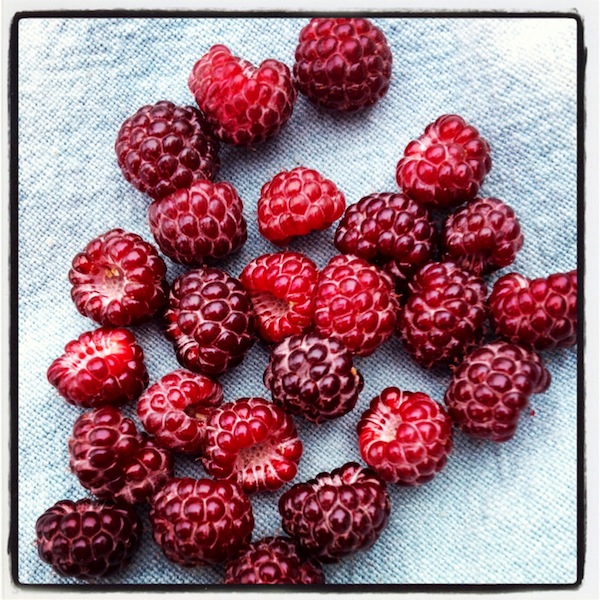
Black raspberries at the bottom of a cardboard pint box.

photo-98

Orient Charm eggplant in good company.

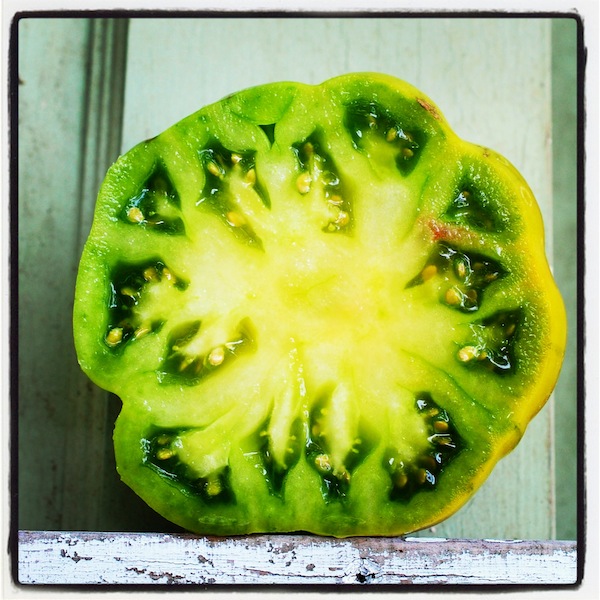
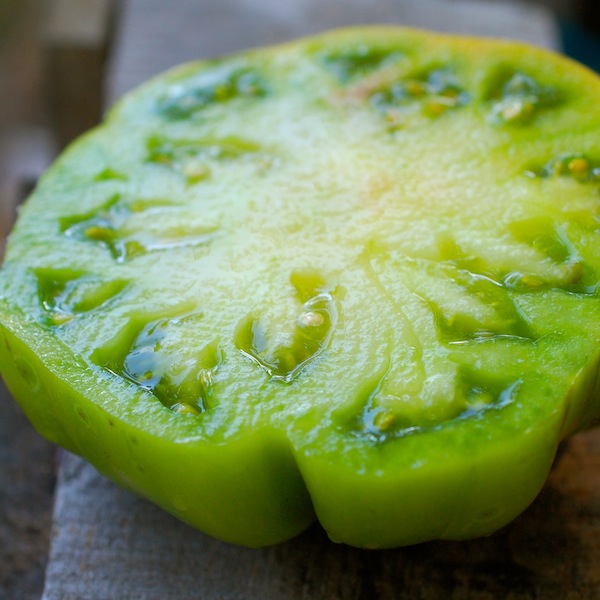
photo-100German Green heirloom tomato.


See you on Instagram!

P.S. The latest photos show up every day on the home page of sixburnersue.com, too.


Making Memories at the Fair

signs

Every August you nice people put up with me writing about the Fair—my excitement, and my ensuing exhaustion. This year, well, you’re in luck. It was such a busy week with so many late nights and really early mornings getting everything harvested and the farm stand set up, that I missed posting entirely last week and now can hardly put a sentence together.

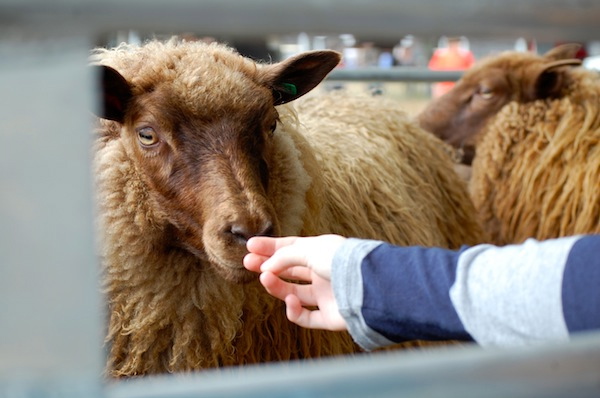
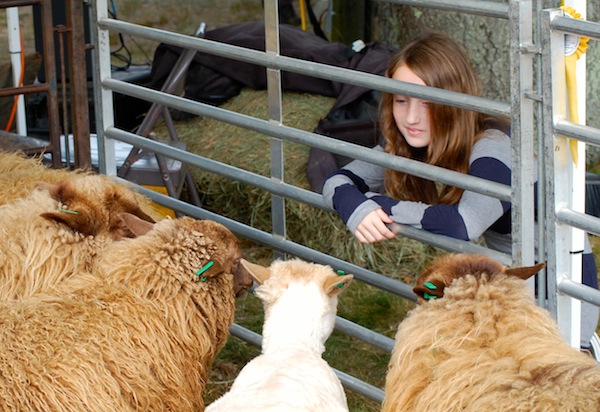
sheep arm

I will say just this one thing, and then leave it to all the pictures of the ridiculous food we ate, the ribbons we won, and the animals we admired. That thing is this: The theme of the Fair this year was Making Memories at the Fair, and I realized today that this is exactly what Roy, Libby, (Farmer) and I have been doing since we moved into the farm house in 2010 and started crossing the street every day, several times a day, for four days in a row, the third week in August.

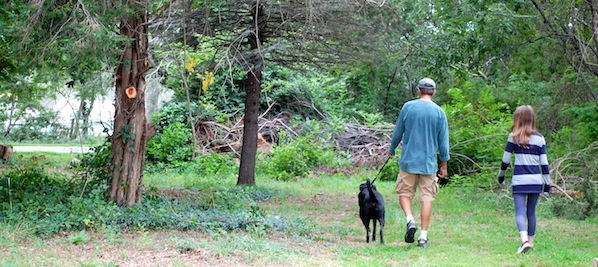
on our way

The Fair has become our only break from the farm in the high season—a mini vacation just across the street, and one in which we relish doing nearly the same exact thing (with slight variations) every year. I have the photos to prove it, of course, and I hope they will be fun for Libby to look at some day. For me, looking at the last few years of them now, the most startling thing is watching this little girl grow up so fast.

DSC_9081

So I’ll start with our healthy food choices:

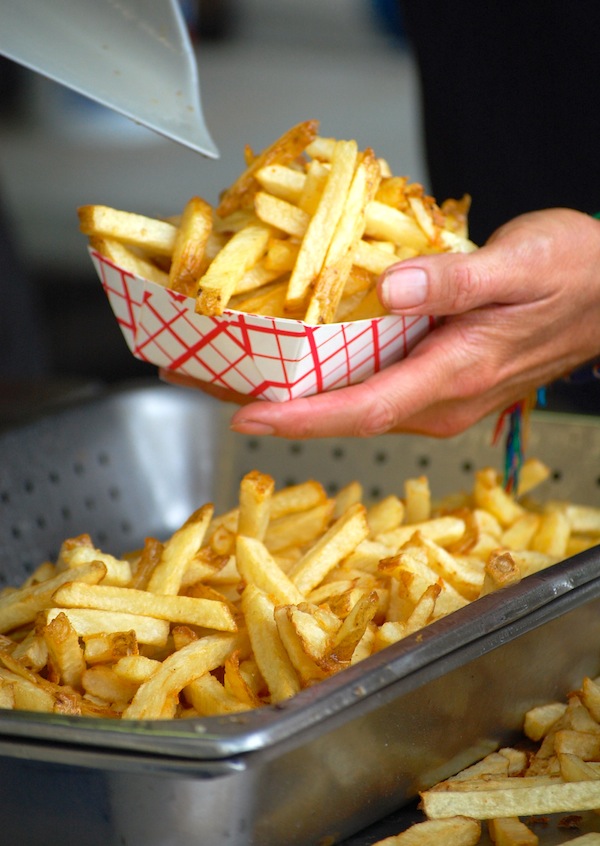
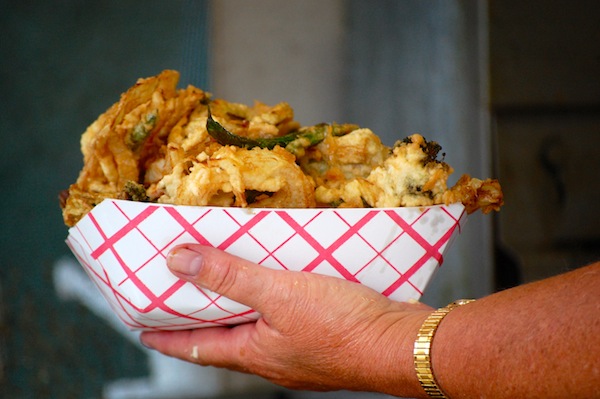
DSC_9080 DSC_9090

Famous Fair fries. Famous Fair Veggie Tempura.

Next, the animals.

DSC_9107 DSC_9694 DSC_9671

DSC_9151 DSC_9189 DSC_9150

Libby still wants to be a Vet.

Okay, there were rides and games and stuffed animals, too.

DSC_9699

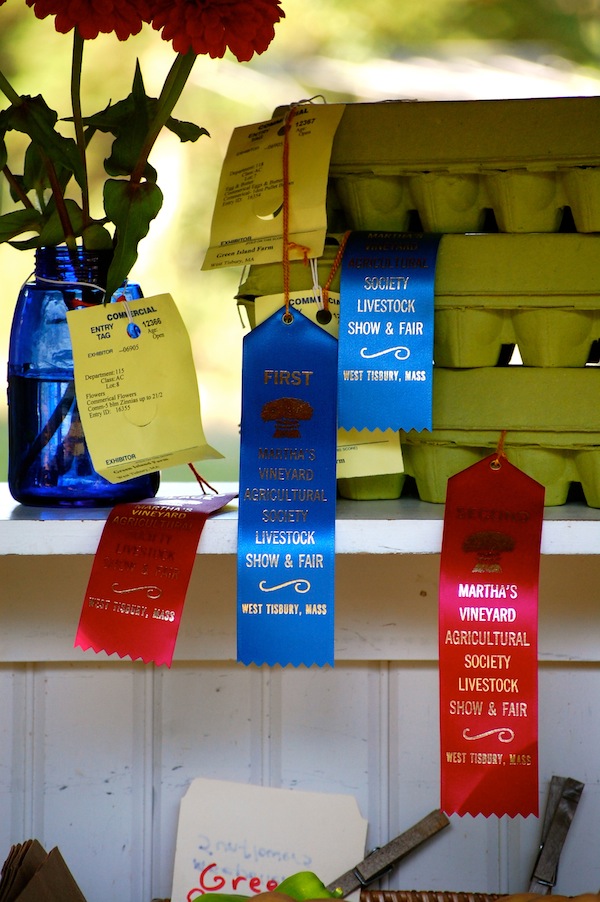
And not necessarily best of all, but certainly wonderful: Eleven ribbons for us this year! (That’s a record, I think.) Six blue, four red, and one white. First place for yellow onions, plum tomatoes, carrots, blackberries, large brown eggs and pullet eggs. Second place for red cherry tomatoes, zinnias, cosmos, and Junior brown eggs. Third place for yellow cherry tomatoes.

DSC_9722

Roy hung up the ribbons back at the farm stand. They’ll stay there for a while, then head off to the place where the rest of the memories live. But this year, Libby took home a Fair poster to hang in her newly redecorated room. Next Tuesday she starts an exciting adventure at a brand new school. Things change and grow, I know. But memories (maybe lightly polished or gently rearranged) remain.


August on the Vineyard—and Five Favorite Tomato Varieties


DSC_7835

Yesterday, I witnessed a traffic jam out front on State Road. A horse pulling a buggy had just trotted out onto the road from the Fair grounds. In front of him was a tractor fresh from haying the field next door. A moped was coming one way down State Road, a bicyclist going the other—and two or three cars trying to pass them all at once. (Note—no one was hurt here.) A few minutes later after all that was sorted out, the Presidential motorcade flew by.

That pretty much sums up what it is like out here in August.

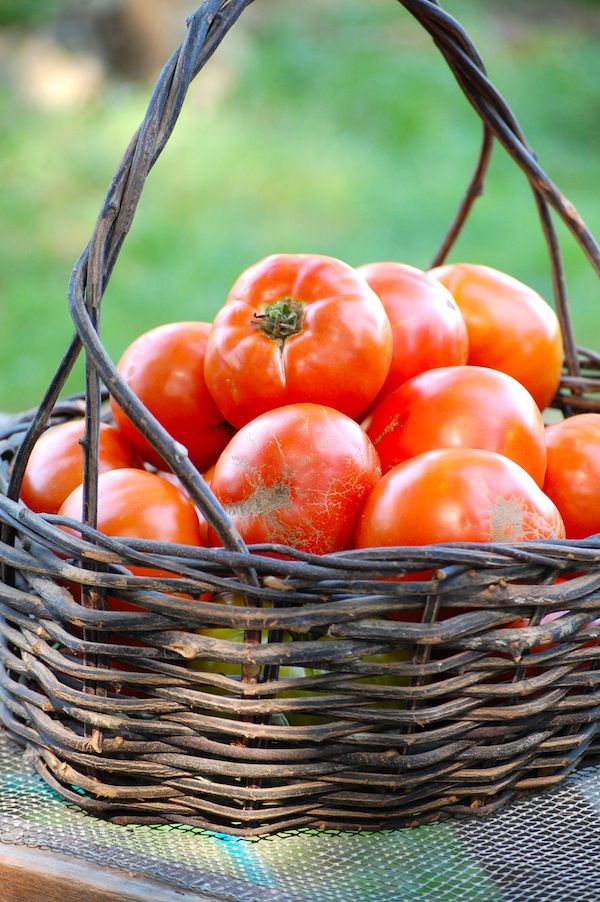
DSC_8303The other reality is that there is a traffic jam at the farm stand every day. This is a very good thing for business, but a very bad thing for trying to find time to do anything (including sleeping, eating, showering—that sort of thing) else. What we do mostly is harvest (and put stuff in baskets). Pick-pick-pick-pick-pick. (The photo at right is an evening’s haul of tomatoes in the farm stand processing area.) But we are also, of course, trying to keep everything alive (watering, killing pests) and plant fall crops—turnips, arugula, etc.—at the same time.

So there is really no time to do things like write blogs. So I thought I’d share some current tomato favorites with you as a substitute!

DSC_8129 Heirloom German Green.  My friend Katie Cannon sent me this seed from Virginia. This is the second year we’ve grown it, and it is hands-down the best tasting tomato in our bunch. Tangy without being acidic. Smooth and luscious.

DSC_8118

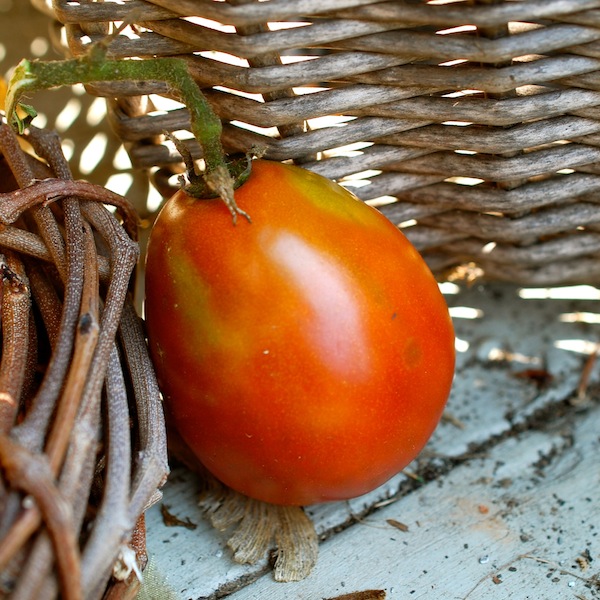
Black Pear. This is the other seed Katie gave me. All the fruits have sun-scald due to a foliage issue we’re having. So only the bottom two-thirds of the fruits are ripe. Hence, I am not selling them, just keeping them all for us to eat (too bad). Rich, dark flesh with deep tomato flavor.

DSC_8160San Marzano.  The original Italian sauce tomato. These are starting to ripen seriously and I am so afraid they will all ripen up at once and not leave me time to make sauce with them. I’ve cooked with just a few of them and the flesh is amazing. When they get really red-ripe, the flavor is seriously fruity, too.

DSC_8571

Jet Star—We’ve never grown this old standby before, but I admired my neighbor’s so much that I decided to try it this year, still looking for the perfect farm stand beefsteak. While not as impressive in size as something like a Burpee Supersteak, Jet Star’s fruits are big, round, juicy–and abundant. Great yields–it’s a keeper.

Sweet 100 (or Sungold). (Okay, that makes six varieties. Both are pictured in the small photo above in white bus buckets.) Roy and I both go back and forth about which of these two cherries is our favorite. A Sungold when ripe is absolutely unbeatable in flavor. But the Sweet 100s yield and yield and yield—big droopy branches of dozens of red tomatoes. And when they’re perfectly shiny red, the flavor is more deeply tomatoey than a Sungold. Both are keepers for us—we’ve grown them every year and always will.

Happy August!


When Life Gives You Splitters, Make Tomato Confit

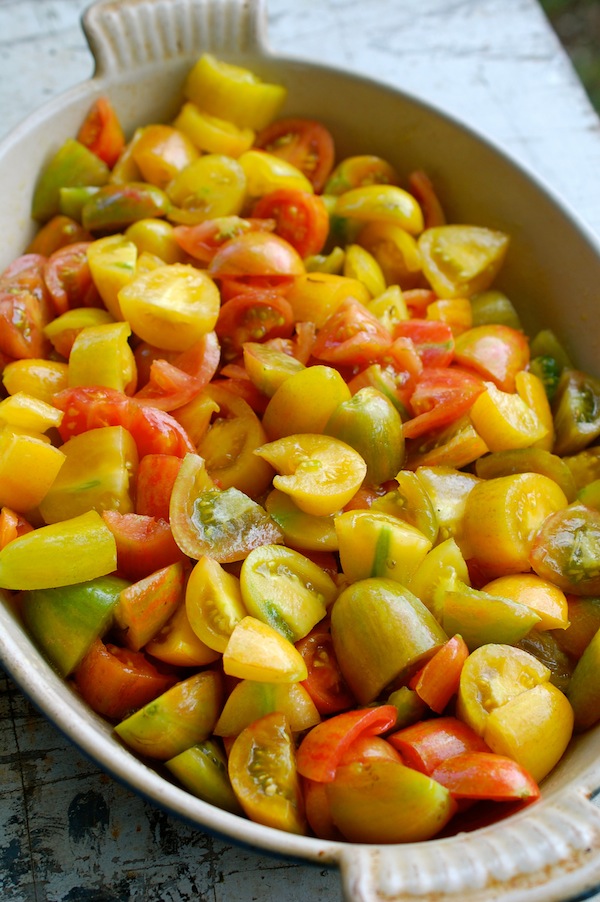
DSC_7815We’re growing a new variety of tomato (which shall remain nameless at this point, as it is not proving itself to be all that it was cracked up to be!), which tends to split. Especially after a lot of rain like we just had. (To be fair, there are some delicious tomatoes that have this trait. Inconsistent water wreaks havoc with tomatoes.)

I don’t like wasting all those splitters. Sadly, we used to feed them to Martha, Opti, Oreo, Sugar and the rest of our original hens. But they are no longer with us, and throwing one bowl of splitters into a yard of 200 hens is hardly fair, so I’ve had to think of other solutions.

DSC_7753

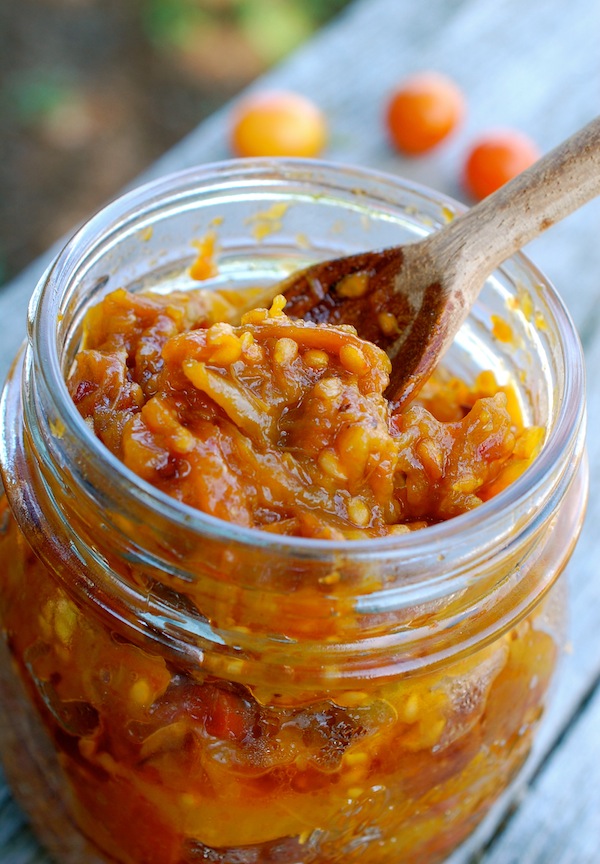
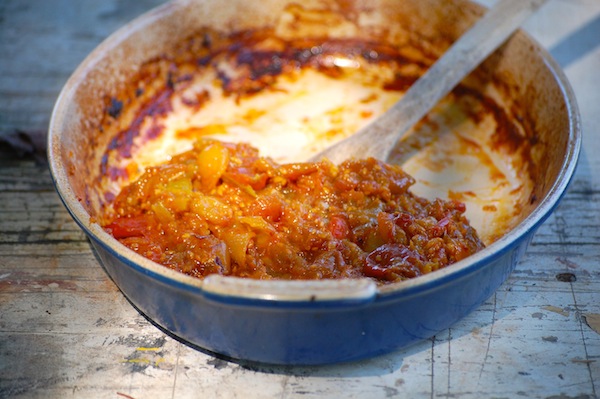
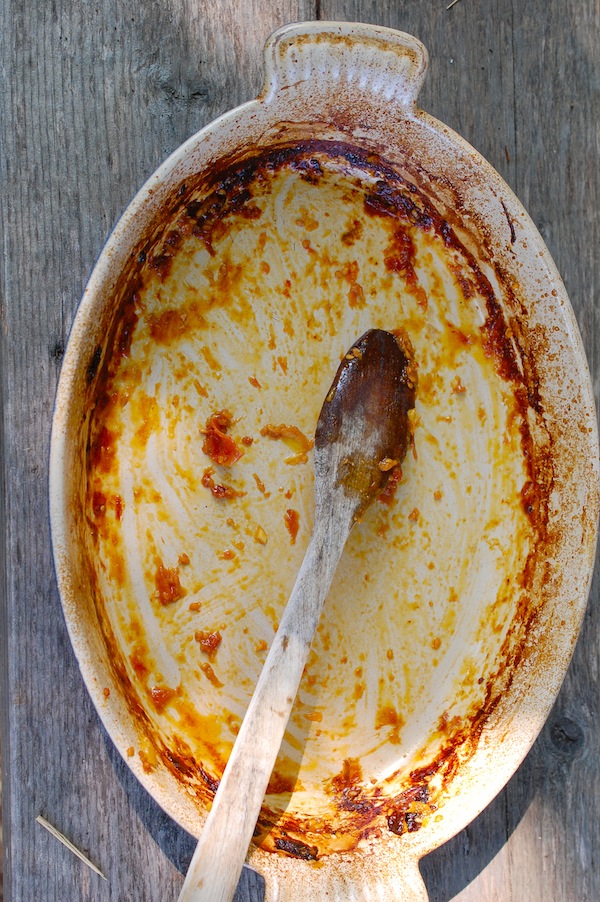
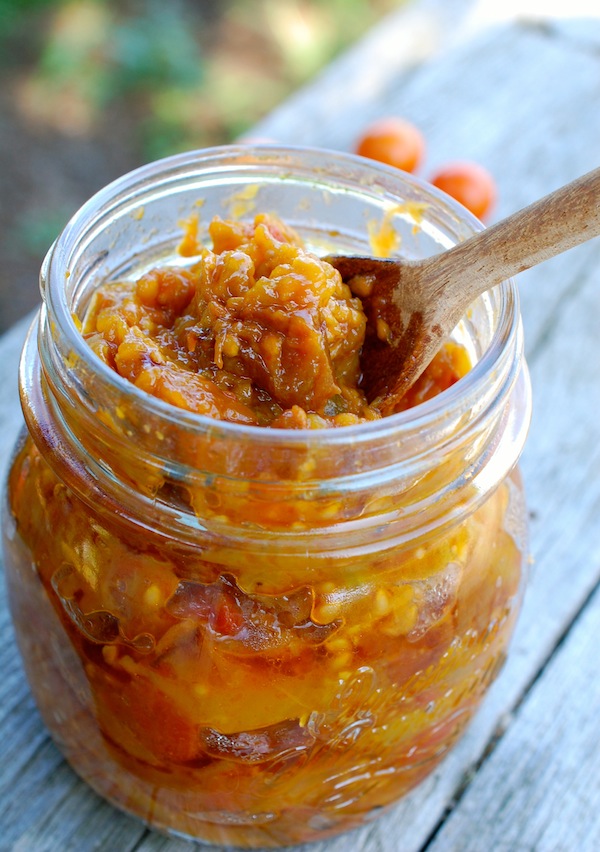
This week I simply cut them all up into chunks, tossed them with olive oil and salt, put them in a heavy roasting pan, and cooked them for about 2 hours at 300°. I checked on them from time to time, stirring and scraping. I cooked them until a lot of the moisture was gone and the texture was kind of jammy. At the very end, I folded in a little minced fresh garlic and a mixture of a small amount of balsamic vinegar and honey, and let the garlic soften and everything infuse for a couple minutes in the oven.

DSC_7772

I left the cooked-down tomatoes to cool for a short spell in the pan, and then tasted. Delicious! Even though these tomatoes didn’t start out with a very robust flavor, roasting them down concentrated their flavor (as roasting always does!). The result was kind of a confit (really just a tomato jam or conserve), though with seeds and skins left in, it might not be everyone’s cup of tea. The seeds and skins don’t bother me, and considering how dead simple this is—and that it greatly extends the life of a bunch of tomatoes that otherwise would probably rot before you could eat them—it’s a no-brainer. You could literally do it with any tomatoes, any time.

DSC_7782

I put the confit in a cute jar just to photograph it—I was not intending to can it or keep it for very long. But I imagine it will keep at least a week in the fridge and would freeze just fine for longer. We’ve put it on top of grilled bread with warm goat cheese, and I’m planning to use the rest in a baked pasta. You could put some on top of scrambled eggs or in a quesadilla (yum), top a pizza or use it as a base for a flavorful rice dish. Why not?

DSC_7820


How to Cook a Pattypan, A Shisito, A Fairy Tale, A Fingerling

DSC_7564

We’re growing a few fun and different veggies this year—in addition to the old favorites—just to keep things interesting. (Fun and different=Cute names, too!)

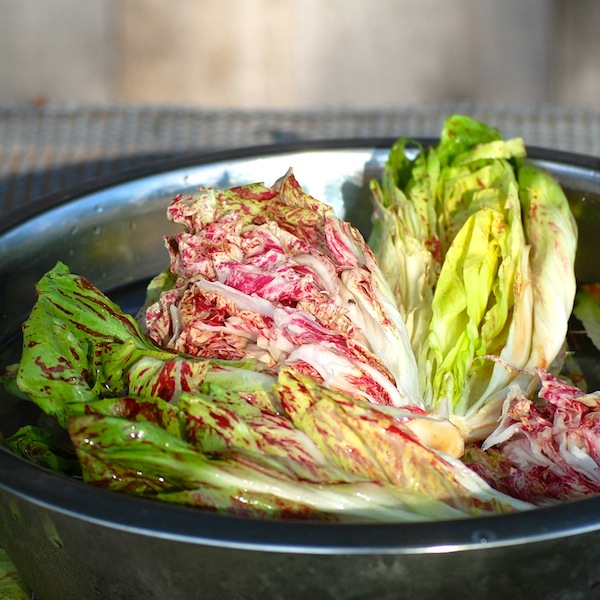
DSC_7426 The most beautiful? This Bel Fiore Radicchio.

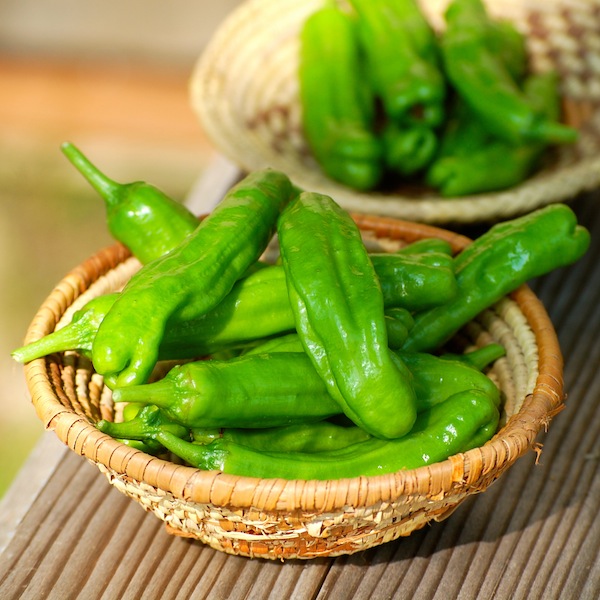
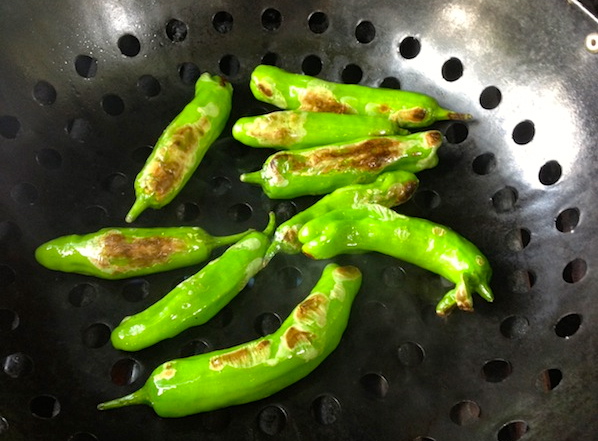
The most trendy? Shisito peppers. Well, oops, apparently (according to this hysterical mock restaurant menu on Eater.com) this trend is now passé in certain circles, or at least ubiquitous, which is never a good thing. But for a market gardener, a cook, or an eater, Shisito peppers are a total win-win-win. The plants are prolific, the cooking is super easy—just toss with oil, cook in a hot cast-iron pan or in a grill basket until blistered (a few minutes), and season with sea salt. Eat the whole thing—absolutely delicious. Summer-crowd appetizer friendly, too.

DSC_7204photo-72

The most colorful?

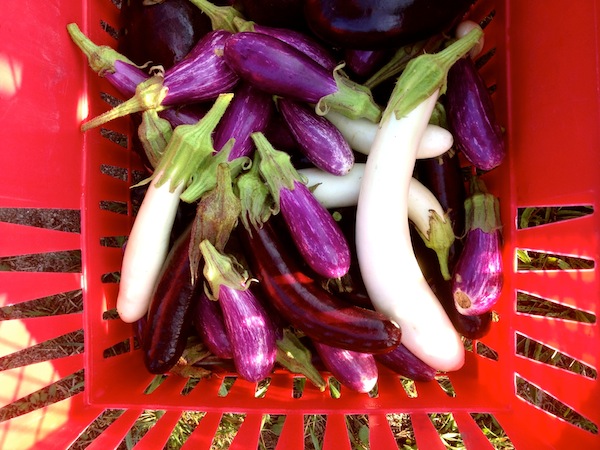
photo-77photo-76 Our crazy collection of eggplants, including new additions Orient Charm (the lavender beauty) and Hansel and Gretel (the mini purples and slim whites). The cute little Fairy Tales are still new to many shoppers, and I do get some questions about how to cook them. (Hopefully I can write a full blog on eggplants before the summer’s out—most of the slim eggplants are really interchangeable, though Fairy Tale most definitely has a creamier flesh than the others.)

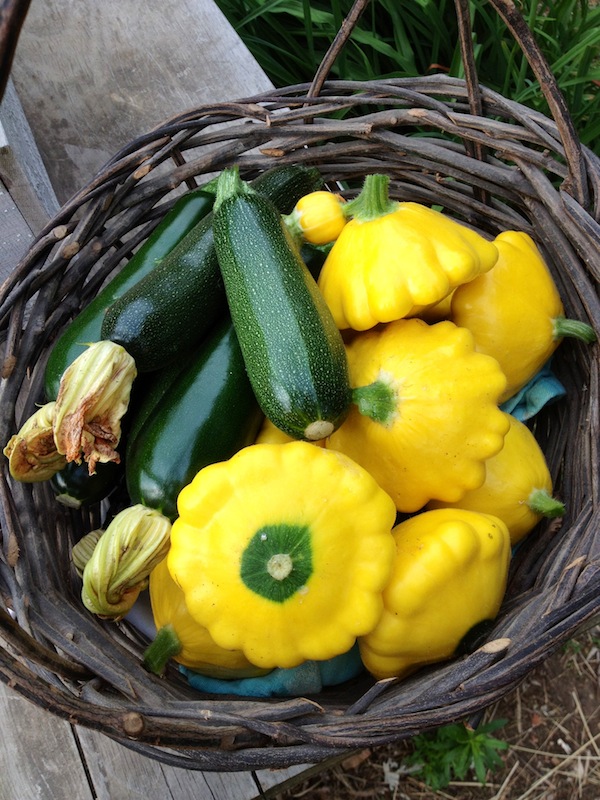
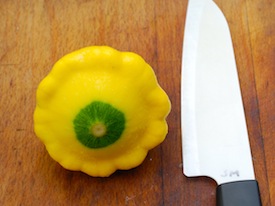
photo-74 And yet despite these less familiar vegetables, it’s something kind of classic (it’s a squash after all!) that seems to confound people the most. Every single day, I put all the green zucchini and the yellow pattypan squash in a big basket together. And every single day the zucchini quickly sell out before the pattypans. The pattypans do have their admirers—our Sunburst variety is so cheery—and there are some shoppers that exclaim, “Oh, my favorite!” and buy 5 or 6 at a time. But I finally realized it’s the shape that stumps many folks.

Because in reality, the texture of a pattypan is no different than a zucchini (as long as neither is overgrown) and you can dice or slice or grate or chop them both.  (The Sunburst pattypan, despite being yellow, does not have the seedy, watery texture of a crookneck or summer squash, but the firmer texture of a zucchini.) I think the flavor of a pattypan is actually a little sweeter than a zucchini.

DSC_7712

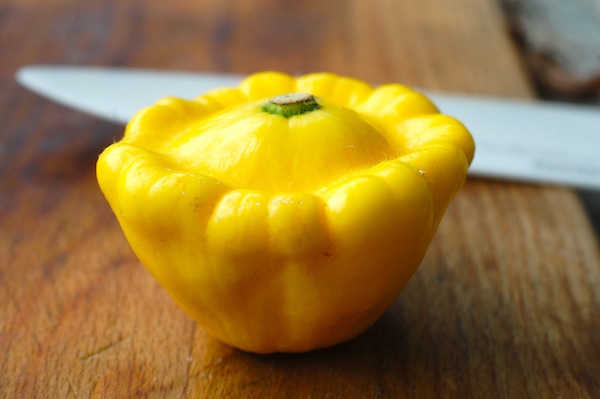
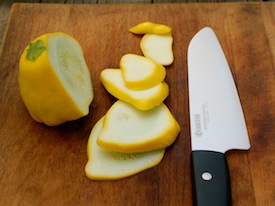
But when you look at a pattypan, especially a full-grown one, as opposed to the minis I’ve written about in the past (apparently my obsession with this subject has not waned), you do have to stop and think, now how am I going to cut this thing?

DSC_7690DSC_7700


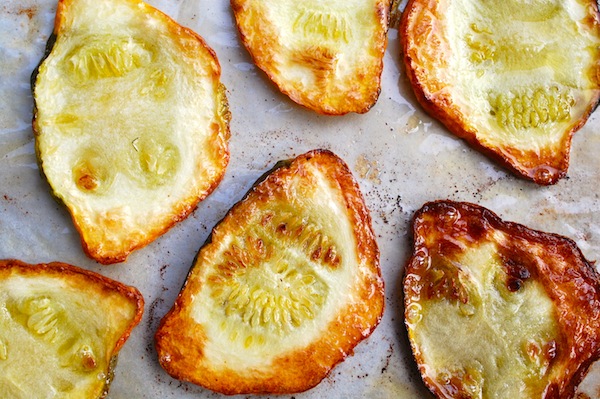
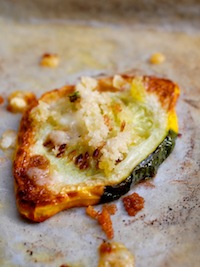
DSC_7572Hence, my first suggestion: Slice it and roast it. Specifically, slice it North Pole to South Pole (not through the equator), with one of the Poles being the stem end. Slice it thinly, but not too thinly, brush or toss the pieces with oil and salt, and roast in a 425° degree oven until golden brown and tender, 18 to 20 minutes, turning over with tongs once if you like (see finished photo at top of blog). In the last few minutes, you can sprinkle with a mixture of bread crumbs, Parmigianno and parsley if you like (right). Serve as a sidedish with a squeeze of lemon. Or sandwich a bit of goat cheese between warm slices when they come out of the oven and drizzle with a black olive vinaigrette. (There’s a recipe for Grilled Antipasto of Green and Yellow Zucchini with Black Olive-Lemon Vinaigrette in Fresh from the Farm. You can also grill, rather than roast, the slices (just cut them a little thicker).

The slice shape also works just dandy in a vegetable gratin like this one—just replace the zucchini slices with the pattypans.

DSC_7721 For smaller pattypans, cutting them in wedges (as if you were cutting a pie) gives you nice chunky pieces to stir-fry, sauté, or cook in a grill basket on the grill.  As with any summer squash that contains a fair amount of moisture, using relatively high heat will brown up the vegetable before it has a chance to get mushy. Caramelization brings out the sweetness, too. (Find a stir-fry recipe here.)

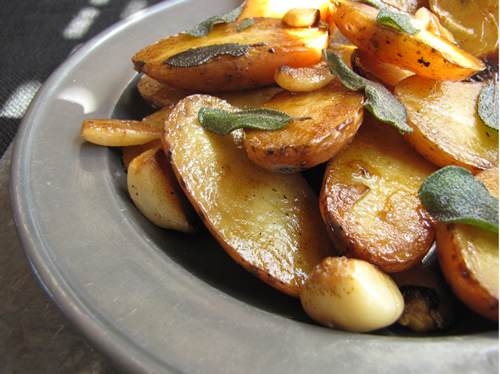
Now for those of you who’ve been asking about cooking those little Fingerling potatoes, I’ve got a treat for you. Click here!

braisedfingerlings