
When I’m on the road talking about my cookbooks, I love to bring along my kit of favorite pantry ingredients and a few favorite tools. (Unlike a toothbrush or an iPad, though, bottles of olive oil, bunches of fresh herbs, and sharp kitchen instruments can be difficult to carry on to an airplane. So this dog-and-pony-show only travels by car.)
I find that it doesn’t matter whether I’m at a bookstore, a farmers’ market, or a kitchenware store—people everywhere are interested in flavor pairing, quick cooking solutions, and brand choices. So I tell cooks that if they keep a pantry and fridge stocked with a few really versatile, good-quality ingredients, they can make literally hundreds of different delicious vegetable dishes with whatever they happen to bring home from the farmers’ market, the grocery store, or the backyard garden.
Here’s what’s in my “kit:”
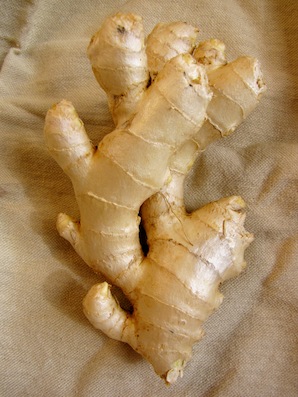
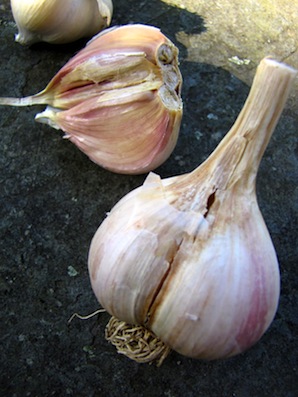
1)Aromatic veggies: Garlic, shallots, onions; fresh ginger; scallions. I begin almost every cooked veggie dish by laying down a base layer of flavor with sautéed or softened aromatic veggies—minced, diced, chopped or sliced. Sometimes I will add them part-way through cooking or even turn them into starring ingredients, but one or more of them is almost always present because of the deep and permeating flavor they provide (especially if they are caramelized). They’re also vital ingredients in raw preparations like vinaigrettes and salsas, and can be the backbone of a tasty marinade. I keep little bowls of garlic bulbs and shallots on my countertop, onions in a cabinet away from potatoes, and fresh ginger and scallions in the refrigerator.
Favorite low-tech tool: an ordinary spoon for peeling fresh ginger skin
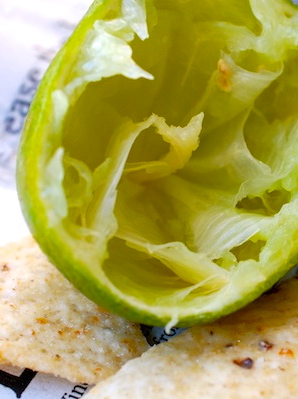
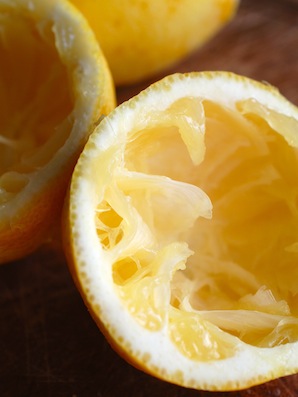
2)Lemons, limes, and other citrus—both juice and zest: Lemons are probably my all-time favorite supporting player in the kitchen. My go-to vinaigrette features lemon zest and juice, and I will very often finish a saucy vegetable dish like a braise or a soup with either zest or juice or both. The bright acidic flavor instantly revives dull or hidden flavors. Often I will substitute lime for lemon, and I’m particularly fond of using lime juice and zest to enhance (and cut the richness of) creamy dressings for potato salads, slaws, and cucumber salads. Fresh orange juice has great flavor but less acidity than lemons or limes so use it in combination with lemon or vinegar.
Quick finishing sauce: Combine 1 tablespoon citrus juice, ½ teaspoon fresh citrus zest, 2 teaspoons maple syrup or honey and 1 teaspoon soy sauce or balsamic vinegar. Double or triple amounts if you like. Drizzle over sautéed or stir-fried veggies just as you take the pan off the heat.
Favorite citrus tools: Microplane zester, OXO juicer.
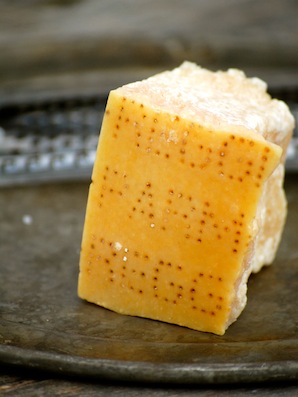 3) Parmigiano Reggiano cheese: A little bit of the real deal, with its nutty, salty flavor and crystalline texture adds depth and earthiness to any vegetable dish, whether it’s a baked potato gratin or a simple dish of roasted Brussels sprouts and walnuts. It’s expensive (sometimes painfully so), but it will be the last best quality cooking ingredient I give up before I go to the poor house. Substitutes can be lackluster at best, downright awful at worst. To get your last buck out of a piece of Parmigiano, simmer the rind with your broth when making your next minestrone.
Favorite way to cut: Surprisingly, though I love the range of handheld graters available for hard cheeses these days, I often turn to my food processor to chop Parmigiano into tiny pebbles. I like the bigger pieces and coarse texture for vegetable tarts and gratin or crostini toppings.
Tip: Identify true Parmigiano Reggiano by the branded name on the rind.
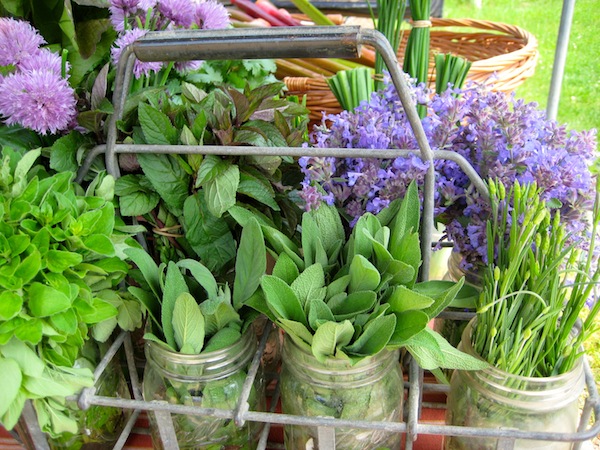
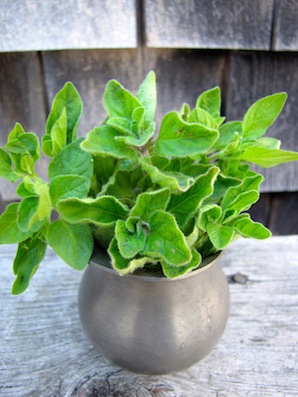
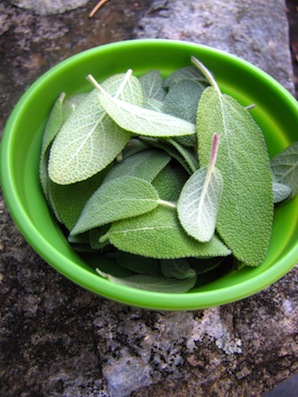
4) Fresh herbs. Nothing finishes a vegetable dish like a spoonful of chopped herbs or a handful of torn herb leaves. Like citrus zest, most tender fresh herbs add top notes and should be added at the end of cooking. Heat will take the oomph out of cilantro, basil, mint, parsley, chervil, and chives, so long cooking isn’t a great idea. Hardier herbs like thyme, rosemary, sage, and oregano are happy to go into a long-cooking dish. Their substantial oils will permeate the dish as it cooks.
If you can grow any herbs at all, please do. Even a pot or windowsill will offer you freshness, availability, and the ability to cut just the amount you want. And if you have even a small yard, just a few square feet will be enough room to plant one or two of the heartier herbs, many of which are perennial in milder parts of the country. But if you’re like most of us and have to get at least some of your herbs at the grocery store, take them out of their original packaging when you get them home. Wrap them in damp paper towels and store in zip-top bags. The exception is fresh basil. If it hasn’t been refrigerated yet, keep it in a jar of water at room temperature.
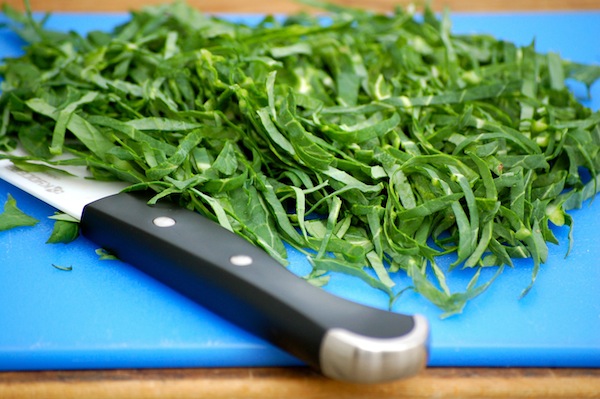
Tip: Use a very sharp knife when chopping herbs and don’t overchop or you will get bruised, blackened herbs that can get bitter.
5)Extra-virgin olive oil and unsalted butter. I cook almost exclusively with extra-virgin olive oil and unsalted butter (usually a combination of both) since cooking fat adds flavor to a finished dish, and these are both flavorful. The exception is high heat, which destroys flavor compounds (and of course, burns butter, due to the milk solids, though adding some oil will drop the smoke point a bit). So I keep one other oil on hand for stir-frying—usually peanut oil or vegetable oil, sometimes grapeseed oil. Nut oils I save for vinaigrettes.
Tip: To settle on a moderately priced extra-virgin olive oil that can be a “house” brand for you, buy several and do your own side-by-side taste test. (Invite some friends and family.) You’ll be surprised at how different the flavors can be. I tend to like the richness of olive oils originating in Spain (which many do—check labels.)
6) Vinegars and other acids: Like citrus, vinegars and other acidic ingredients like hot sauce, tomato sauce, pickling juice, wine, and unsweetened fruit juices really add dimension and brightness to vegetable dishes. You don’t need to go crazy keeping a lot of these around. In fact, you can settle on a couple vinegars you like best and stick with those.
My favorite vinegars: sherry vinegar, white balsamic vinegar, malt vinegar.
7) Honey, maple syrup or other natural sweeteners. As I mentioned above, I love a quick little sweet-sour finishing sauce for veggies, so I am quick to reach for the maple syrup bottle. And sometimes just a drizzle of honey over something like roasted cauliflower is a lovely finishing note. So pick your favorite natural sweetener and store a bottle of it next to the vinegar.
8) Toasted nuts and dried fruit: I keep almonds, pecans, walnuts and pine nuts in the freezer and toast small batches of them to add to veggie dishes for interesting texture and deeper flavor. I find the flavor of toasted (or maybe I should call them roasted) nuts to be much more appealing than raw nuts. I also love adding chopped dried cranberries, cherries, apricots or figs to winter veggie dishes.
Tip: To toast nuts, spread them on a sheet pan and put in a 350°F oven until browned and fragrant, between 4 and 10 minutes, depending on the nuts. Keep an eye on them—deep golden brown is good; very dark brown is heading for bitter. And use your sniffer–you’ll be able to smell when the nuts are starting to get too brown.
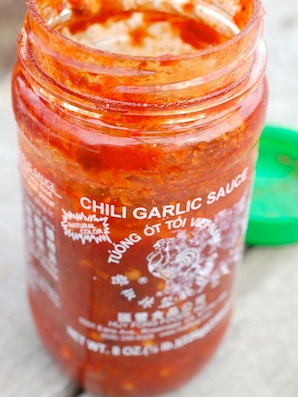
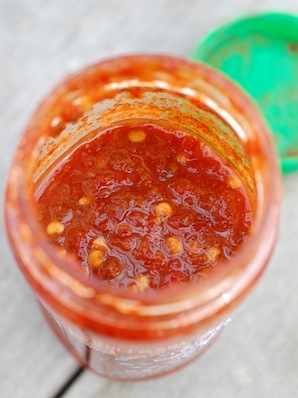
9)Bonus “umami” condiments: To give veggies an added depth—almost a “meaty” flavor, I keep a few robust condiments (always in the fridge after opening) from each of my favorite cuisines. I could probably get by with just soy sauce and chili-garlic paste, but usually I have sesame oil, oyster sauce or fish sauce, capers, olives, sundried-tomatoes, and anchovies around, too. Plus coconut milk, canned tomatoes, and boxed broth in the pantry. All these condiments are bonus ingredients—you can certainly make delicious vegetable dishes without them.
10) Kosher salt and a good pepper grinder: I use Diamond Crystal kosher salt because I like feeling the large pieces in my hands as I season, but I also find that it dissolves well. I’m afraid that the perfect pepper grinder is still eluding me!
Of course there are other things in my pantry to stretch veggies further into main dishes—beans, grains, pastas. But for weeknight veggie sides, I can do just about anything with what I’ve listed here. And with the exception of the fresh herbs, pretty much everything can be shopped for infrequently and stored for several weeks at least.


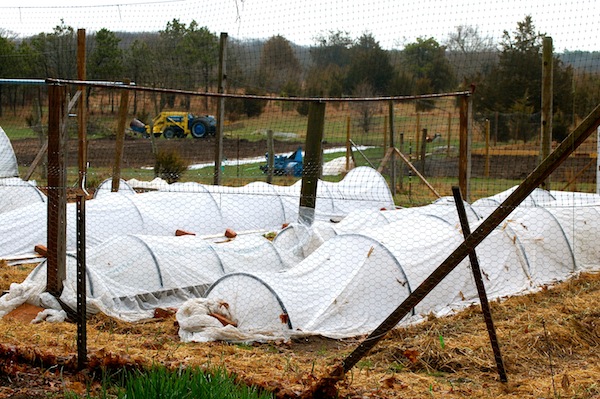
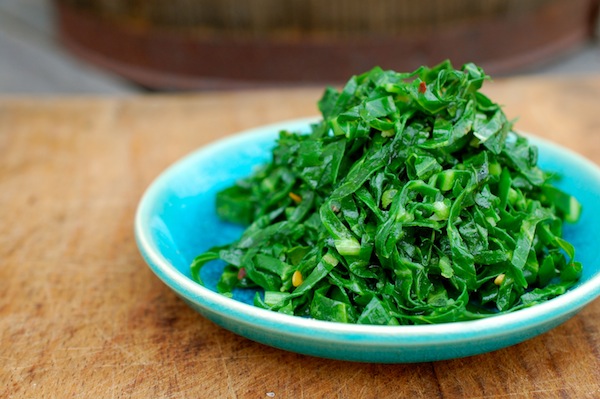
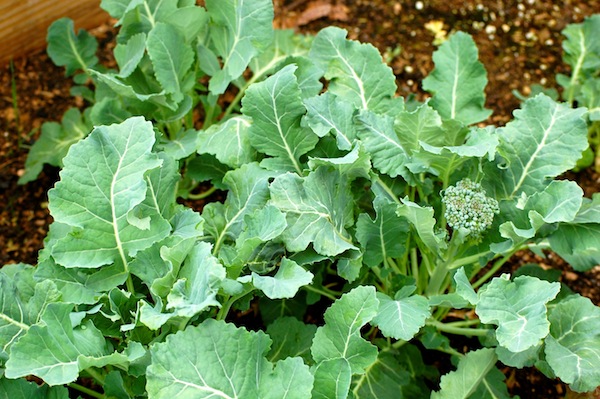
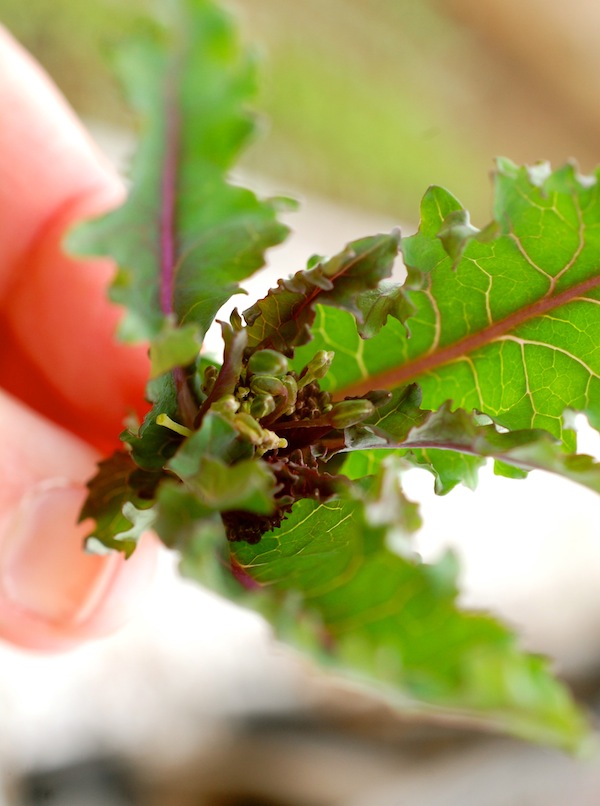
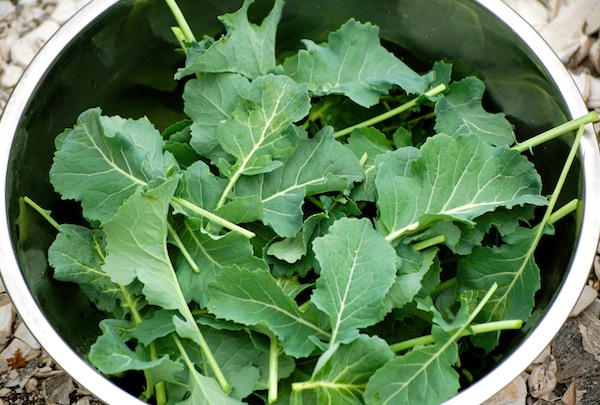
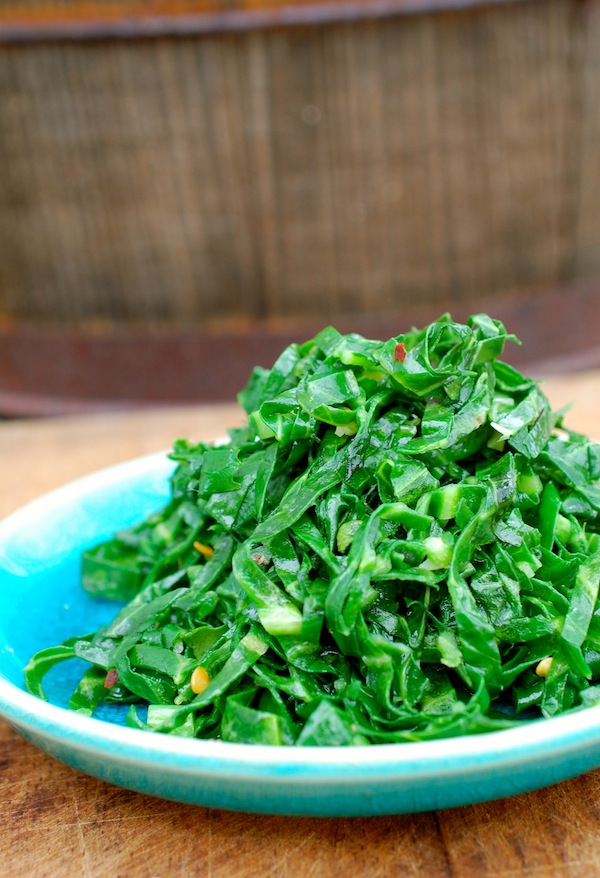
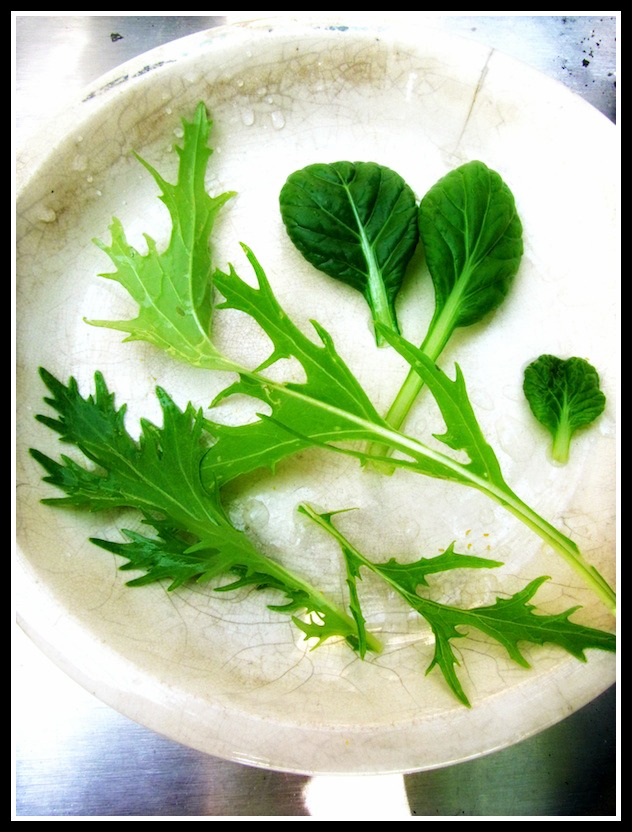
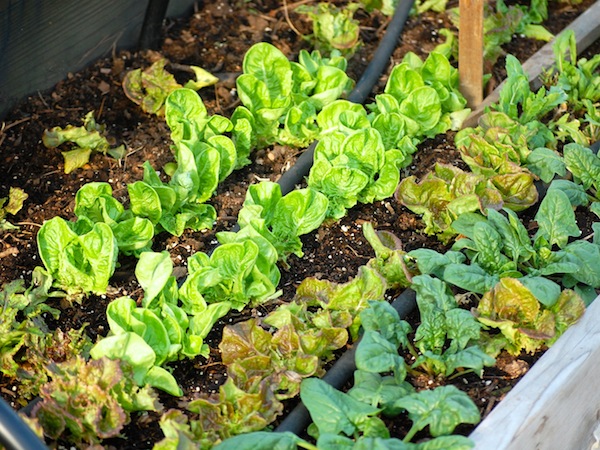
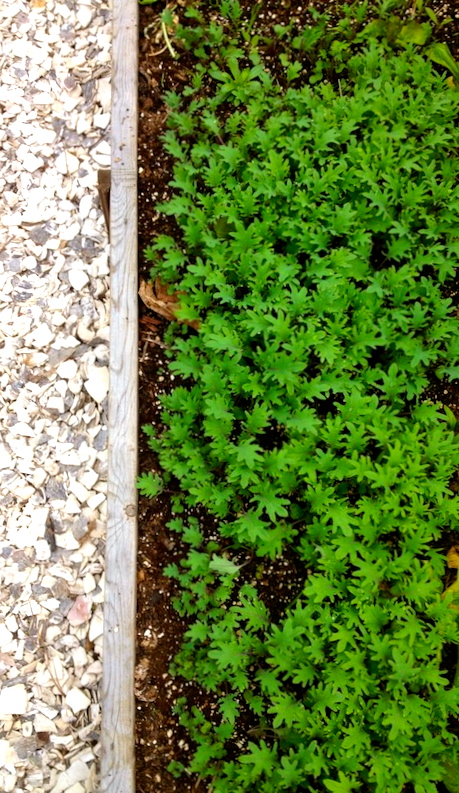 Lately I have been obsessing about this Red Russian kale we are growing in the hoop house. I feel kind of silly, as it isn’t exactly a new thing—other farmers on the Island have been growing this variety and harvesting it young for a few years now. But I finally got around to planting a thick carpet of it (in order to harvest it as baby greens), and my, oh, my, is it tickling my fancy. It’s beautiful, yes. But tender, too. And almost sweet. (Even Roy likes it!) Which means now I have no business being cranky about kale salads. (I have come around on this, and even have a kale salad in Fresh from the Farm, but I am still not big on thick chewy mature kale leaves in salads—massaged, or not.)
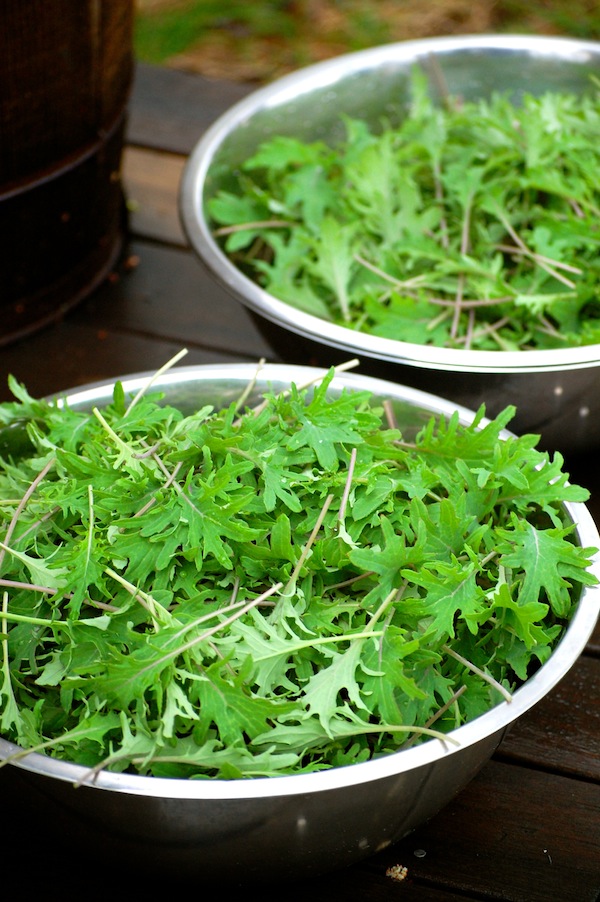
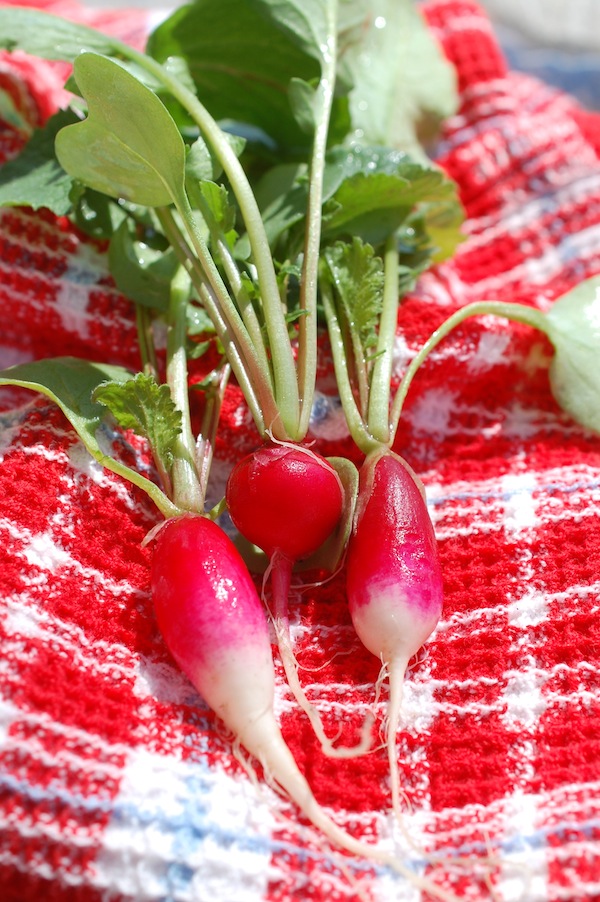 Also, as most of you know, I am obsessed with the color pink. And this year we’re growing French Breakfast and Cherry Belle radishes in the hoop house, and they are nearly big enough to pull. Nearly big enough, yes. But since I am the boss, I get to pull them up whenever I want to.
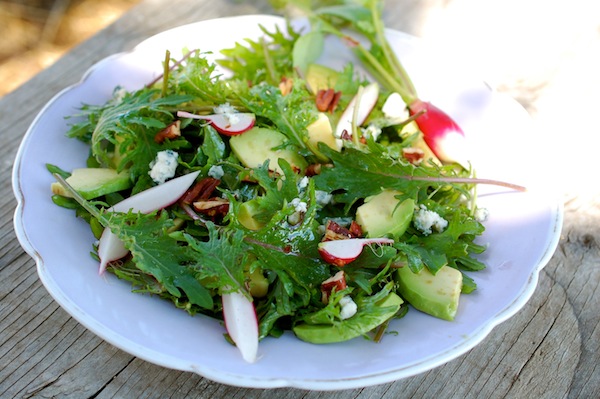 If I sound like I am being obstinate, it’s because I have to go traveling again this week and am wishing I could just stay home and keep working outside until dark like Roy and I have been doing every night this week. (I’m not kidding, it really is satisfying.) But off I go so I’m having one last pink and green salad for the week.
 And speaking of pink, we snuck off to get a quick peek at some trees in bloom at Polly Hill Arboretum Sunday afternoon (a stone’s throw from us).