The Ultimate Destination for Winter Cabbage: A Savory Tart

xTARTS Cabbage 3 This week I am posting a primer on how to make one of my very favorite things in the whole world–a savory rustic tart (aka crostata or galette). Be sure to check out that post–not only for tips and photos on making the dough and assembling the tarts–but also for the easy food-processor dough recipe, too. Then come back over here for a complete recipe for filling and assembling the cabbage, apple and onion tart (recipe follows). If you’ve got a copy of my cookbook The Fresh & Green Table, you can also use the guidelines over on that post to help you make either the Roasted Ratatouille Tart with Goat Cheese & Mint; the Seven-Treasure Roasted Winter Veggie Tart; or the Roasted Butternut Squash, Cranberry, Shallot & Pecan Tart. There’s also a Rustic Roasted Tomato Tart recipe (my favorite yet) in my new book, Fresh from the Farm: A Year of Recipes and Stories.

I hope you’ll try one of these fun-to-make free-form tarts. The crust is flaky, buttery, and delicious, and the savory fillings are the perfect counterpart. Serve a slice with a salad or a bowl of soup–or have a piece for breakfast!

PicMonkey Collage


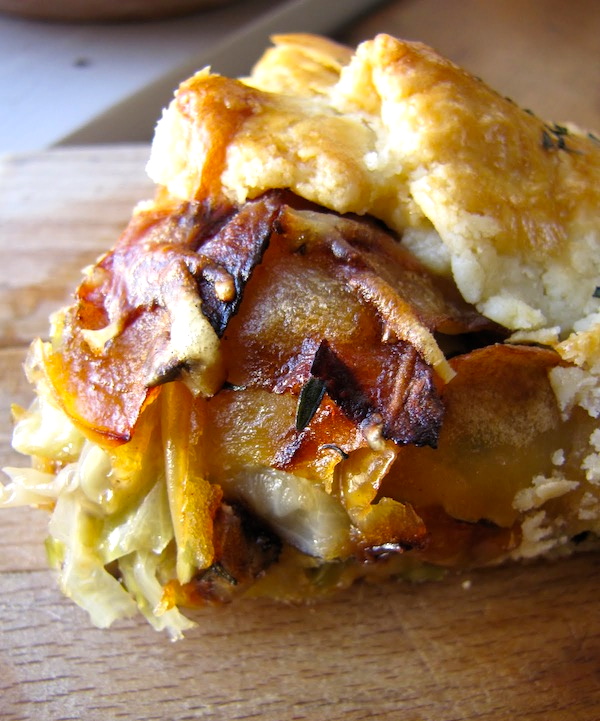
Savoy Cabbage, Apple, Onion & Gruyère Rustic Tart
IMG_5669_1

When I was developing my rustic tart recipes for The Fresh & Green Table, the filling for this tart was the surprise favorite with friends I never thought would be cabbage-eaters. So I highly recommend this as a great way to introduce people to the ethereal (and traditionally Alsatian) combination of sautéed cabbage and onions, nutty gruyere cheese, sweet-tart sautéed apples, perky fresh thyme, and buttery, flaky crust.

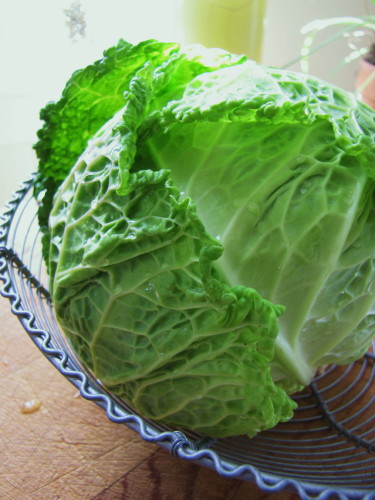
I also recommend closely following my sautéing directions for the filling—especially the cabbage. You’ll be cooking it in a relatively dry pan over relatively high heat, so that it will quickly brown (almost toast) rather than steam. This is the secret to bringing out the wonderfully complex nutty flavor in cabbage. Be sure to use the beautiful crinkly-leaved variety of cabbage known as Savoy for this. (You’ll find it in the grocery right next to green cabbage; it’s round, too, but with dark-green outer leaves.) The filling components cool quickly, so you can make them in about the time you’ll need to let your dough warm up after taking it out of the fridge.

Makes one 8- to 9-inch tart. Serves 4  

____________________________________________________

For the egg wash:

1 egg yolk

2 Tbsp. heavy cream


For the filling:

2 Tbsp. unsalted butter

1 Tbsp. extra virgin olive oil

1 medium onion (6 to 7 oz.), thinly sliced

6 oz. Savoy cabbage, thinly sliced (about 3 cups packed)

1/2 Golden Delicious apple, unpeeled, cored and thinly sliced (about 1/8-inch thick)

kosher salt


For the tart:

3/4 cup (about 3 oz.) grated Gruyère cheese

1 tsp. lightly chopped fresh thyme leaves

flour for dusting

1 disk Savory Rustic Tart Dough (recipe here), made ahead, chilled for at least one hour, and removed from refrigerator 45 to 55 minutes before assembling tart

________________________________________________________________________________

Preheat the oven to 400 degrees F. Set an oven rack in the center of the oven.

Make the egg wash

Whisk together the egg yolk and heavy cream in a small bowl, cover with plastic, and set aside.

Make the filling

In a heavy 10-inch nonstick skillet, heat 1 Tbsp. of the olive oil and 1 Tbs. of the butter over medium-low heat. Add the onion and a pinch of salt, cover, and cook, stirring occasionally, until the onion is limp and translucent, 5 minutes. Uncover, turn the heat to medium, and cook, stirring occasionally, until the onions are golden brown, about another 6 to 8 minutes. Transfer the onions to a plate to cool.

Add 1/2 Tbsp. butter to the pan, turn the heat to medium high, and add the cabbage and another big pinch of salt. Cook, tossing with tongs occasionally (only once or twice at first; let the cabbage have contact with the pan), until the cabbage is limp and nicely browned in spots all over (the thinnest pieces will be all brown but the green color will still be bright in the bigger pieces), about 5 minutes. Transfer the cabbage to a plate to cool.

Take the pan off the heat, and let it cool for a minute or two before returning to the heat. Reduce the heat to medium and add the remaining 1/2 Tbsp. butter. When the butter has melted, add the apple slices, season them with a pinch of salt, and spread them out in one layer (tongs help here). Let them cook undisturbed until very lightly brown on the bottom side, about 2 minutes. Flip and cook until the other side is very lightly browned, another 2 minutes. Transfer the apples to a plate to cool.

Make the tart

(For help with assembling the tart, check out the “How to Make A Savory Rustic Tart” photos here.)

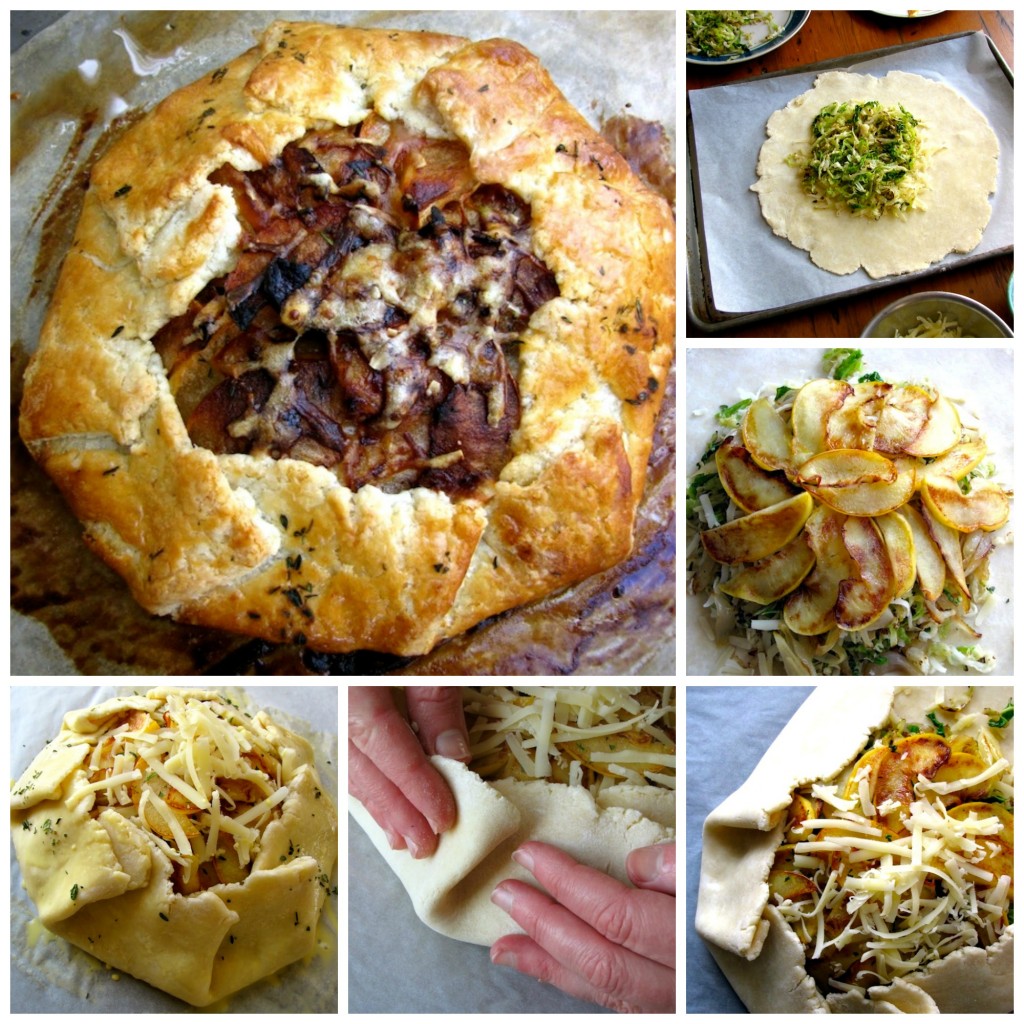
Line a large heavy-duty rimmed sheet pan with a piece of parchment paper and position it next to a large cutting board or other surface you will use to roll out the dough. Arrange the cabbage, onions, apples, thyme and Gruyère around your work area.

Sprinkle your work surface lightly with flour and spread it around with your hand. Put the disk of dough in front of you and lightly tap it with the rolling pin to start softening and spreading it. Then gently roll it out, lifting and giving the disk a quarter-turn after each roll, until you have a roughly 12-inch circle. Try not to roll your pin over the edges of the dough, as that will tend to make the edges thinner than the center. (If your edges get very ragged or torn, it’s okay to patch them back together or trim them a bit.) If at any time the dough feels like it is sticking, lift it up and toss a bit of flour underneath it and/or over it.  Transfer the dough to the baking sheet by rolling it up or draping it over your rolling pin and unrolling or undraping it on the baking sheet.

Sprinkle a quarter of the Gruyère over the dough, leaving a two-inch border around the edge. Arrange half of the cabbage over the Gruyère. Arrange half of the onions over the cabbage. Sprinkle them with a little bit of fresh thyme, and top with another quarter of the Gruyère. Repeat with the remaining cabbage and onions, and sprinkle again with a little thyme and another quarter of the Gruyère. Arrange the apples, very slightly overlapping, in the center of the tart (they will not cover all the filling). Sprinkle with a tiny bit of thyme and the remaining Gruyère.

Pleat and fold the edges of the dough up and over the outer edge of the filling all the way around the tart.  (You will be folding in that 2-inch border.) You don’t have to go crazy making a lot of pleats—folding a piece of dough in about every 2 to 3 inches around the tart will get you the results you want (you’ll have about 8 or 9 folds).

Brush the edges of the dough with some of the egg wash (you won’t use it all), and sprinkle the edges of the tart with any remaining thyme.

Bake until nicely golden all over and crisp and brown on the bottom (check with spatula), about 38 to 40 minutes. Let cool for a few minutes and use the parchment paper to slide the tart on to a cutting board. Cool for another 5 to 10 minutes before slicing and serving.

Super-Fresh, Super-Fast, Super Bowl Salsa & Guacamole: Recipe Preview, Fresh From the Farm

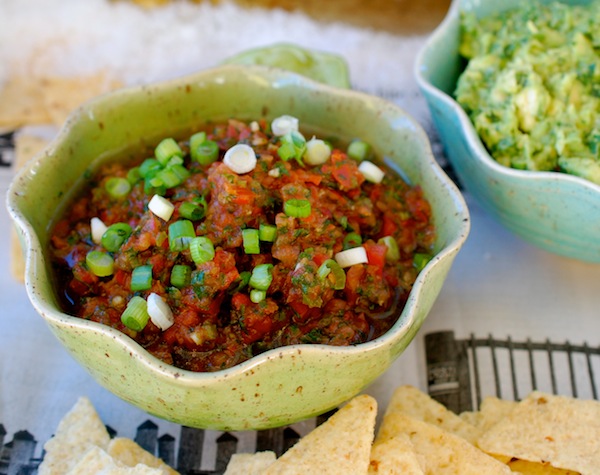
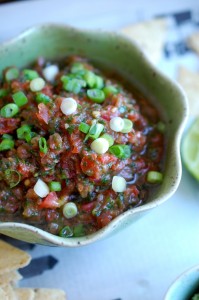
salsa guac 1

It’s hard not to dream about summer when your teeth are chattering.

Goodness, this cold weather is certainly getting to be a drag, isn’t it? Wouldn’t it be nice if you could walk outside right now, tip toe across the hot grass, swing open the garden gate, and tug a ripe juicy tomato off the vine? Uh, sorry. Not going to happen. I realize it’s not very nice of me to be teasing, and on top of that, I’m going to cheat, too. Because today I am offering you two recipes that are from the Summer section of Fresh From the Farm. So sue me.

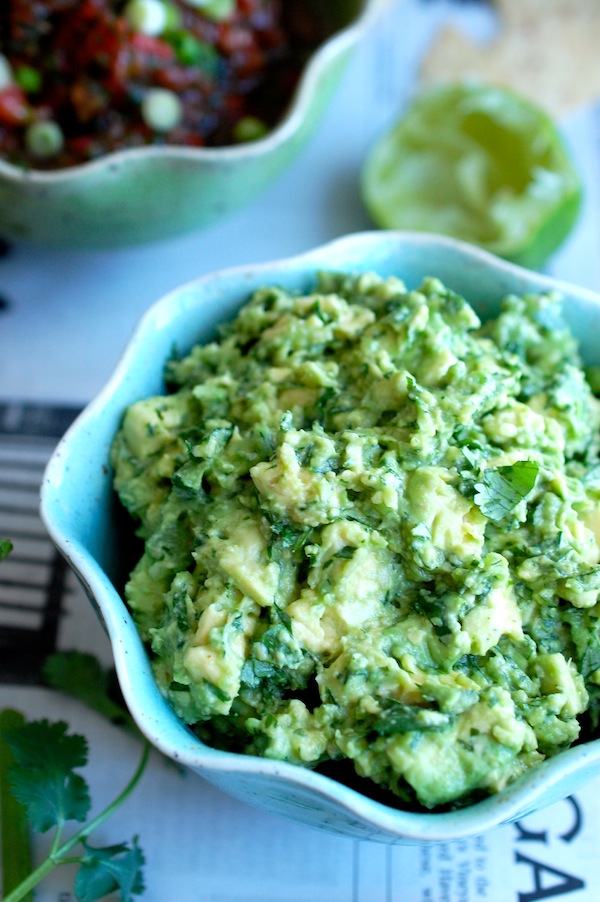
guac 3It just so happens that my Lazy Day Summer Salsa with Serranos, Cilantro & Lime (a spoonable, dippable, versatile Mexican-restaurant style sauce) is pretty darn good made with store-bought plum tomatoes—especially if you let them sit on the counter for a few days. Paired with my Double-Cilantro Guacamole (the real deal here, no pureeing or added fillers), these are two of the freshest, healthiest, liveliest additions you can make to your Super Bowl spread. Really clean and fresh-tasting. (And yes, this may be one of the only times you see two Vegan and Gluten-Free recipes together on Sixburnersue at the same time!) Even if you’re not into the whole football thing (and here in New England, with the Patriots now out of it, we suddenly have a lot of people who’d rather shovel their sidewalks than watch the Super Bowl), I bet you’ve got a taco night planned, or you need a good way to liven up a fish or shrimp dish.

Honestly, these two recipes are repertoire essentials.

So I made them both yesterday in order to take pictures (alas, neither of these recipes is among the 200 photos in the book!), and I ate an entire half-batch of the guacamole myself. And the way this salsa comes together in the food processor so fast and easily makes me feel efficient every time I make it. We’re eating leftovers tonight on pork tacos.

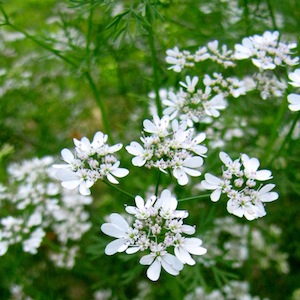
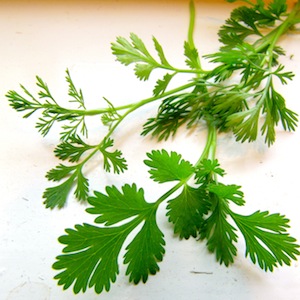
cilantro flowers cilantro leavesA Sidenote About Cilantro

Both of these recipes use a good amount of cilantro (and a bit of ground coriander, the seed of the cilantro plant), and now is the time to plan for growing your own this year.

It’s very easy to grow, so order some seeds and plant early. It loves cool spring weather and tends to bolt around the summer solstice. One way to end-around this is to sow seed continuously (once a week or so). This way you can continuously harvest young plants before they bolt.

Once the plants bolt, though, all is not lost. The lovely flowers and fine foliage are just as tasty as the regular-sized leaves, if a bit more delicate.

The plants will also eventually form seed-heads, and at least some of them will drop and self-sow. I always have volunteer cilantro plants in my garden. If you leave the seed-heads on, they will dry and you can harvest coriander.

salsa 2Lazy Summer Day Salsa with Serranos, Cilantro & Lime

Recipe copyright 2014 from Fresh From the Farm: A Year of Recipes and Stories

This fast, easy restaurant-style food-processor salsa is just as great with chips as it is with grilled steak or on top of a quesadilla. It will have a loose, not chunky, consistency.

Yields 1 2/3 cup


1/2 cup lightly packed cilantro (leaves and any upper stems—just lop the top off a bunch)

1/2 teaspoon kosher salt, plus more to taste

1/2 teaspoon granulated sugar, plus more to taste

1 large clove garlic, peeled

1 small serrano pepper, roughly chopped

2 cups cored, seeded and roughly chopped very ripe plum tomatoes (about 14 to 15 ounces or 4 to 6 large plum tomatoes)

2 teaspoons olive oil

2 teaspoons fresh lime juice, more to taste

2 to 4 tablespoons thinly sliced scallions (white and as much of green part as you like)(optional)

Put the cilantro, salt, sugar, garlic and serrano in the bowl of a food processor. Process until finely chopped. Add the tomatoes and pulse six to eight times again until very finely chopped. (Don’t overprocess. The salsa will have a very loose consistency but should still have visible small chunks of veggies.) Scrape down the sides of the bowl and add the olive oil and lime juice. Pulse once or twice until combined. Taste for seasonings, adding more salt, sugar, or lime juice if desired, and process briefly again if necessary. Transfer the salsa to a bowl and stir in as many scallions as you like (or none at all). Serve right away or store in the fridge, well-covered, for several days.

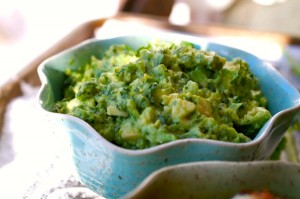
guac againDouble Cilantro Guacamole

Recipe copyright 2014 from Fresh From the Farm: A Year of Recipes and Stories

I like my guacamole bright, fresh, and a little bit chunky. I don’t add tomatoes or onions or sour cream, and I don’t pulverize the avocado, but I do think of guacamole as the perfect destination for our garden cilantro. I call this “double cilantro” guacamole because I add a little ground coriander to the mix, too. When you buy cilantro at the grocery, give it a sniff to make sure it is fragrant. Some grocery-store cilantro can be devoid of flavor during certain times of the year. You can easily double this recipe.

Yields 1 1/2 cups

1 large clove garlic

1 serrano pepper

kosher salt

2 medium ripe Haas Avocados

1/8 teaspoon ground coriander

big pinch ground cumin

2 teaspoons lime juice, more if needed

1/4 cup chopped fresh cilantro, more if needed

On a cutting board, roughly chop the garlic and the serrano. Sprinkle them with a big pinch of salt and continue to chop until the garlic and serrano are very finely minced. Transfer to a mixing bowl. Peel and pit the avocados. Cut them into rough 3/4-inch dice or pieces and add them to the mixing bowl. Sprinkle a generous 1/4 teaspoon salt, the coriander, the cumin, and the lime juice over the avocado. Using the back of a fork, gently mash and stir the avocado just until everything is well-combined but the mixture is still a bit chunky. Add the cilantro, stir again, and taste. Add more salt or lime juice if needed.

lime


A Black and White Gallery of Winter Farm Photos

DSC_1525DSC_1645My neck aches from sitting in front of the computer too much. It’s all book promotion, all the time, right now, as we lead up to the publication date. So between emails and phone calls and this and that, I don’t get up and walk around enough.

DSC_1583In the afternoon, I try to do my laps around the corn field. And I did (reluctantly) help Roy clean one of the big chicken coops yesterday.

DSC_1667DSC_1536

Of course, I have to walk Farmer now and then. And I feed and water the hens in the small coops first thing in the morning.

DSC_1631DSC_1670

And, like a new mother checking on a sleeping baby, I always visit the hoop house, lift up the covers, and make sure the lettuce is still alive.

DSC_1665


DSC_1681

But about mid-morning, I need a blast of mind-clearing fresh air.

DSC_1569

DSC_1572I use the camera as my excuse to go outside. Not a very good excuse though, since lately the light has been dingy and the colors rather cranky and evasive.

DSC_1700DSC_1688

What still interests me, though, is texture and pattern.

DSC_1703DSC_1635

A grey day on a farm makes you look differently at the odd mish-mash of shapes and materials that lie still in the cold, waiting for the warm day they’ll be useful again (or not).

DSC_1697DSC_1588

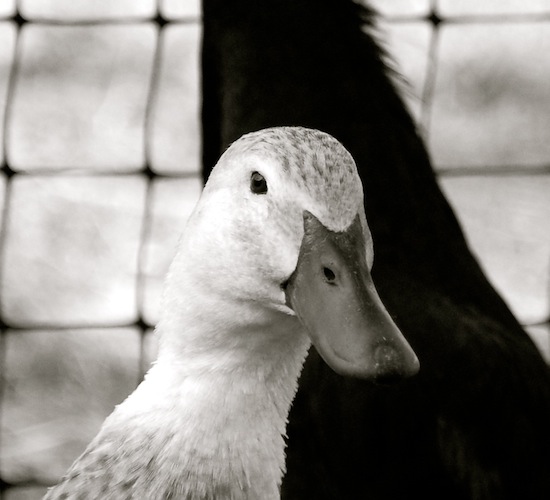
So after I took my photos this morning, I found looking at them in black and white was much more interesting than in color. (Even the birds looked cool.) So I’m posting a gallery, just for fun. I can think of any excuse to avoid work!

DSC_1554DSC_1676

New Video, New Logo, New Ducks—New! New! New!

screen shot back and front covers

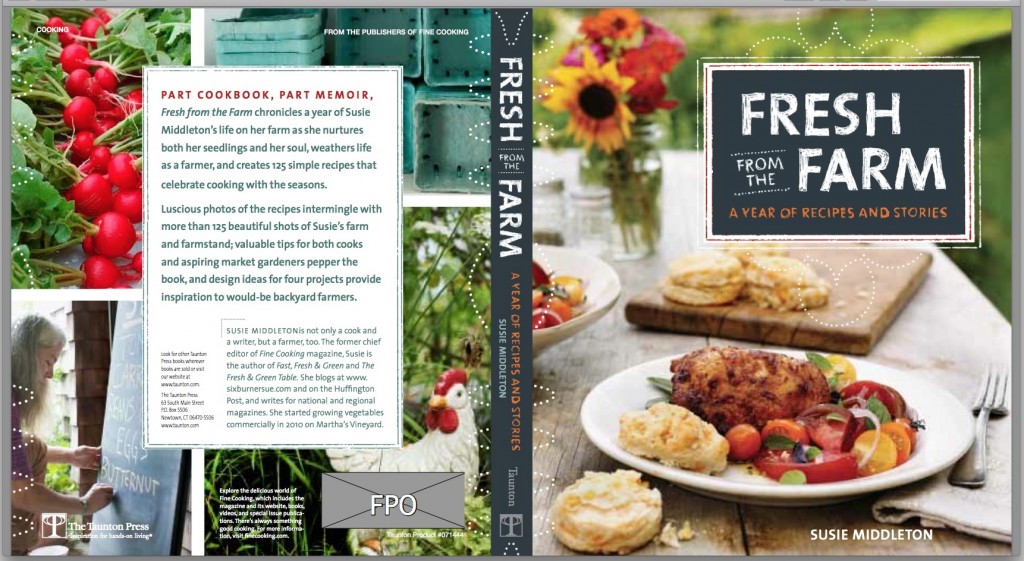
Waiting for a new book to come out is anxiety-producing, at least for me. T minus 30 days and counting for Fresh From the Farm. Until the official pub date (Feb.11), that is. But actually, the very first advanced copies have arrived at The Taunton Press in Connecticut, and one is on its way to me via Fed Ex. So this morning I have been clicking on and off the Fed Ex tracking site, following the package. (It’s currently in Middleboro, Mass.) Even if it gets to the Island tomorrow, that’s no guarantee it will get to me. But if I keep tracking it, once I see it’s on-Island, I could always go over to the airport, where the Fed Ex office is, and terrorize them, hoping not to get arrested. But I’d have to beat Roy over there, as he’s the one who told me to call them this morning! He’s excited too. (Screen shot above is galley of front and back covers).

corn fieldBiding my time, I walked a few laps around the cornfields out back (each is about the length of 5 or 6 football fields, so the fact that I am circling is not too obvious.) That took care of some of my energy.

So now I am back to my desk, doing “my job”—the only job an author with a book coming out in a month can do: Working on promotion. Honestly, it’s not nearly as much fun as writing the book, as I hate having to put myself out there. But I am fiercely determined to do what I can with this book. (The whole getting-to-write-books-for-a-living thing is huge incentive. And that all goes away if your books don’t sell well. Hence, you get off your butt and promote yourself. Right, Susie?)

This time around, putting myself out there also meant doing a promotional video. As with a lot of things, it had to come together pretty quickly last fall before the vegetables all went away. But that was a good thing, as it didn’t give me time to fret, or do things like hire a makeup artist or wardrobe consultant. (It’s a farm, after all and it is what it is!) But the whole experience was very positive because I did it with two wonderful friends, Katie Hutchison and Chris Hufstader. Thankfully, this wife-and-husband duo has experience filming and editing videos. (See architect Katie’s many talents on her website. And here’s a video Chris worked on as part of his job in communications with Oxfam America, which takes him all over the world.)

Now I have finally managed (overcoming my technological limitations) to get the video to go live on YouTube and here on Sixburnersue. (You can watch the short version by clicking below, or the longer version, which includes more about the food in the book, in the sidebar of the blog, at top right.)

I’m also happy to report that some nice early press has come in for Fresh From the Farm already, including a recommendation from Country Living magazine in the February issue (see p. 10!) and a mention on this list of Ten Exciting Books to Look For in 2014 from Wall St. Cheat Sheet.

I’m planning some fun book signing events in Washington, D.C. and a bunch of other places so please visit my events page to stay posted. I’ll soon have a date for a great local event at Bunch of Grapes Bookstore, too. By the way, if you are a social media person, please visit and like my FaceBook business page, Susie Middleton Cooks, and follow me on Pinterest and Twitter @sixburnersue. (Sorry, I had to ask—just doing my job!)

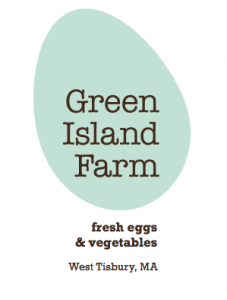
Unsaved Preview DocumentBook or no book, life moves forward on the farm, and there are, in fact, new things here to celebrate, too. The first is our very own Green Island Farm logo. Roy and I wanted something very simple and iconic (an egg!), and my old friend and former Fine Cooking Art Director/now-fine-artist Steve Hunter was incredibly accommodating and refined our thoughts for us. (Tilting the egg was his idea, which I love, and which is very Steve.) We picked the blue-green color of our Aracauna eggs because, of course, it is so pretty. So there you have it. Tee-shirts to come!

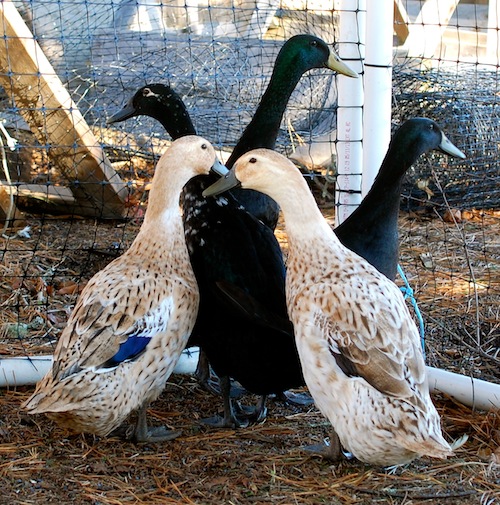
And lastly, we have 5 new additions to the farm—ducks! These beautiful creatures—three black Indian Runner ducks and two Welsh Harlequins—are a belated birthday present for Roy, who grew up with ducks and has wanted some here on the farm for awhile. It was Libby’s idea to get them for his birthday (which was in December, but the weather has stalled us). And our dear friend Elizabeth Packer at Springmoon Farm made the whole thing possible.

ducks square

Last weekend, while Libby was here, we all (including Farmer) piled in the car, popped a hay-lined dog crate in the way back, and drove down to Liz’s place in Vineyard Haven. We got a chance to see all the beautiful birds that she and her daughter Lucy Thompson are raising, included Royal Palm and Red Bourbon turkeys (gorgeous), peacocks, and several kinds of ducks and chickens.

DSC_1437We wrangled the ducks (4 females, 1 drake) into the crate and into the car, and Farmer hung over the back seat the whole way home, wagging his tail. Back at the farm, Roy unloaded them into their new pen, where they paraded around and around like a proper flock. Lovely.

Lastly, not to be outdone by a book, the farm got its  own piece of press (its first) courtesy of Martha’s Vineyard Patch, a couple weeks ago.

Now if we could just get Farmer on the cover of Lab Monthly, I’d feel really good about all our promotional efforts around here. With his bad teeth and crooked ears? Not happening.


A Recipe for Cauliflower Soup with Tahini & Toasted Pine Nuts + Ten More Cauliflower Recipes

cauli color onecup threeMy dad gave me a copy of the cookbook Jerusalem for Christmas. Now I want to go to Jerusalem. Okay, so that’s not happening any time soon. Anyway, the ingredients and recipes that arise out of such a fascinating mix of cultures are alluring. I’m at least going to buy a jar of za’atar spice mix and a bottle of pomegranate molasses, neither of which I’ve had in my pantry in years. (And I learned that fresh za’atar is actually hyssop, which technically, we could grow and dry here).

Coincidentally, I’ve had 2014’s vegetable darling, cauliflower, on the brain. (For some reason, the endless lists generated by the food trend police all seem to mention cauliflower, as if it hadn’t had a full and happy life before now.) For me, I just naturally think of cauliflower in winter, when it’s snowy and 8 degrees outside. I guess it’s the winter white thing. Hence, I can gladly offer you a collection of cauliflower recipes I’ve put forth in winters past (see links below).

But yesterday, I decided to make a slightly Jerusalem-esque cauliflower soup, since it occurred to me that if a touch of tahini and a smattering of pine nuts are good with a cauliflower sauté or salad, they might be nice with a creamy (“creamy,” though no cream—only yogurt) soup. (And, I do still have a can of tahini and a bag of pine nuts in my larder!)

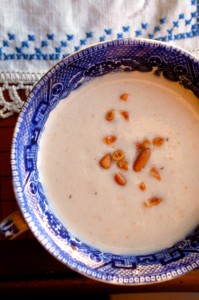
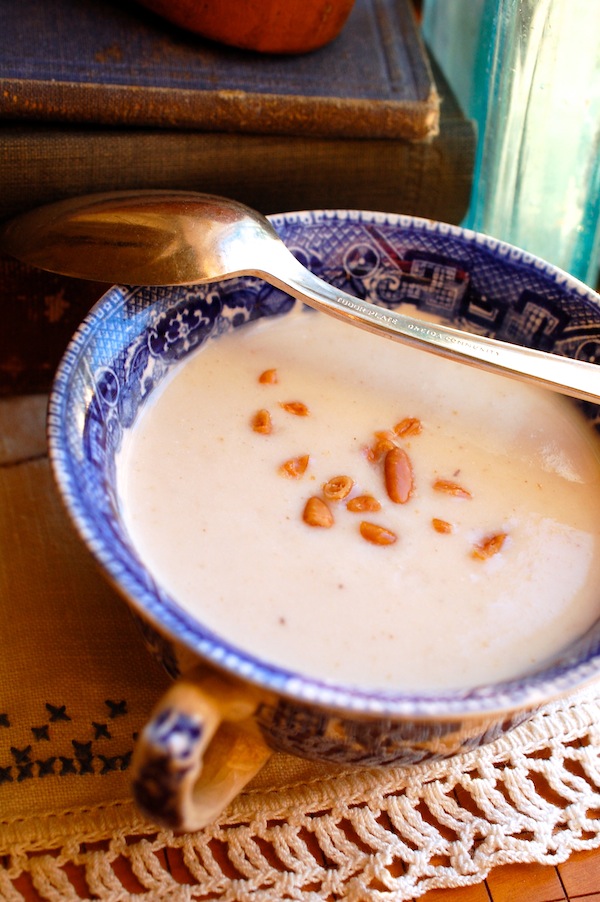
Once again, the winter darkness conspired against me to shoot a decent photo in natural light, but you’ll have to trust me on this one. The soup is lovely—comforting and pleasing enough for most to enjoy (even Roy). I had it for dinner with an avocado and arugula salad. Yum.

Quick farm report: Chickens are hanging in there. Feral cat has baby kitten housed in former pig pen. Roy is leaving food for them. Farmer wants to adopt kitten. Will keep you posted. Let’s all hope for warmer weather. Mice are in hiding.

DSC_4370_1Oh, and here are the links, in addition to the soup below, for my other delicious cauliflower (and broccoflower—or green cauliflower—which I like even better!) recipes:

Broccoflower and Cremini Mushrooms with Garlic and Rosemary
Honeyed Cauliflower with Toasted Almonds
Roasted Cauliflower, Potato, Mushroom & Green Bean Gratin
Roasted Cauliflower with Double Lemon Ginger Dressing and a Spritz of Arugula
Lemony Green Cauliflower with Scallions and Parmigiano
Roasted Cauliflower with Garlic-Lime Cilantro Butter
Teeny Veggie Stir Fry with Thai Sauce
Broccoflower, Carrot & Leek Ragout with Thyme, Orange & Tapenade
Quick-Roasted Cauliflower with Zesty Orange-Olive Dressing
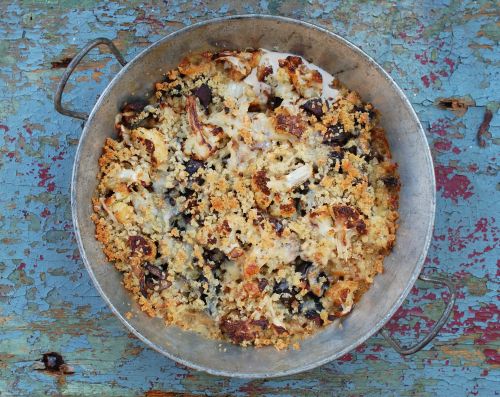
Roasted Cauliflower, Cremini, Gruyere and Rosemary Gratin


___________________________________________________________________________________________

cauli fiveCauliflower Soup with a Touch of Tahini & Toasted Pine Nuts

I added a teaspoon each of ground cumin and ground coriander to this soup, but you could replace a little of the cumin with ground ginger or go with just garam masala. You could also add some heat anyway you like. Instead of the yogurt and lemon juice, you could finish this with coconut milk and lime juice.

Serves 4 to 6

2 tablespoons unsalted butter
1 tablespoon extra-virgin olive oil
1 large head cauliflower (about 2 ½ pounds), cored, trimmed, and very roughly cut into large florets or pieces (about 8 cups or 1 ½ pounds)
Kosher salt
1 generous tablespoon finely chopped fresh garlic
1 generous tablespoon finely chopped fresh ginger
1 scant teaspoon ground cumin
1 teaspoon ground coriander
4 cups low-sodium chicken broth
3 cups water
3 tablespoons Tahini (well-mixed first)
¼ cup thick plain Greek yogurt (I use nonfat)
1 to 2 teaspoons fresh lemon juice
1/3 cup toasted pine nuts

In a large (6-quart) Dutch oven, heat 1 tablespoon of the butter and the olive oil over medium heat. Add the cauliflower pieces and 1 teaspoon salt. Cook, stirring only occasionally (to let browning happen), until all the cauliflower pieces have got some bits of golden browning on all sides (they’ll be less stiff, too), about 12 to 14 minutes.

Add the remaining tablespoon of butter, the fresh garlic and ginger, and stir until fragrant, about 1 minute. Add the cumin and coriander and stir well. Add the chicken broth and the water and stir well to scrape up the browned bits stuck to the bottom of the pan. Bring to a simmer, cover loosely, and cook for 15 minutes. Remove from the heat and let sit for 10 to 15 minutes.

Meanwhile, get out your blender and a dish towel and set a large heat-proof bowl by the blender. Put 1/3 of the soup plus 1 tablespoon tahini in the blender. (For safety reasons, you don’t want to fill the blender too much.) Cover the lid with a dishtowel to prevent splattering, but keep a small vent hole open. Puree until smooth. Transfer to bowl. Repeat with two more bathes of soup, adding 1 tablespoon of tahini to each batch as you puree, and transferring each batch to the bowl.

Rinse the Dutch oven and add the pureed soup back to it. Put the pot over medium-low heat and whisk in the yogurt and 1 teaspoon lemon juice. Let the soup get a bit warm, then taste it for salt and lemon, adding more of either if necessary. Continue to heat, stirring frequently, until hot enough to serve.

Spoon the soup into bowls and garnish with a generous amount of toasted pine nuts (I like a lot in order to have crunch in every spoonful!)

______________________________________________________________________________________________

Note: In an effort to streamline this recipe, I didn’t even start with sautéing onions (probably a first for me), nor did I roast the cauliflower first, which I really wanted to do. Instead I browned the cauliflower in the Dutch oven, added the fresh aromatics and spices, covered, and simmered. If you did want the added flavor that roasted cauliflower would bring, you could do that (and sauté some onions while the cauliflower cooks), but you will probably want to go with a little less liquid (maybe 5 1/2 cups instead of 7), since the cauliflower will be a smaller volume.

Shelter from the Storm: Why Farm Structures Matter

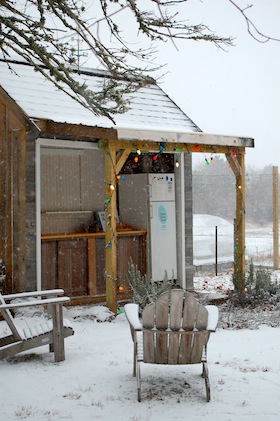
side of shed squibby coopWhen you begin growing vegetables and raising animals on even the very smallest of farms, you quickly learn that there are three uber-important issues to deal with: 1) Land, of course. (How much space do you have? How healthy is your soil?) 2) Water. (Where is your source? How will you get it to where you need it? Will you have enough?) and 3. Structures. (Where will you need them? How will you build them?)

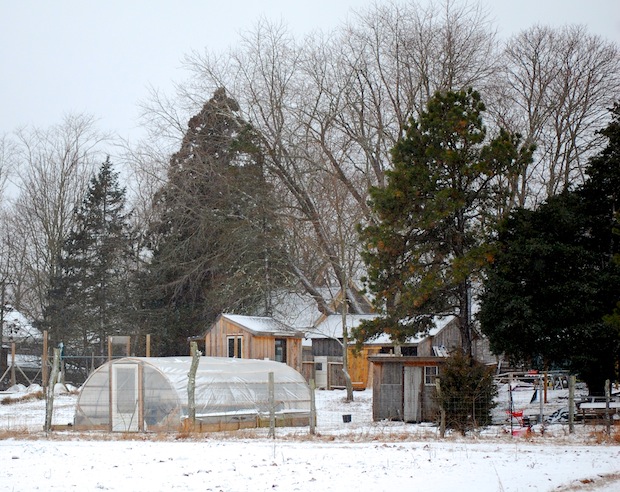
Number three might surprise you. But as I walked around the farm in the snow this morning, indulging myself in photos of frosted branches and frolicking hens, I realized how often I focused on the door of a shed, the mullions of a window, the turn of a gate. Out in the back field, I stopped to turn around and take a picture of the farm from afar, and I realized just how many structures Roy has built since we moved here.

farm from back field

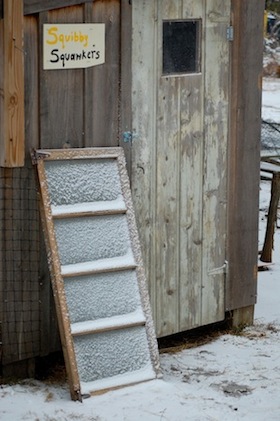
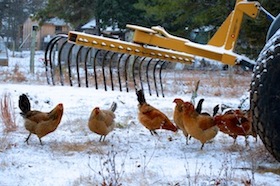
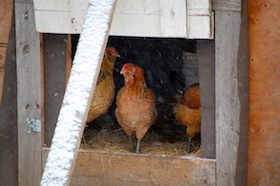
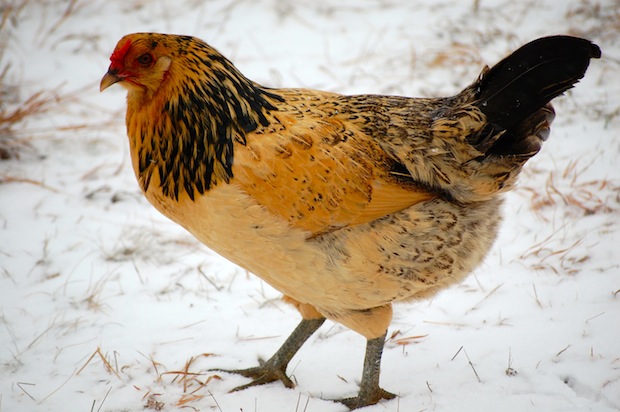
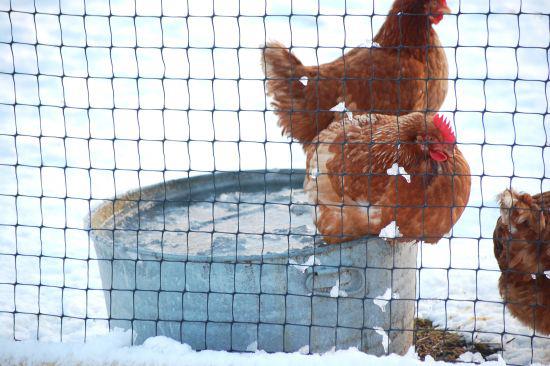
While the chickens are happy to hop about the snow (which they sort of peck at instead of drinking their partially frozen water), they dart in and out of their coops when the wind comes up. (Outside, they keep themselves warm by puffing up their feathers to trap air.) And tonight when the bitter cold and wind comes, they will be warm, bunched up together on their roosts, inside their locked coops, safe from predators.  We have 8 coops now—one in the process of being converted into a duck house. One coop also incorporates a small area for holding grain.

chickens tractor 1 chickens snow coop

ara perky

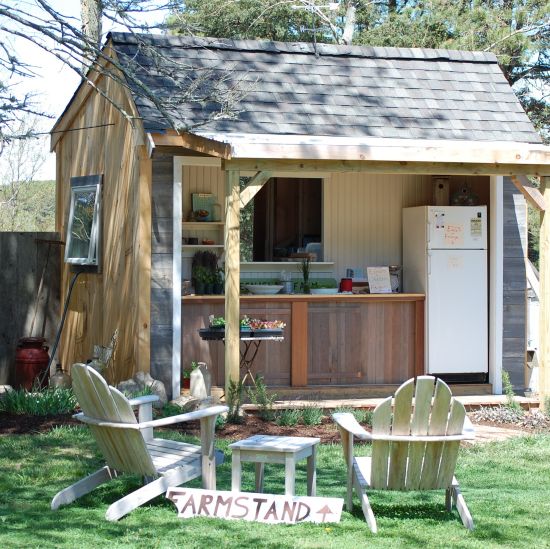
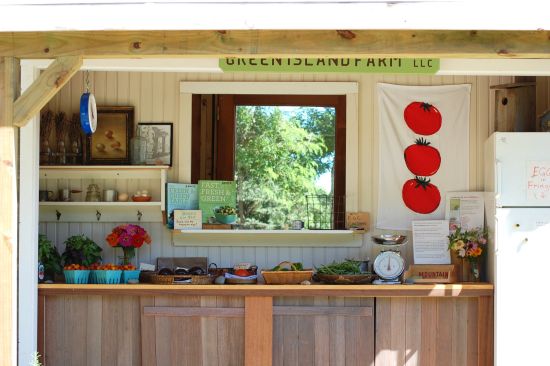
farm stand snowWe have a farm stand structure, which includes a back room where we do all our egg processing. (The front functions as the farm stand and holds the egg refrigerator for customers.)

We have two tool sheds and one grain bin/shed. Roy has converted part of one of the tool sheds into a “walk-in,” an insulated room for keeping eggs from freezing.

The grain bin down by our five  biggest coops holds some hay for nesting boxes and coop floors, too. But we could use a bigger area to store hay.

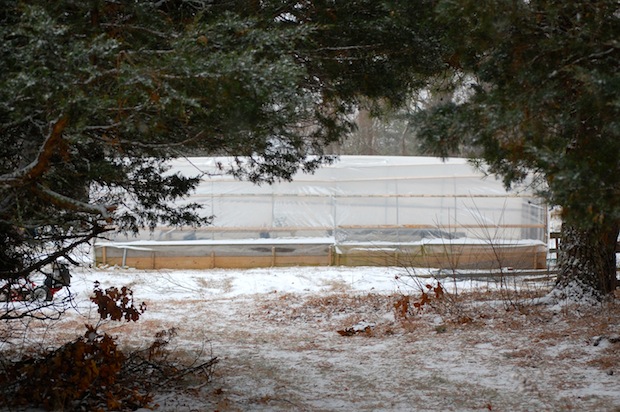
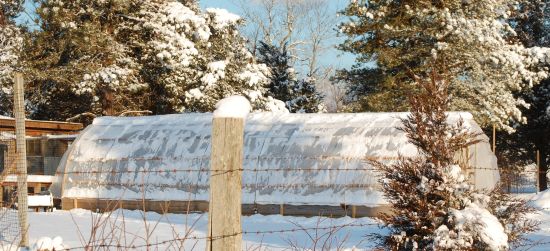
hoop house trees

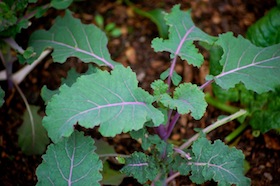
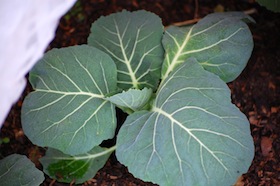
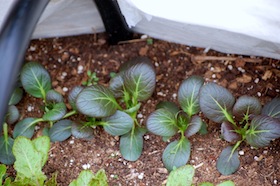
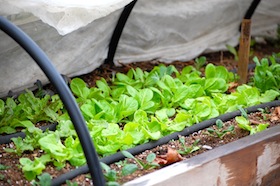
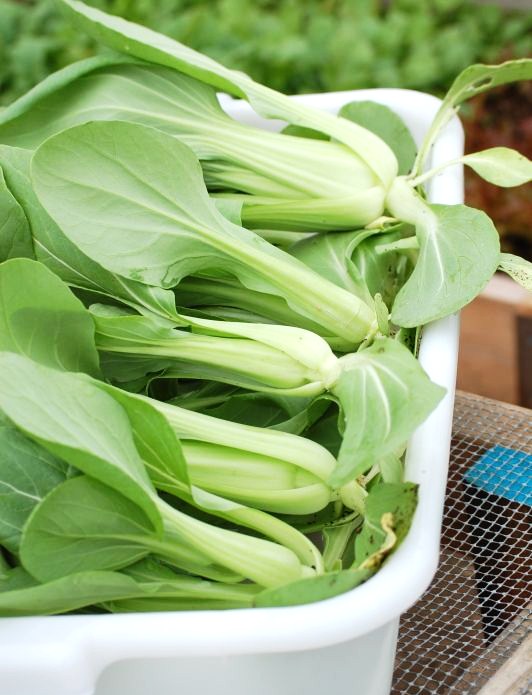
And of course we have the hoop house, where much to my dismay, everything—kale, collards, baby bok choy, lettuce, arugula—is thriving, despite this cold.

kale hoop collards hoop bok choy hoop lettuce hoop

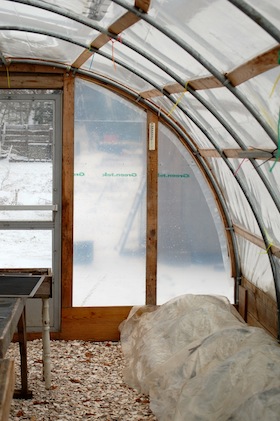
Everything inside the hoop house is also under two layers of cover—one fabric, one plastic. And the actual temperature in there this morning was above freezing!

hoop plastic hoop thermom

The hoop house is an incredible structure—not only does it protect from the elements, but based on what we’ve sold out of it versus how much it cost to build, it’s a money-maker, too.


snowy path

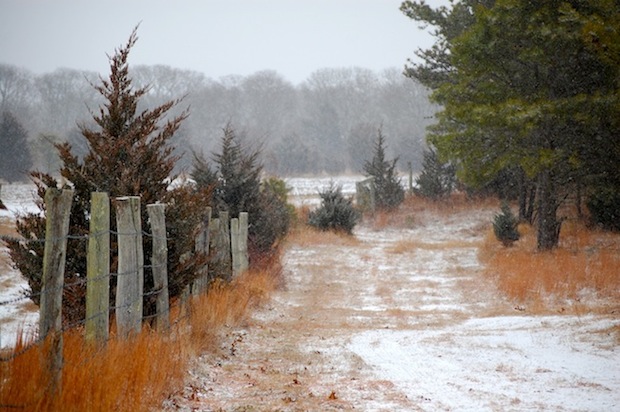
And fencing—well, that is one of your top-of-the-list structures on a farm. Lots of post-hole digging and deer-fence-erecting went on here, not only to protect our crops, but to create very large (semi-)protected pastures for our chickens. (Additional guy wires cover the pens; they’re intended to discourage hawks but don’t always work.) We were lucky to have a good deal of property-delineating fencing (like that above) in place when we arrived.

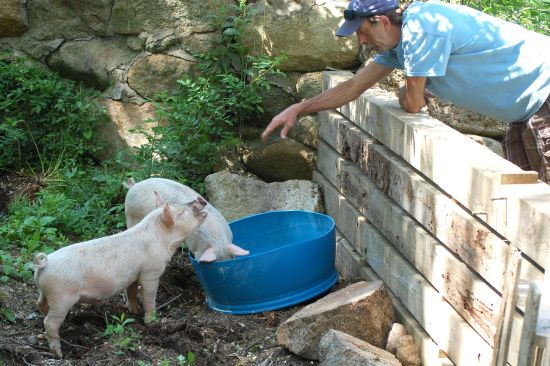
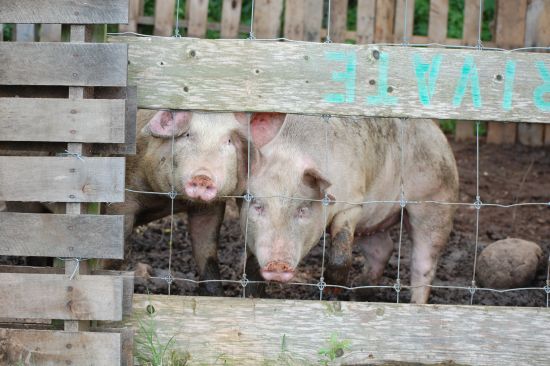
We don’t have a barn—yet. Roy has converted a small former garage on the property into his workshop. Long ago, there was a grand barn on this farm (the remaining stone foundation is where we housed the pigs this summer), but it would cost a fortune to erect a new one there. (Oh, and the pig pen itself was another structure! The stone foundation formed three walls, but Roy repurposed old railroad ties and wood pallets to make a secure fourth wall and gate.)

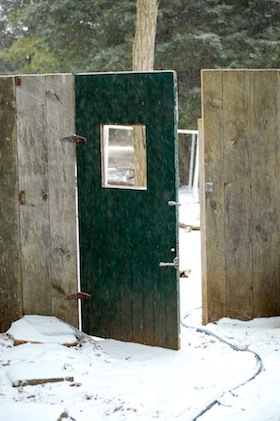
green doorWhich brings me around to the cost-of-structure issue. Always a good idea to look far ahead and budget for these things, as we did this year for the farm stand, the new coops, and the grain bin.

And then, salvage, salvage, salvage.

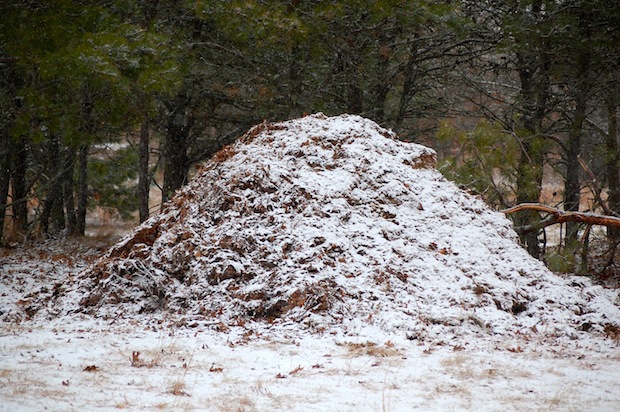
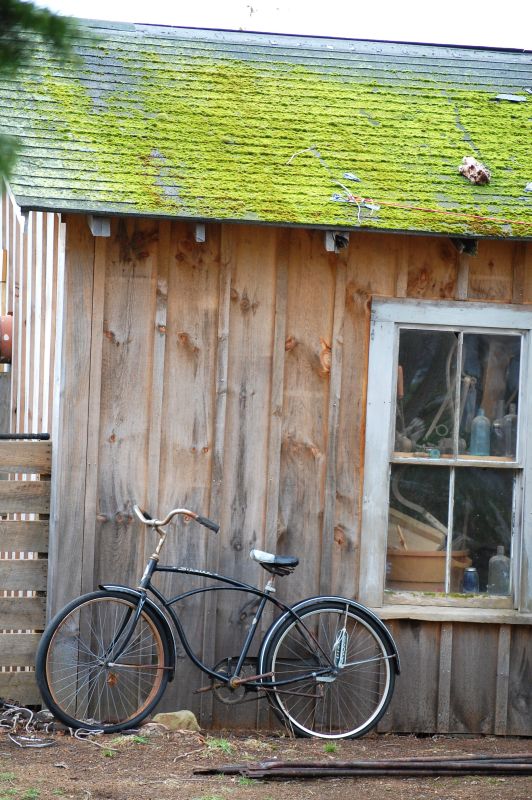
Roy recycles as much old (usable) wood, windows, doors and hardware as he can. (People actually bring us stuff now, too—recycling is a way of life here on the Island. Witness the compost pile, below, of donated horse manure.)

compost pile in snow

But of course you need someone to do the building, too. We are very lucky here on Green Island Farm to have a farmer who is also a licensed builder, but partnering or bartering with someone with carpentry skills can be a good plan. Keeping the structures as simple and efficient as possible is important, too. For a small operation on a budget, fancy is not practical. Also, living with a problem for a little while, if possible, can present the best solution.

milk canAll this reminds me to tell you that I’m pretty excited that some of our resident builder’s designs have been included in a special appendix in my new book. So when you get your copy of Fresh From the Farm, be sure to turn to the back of the book for drawings of a great small chicken coop, a basic farm stand, a covered raised bed, and a seed-starting system. (Thank you, Roy!)

In the meantime, stay warm and dry. (I almost forgot that part—you need a house, too, to shelter the farmers. Nothing fancy, though. Remember, they don’t spend too much time inside.)

buoys snow


The Year in Photos: 2013 on Green Island Farm

January

423295_10200300287848683_1428582107_n

Brrrrrr….

DSC_3468_02Crunch, crunch through the snow and ice.

DSC_3958_01

The new hoop house, post-hurricane, post-nor’wester, mid-snow-spell, still standing.

February

cauli pic 5_01Winter whites aren’t so bad…a simple cauliflower gratin made a hearty dinner.

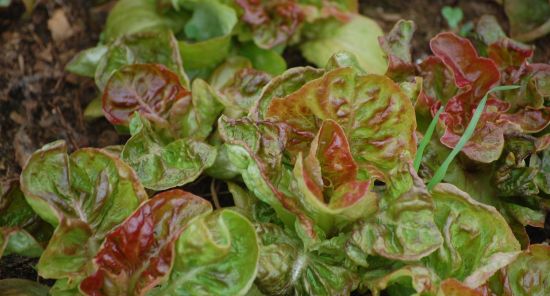
DSC_4579_01Crisp, rosy Pirat lettuce thrived in the hoop house–year-round growing might just happen!

March

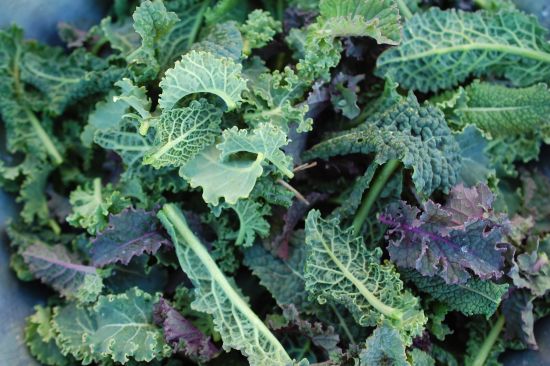
DSC_3701_01Baby kale rocked the winter garden.

DSC_4189_01

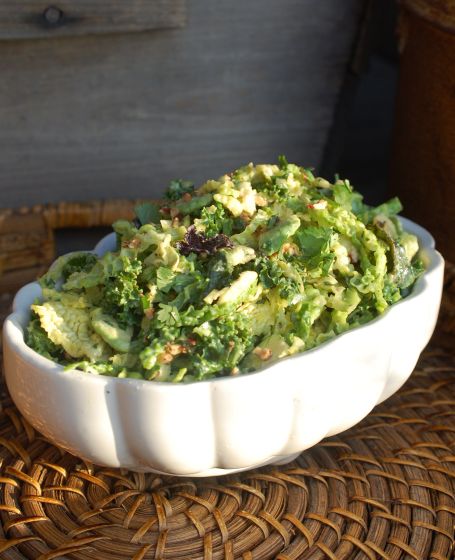
So we mixed it with Savoy cabbage for a spectacular slaw.

April

DSC_5066_01

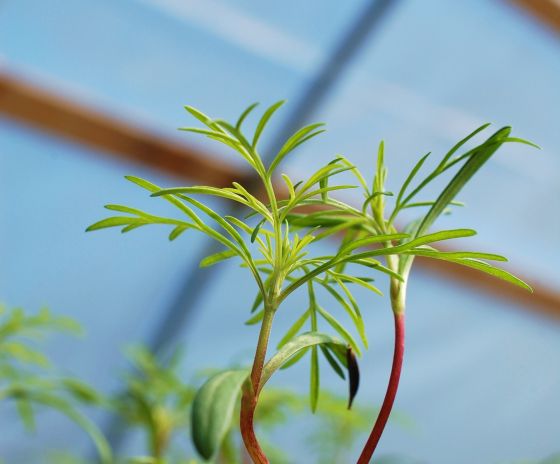
Cosmo seedlings were happy, happy in the hoop house — hope for the flowers.

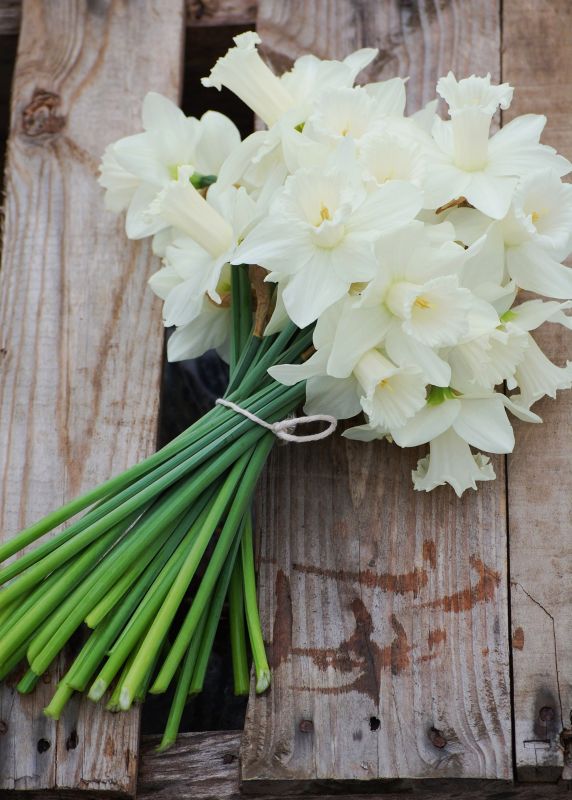
DSC_5584_01We made farm bouquets of white daffodils to honor the Boston Marathon bombing victims.

DSC_5547_01The first bok choy harvest from the hoop house was perfectly lovely with no pest damage.

DSC_5601_01

May

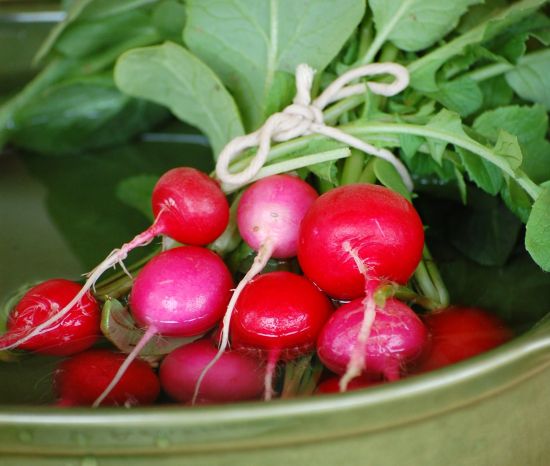
DSC_5606_01It doesn’t get any cheerier than this–little bunches of Easter Egg radishes hit the farm stand.

DSC_5868_01The brand NEW farm stand, I should add.

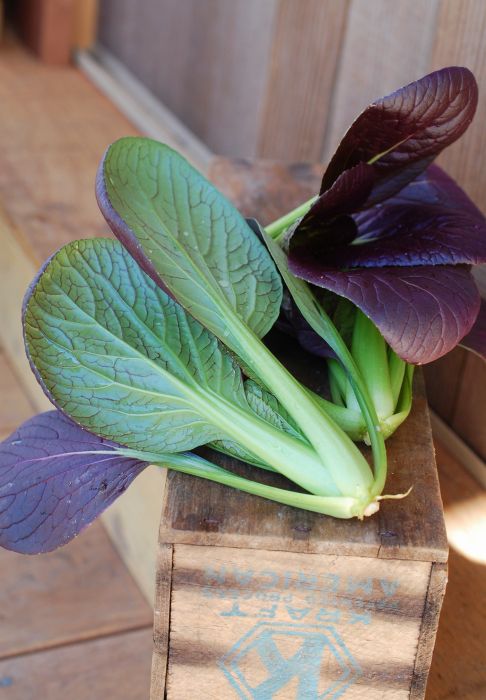
DSC_5735_01But the little heads of purple bok choy got my vote for prettiest spring vegetable.

DSC_5959_01The 300 new pullets got used to their new digs pretty quickly…

DSC_5954_01…while the yearlings were laying like crazy.

DSC_6043_01And of course there were new babies.

June

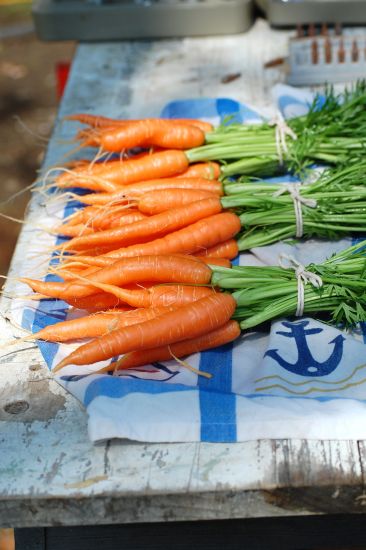
DSC_6163_01This first crop of Nelson carrots were extra sweet.

DSC_6297_01 And guess who arrived at the farm? That would be Wilbur and Dozer.

DSC_6420_01The birthday rose started blooming.

DSC_6382_01

And an uninvited guest stayed for the weekend, much to Libby’s delight.

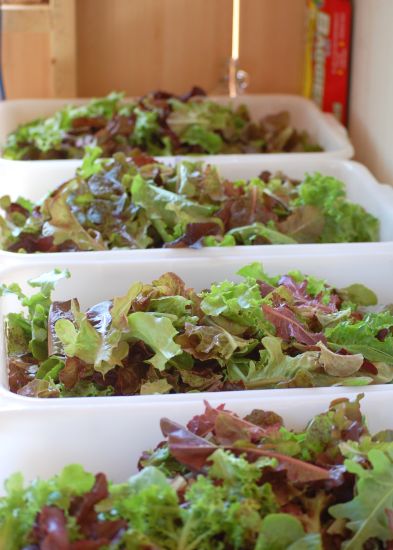
DSC_6402_01DSC_6600_01Harvesting and washing all those salad greens was just exhausting, Farmer said.

July

DSC_6887_01DSC_7365_01

DSC_7208_01Finally the good stuff started rolling in.

DSC_7296_01Meanwhile the boys got bigger, thanks to nonstop snacking.

August

DSC_7492_01 The farm stand looked spiffy in high summer.

DSC_7657_01DSC_7798_01scoop

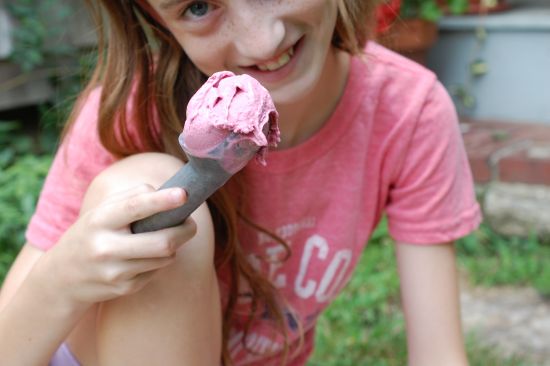
DSC_7829_01And then it was Back Yard Black Raspberry Ice Cream time again–the best!

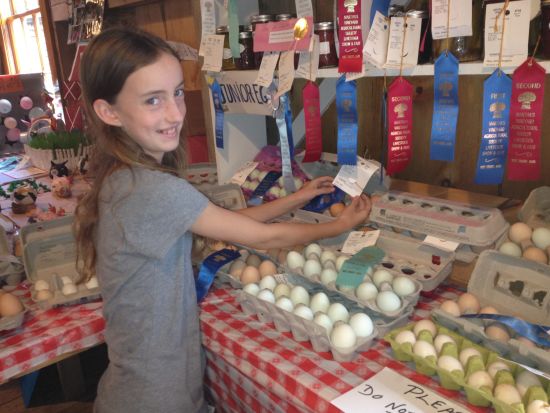
166_01 The Fair was pretty swell too–lots of blue ribbons, including one for Libby’s eggs!DSC_8131DSC_8112Cosmos and sunflowers went into knock-out mode in late August.

September

DSC_8034

Goldenrod and Joe Pye Weed painted the path along the Square Field.

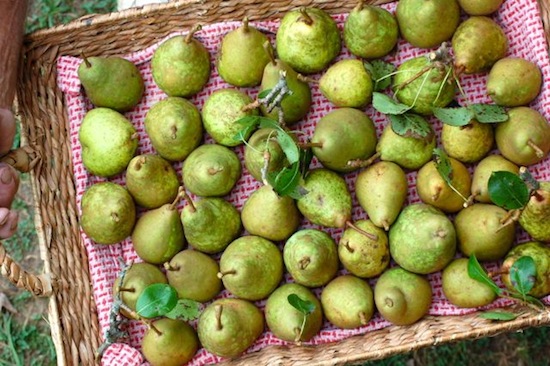
apple leaf rackpears 1Apples and pears decked out the farm stand.

pauley 1

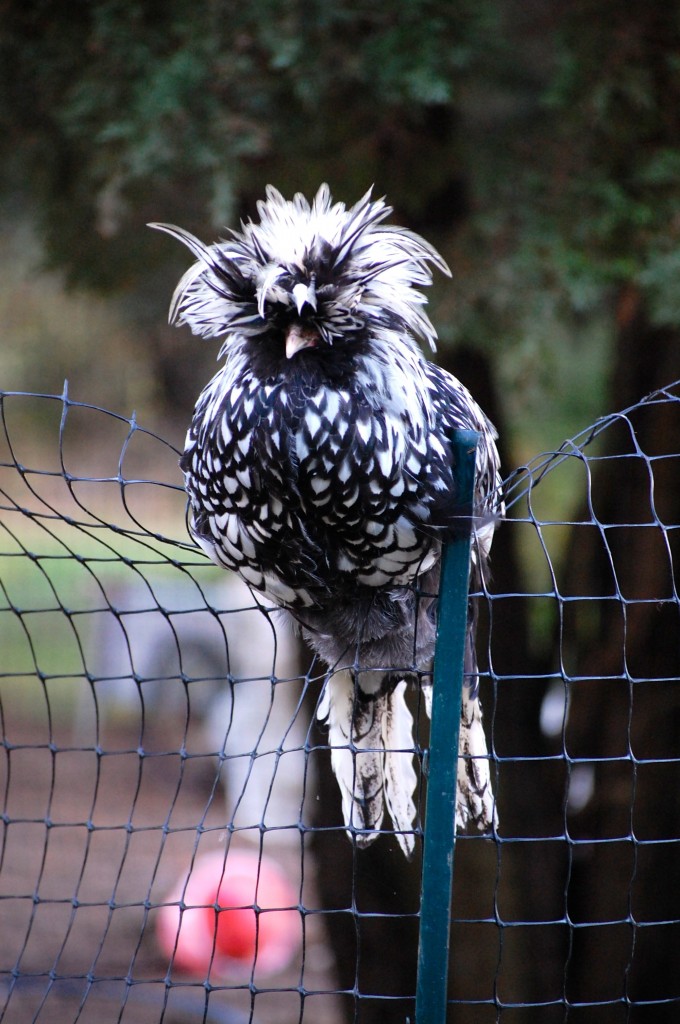
And our fine-feathered Polish Crested turned out to be Paulie, not Polly.

October

pathfarmstand shelfWe loved the October light and our first Sugar Pie pumpkins.

DSC_6732_01

Options for a harvest frittata were endless in October.

November

grey skies

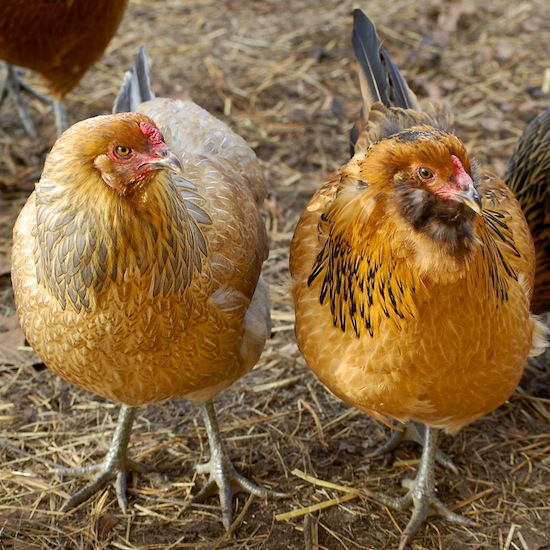
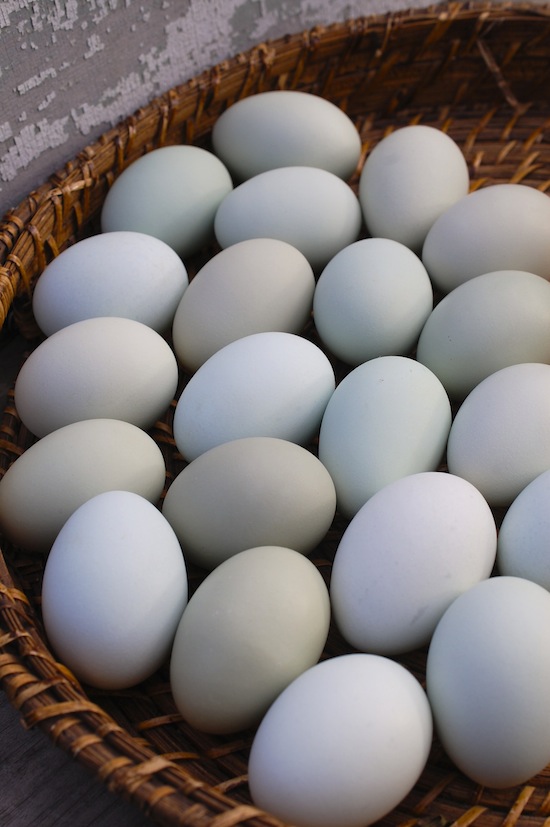
two hens aracblueish eggsThe Aracaunas started laying–some blue eggs, some green.nasturtium snow

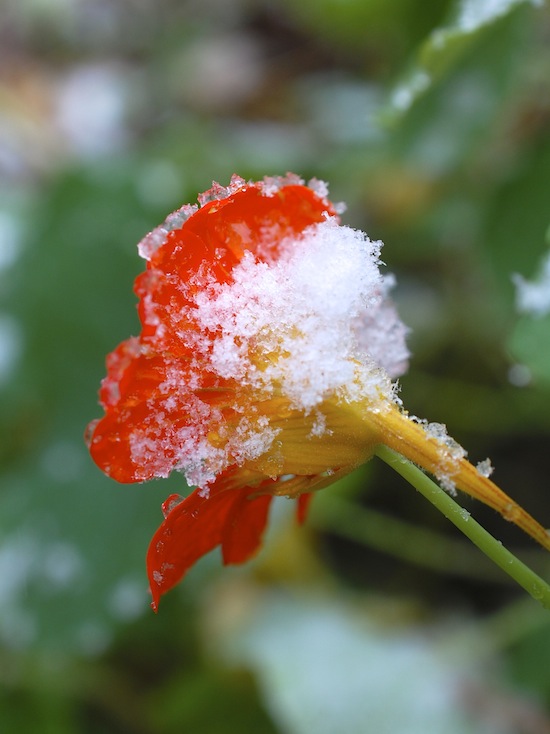
A November surprise brought us this rare juxtaposition: Snowflakes on nasturtiums.

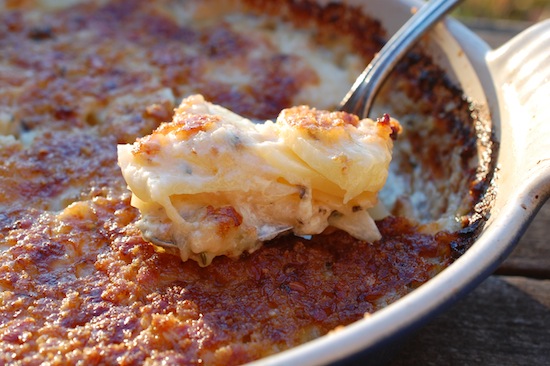
gratin 2For Thanksgiving, we made a potato, gruyere, and horseradish gratin.

December

pan veg

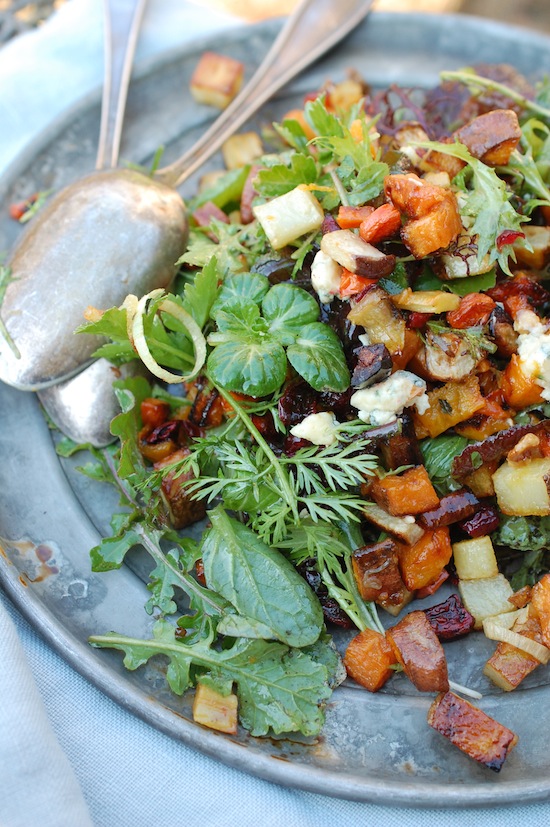
A winter warm salad template got a lot of hits on Pinterest!

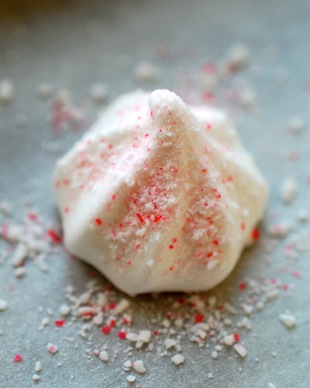
kiss finalWe made peppermint meringues from our egg whites.

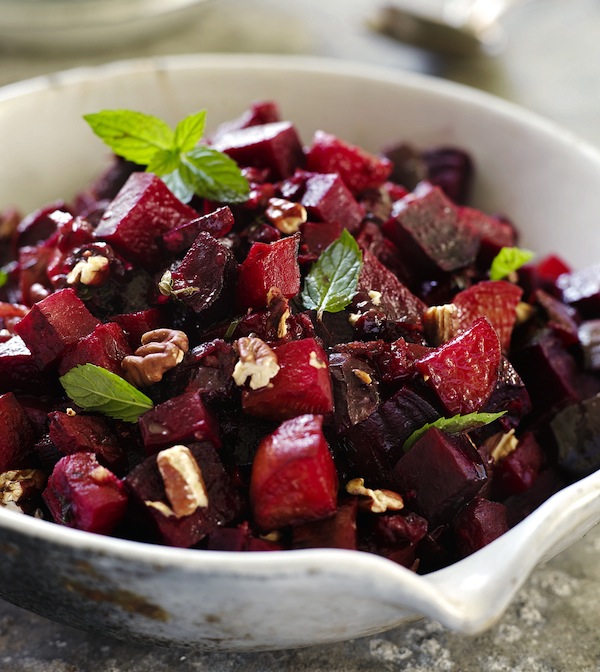
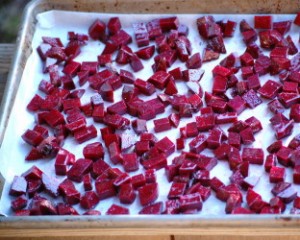
RoastedBeetJewelsPg.205And roasted beet “jewels” from Fresh From the Farm!

tree

We cut down our tree…

doggieand hid the bare spots with lots of ornaments and tinsel.
DSC_0619We snipped holly and cedar from the back fields and decorated the farm stand to look festive.

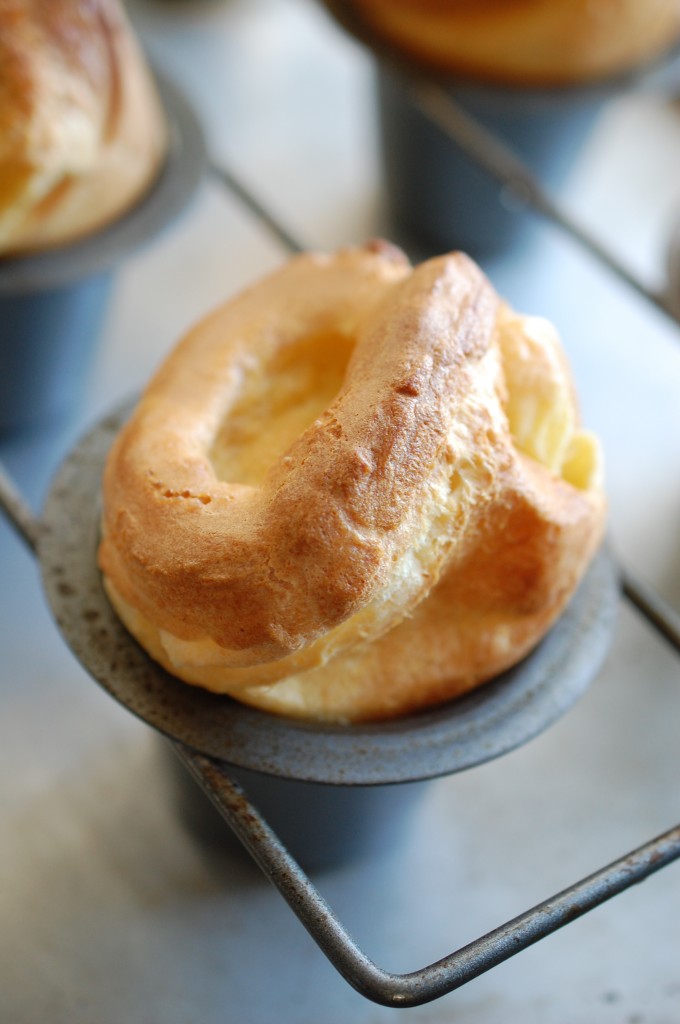
DSC_1016At last, it was Christmas morning: Warm popovers and cool winter light on Green Island Farm.

It was a year of plenty.

“And we pray, not for new earth or heaven, but to be quiet in heart, and in eye clear. What we need is here.” — Wendell Berry

May 2014 bring you lots of every-day, garden-variety moments of joy.


Roasted Beet Jewels with Cranberries, Pecans & Balsamic Butter—A Festive Recipe Preview from Fresh From the Farm

RoastedBeetJewelsPg.205Tomorrow is Christmas. Oh boy. And, in one month, I will hold the first copy of my first-ever hardcover book in my hands. I am doubly excited. This could be a problem, as I’m not known for containing excitement well.

When I was three years old, I woke up in the middle of the night on Christmas Eve, put on my green velvet party dress (backwards, buttons down the front), and threw up all over myself. I thought I heard Santa on the roof. (Why I put my party dress on, I’m not sure. But apparently I was quite feverish—sick enough that the doctor had paid us a house-call earlier that day—so perhaps I got the dress-up part confused with Easter morning.) At any rate, I’m sorry to say that’s not the extent of the damage I did as a child during peak moments of excitement. (Graduation from elementary school involved pinning myself accidentally under a folded up ping-pong table. I’m not kidding.)

DSC_9957So my wise and wonderful publishers at The Taunton Press, who know how excited I am about Fresh from the Farm, have given me permission to publish a recipe from the book, just in time for Christmas. Whew.

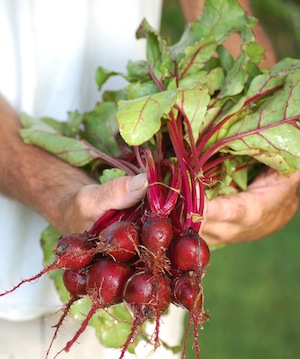
So I will spare you any more childhood stories and get right to it. I’ll just tell you that I picked something easy and festive (with a pretty picture!), even though it is kind of an iconic Susie-type vegetable side dish recipe, the kind of thing you readers of Fast, Fresh & Green and The Fresh and Green Table will find familiar. But Fresh From the Farm has so much more—everything from tostados and burritos to pot roast and meat loaf to French toast, coffee cake, and cookies (all still inspired by the veggies and fruit that we grow). But since Christmas (and deep winter market/CSA season) is upon us, I thought I’d share something that could just as easily go on the holiday table as be part of a weeknight winter supper. (And use up some of those beets in the veg drawer. Although, in case you don’t know, beets are one of the better keeping winter veggies—wrap them in dish towels and put in open plastic bags and they’ll retain some moisture longer.)

FFF small image for webHere you go. I hope you have a peaceful and relaxing and delicious holiday. I wish I could give you the real book for Christmas, but alas, you and I will have to wait patiently. (You patiently, me not so much.) At least you can order Fresh From the Farm now if you like. (If you need it, all the ordering info is on the homepage of sixburnersue.)


If you like beets, check out these other recipes on sixburnersue as well.


Roasted Beet “Jewels” with Cranberries, Toasted Pecans & Balsamic Butter

DSC_3632_1This easy and delicious side dish is a great way to introduce people to roasted beets—or beets in general. You’ll love it too, because the small-diced beets cook in only 25 minutes—no boiling or long slow roasting here! This is just as great to make with summer beets as fall beets, and would be delicious with roast beef, roast chicken or crispy duck. I like to use a mix of red and orange or yellow beets if I’ve got them, but for a variation, you can also make this by substituting carrots for half of the beets.

Serves 4

1 1⁄2 pounds beets (preferably half red and half golden), topped and tailed but
not peeled

1 tablespoon plus 1 teaspoon extra-virgin olive oil

Kosher salt

1 tablespoon fresh orange juice

1 tablespoon seedless red raspberry jam

1 teaspoon balsamic vinegar

1 1⁄2 tablespoons unsalted butter, cut into 6 pieces and chilled

1⁄4 cup very finely chopped dried cranberries

1 teaspoon chopped fresh thyme

1⁄2 cup chopped toasted pecans

Small fresh parsley or mint leaves, for garnish (optional)


Heat the oven to 450°F. Cover two heavy-duty sheet pans with parchment paper. Keeping the red and golden beets separate (if using both colors), cut them into medium-small dice (no more than about 1⁄2 inch). Put each color in a bowl and toss with 2 teaspoons olive oil and 1⁄2 teaspoon kosher salt. Transfer each bowl of beets to separate sheet pans and spread in one layer. Roast until the beets are tender and shrunken, about 25 minutes. (Rotate the baking sheets to opposite racks halfway through cooking for more even cooking.) Transfer to a mixing bowl.

Put the orange juice, raspberry jam, and balsamic vinegar in a small saucepan over medium-low heat. Stir or whisk continuously (don’t walk away!) until the jam is completely melted and the sauce is slightly more viscous (it may be steaming but it should not boil), 2 to 3 minutes. Remove the pan from the heat and immediately add the cold butter. Swirl the pan until the butter is melted and the sauce is slightly creamy. Add the cranberries and thyme and stir. Pour and scrape the balsamic butter with the cranberries over the roasted beets and mix and toss gently. Add most of the pecans and stir gently again. Transfer to a serving bowl and garnish with the remaining nuts and herb leaves (if using).

PHOTO CREDIT, TOP PHOTO: Alexandra Grablewski; styling by Michael Pederson


Peppermint Kisses & Red-Tailed Hawks: So This is Christmas

peppermint bowls

coop field

Mr. Big (as in Huge) red-tailed hawk helped himself to a hen yesterday. He has been circling for days, gliding from one pine-tree top to the next, always with an eye down, looking for his opening. The smart and fast hens head for their coops or hide under a canopy of tree branches when they hear his eerie screech or see him on the move. But there’s always one….

Hawks are part of the winter landscape that I love so much, and I can’t begrudge them the hunt. After all, the rabbits and voles and mice that hawks usually dine on have all gone into hiding. (The mice into our house of course—mice being a wee bit more resourceful than chickens, in my opinion.)

tree ornament tree fence


Stepping outside these days is such a contrast to the warm sparkly cookie baking/tree decorating/present wrapping vibe we’ve got going inside: The light covering of snow on the spent cornfield, the faintly luminous grey noontime sky, the theater of gnarled and twisted bare-limbed trees in the uber-still air. And that gulp of cold air that catches your breath, the chill that makes you curl your fingers into a fist inside your gloves. Startling.

corn field

I love going outside. And then I love coming back in.

Even though, no matter how much we try to seal all the drafts in this creaky-leaky old farm house, it is still on the chilly side.

lib tree dad tree dad lib


And our Christmas tree brings new meaning to the whole Charlie Brown thing. After traipsing around out back for far too long on the coldest day last weekend, we finally settled on something we thought would work–with the bare back half to the wall! Roy cut it down, dragged it in, and we had a good laugh.

mouse fox doggie charlie


pea pod aliceFortunately, now that I’ve fortified it with my ornament collection and lots of tinsel, it doesn’t look half bad. I just try not to look up when thumbing through Martha Stewart Living. But every Christmas tree is beautiful at night, isn’t it? Especially when you turn all the other lights out in the living room and gaze, mesmerized, at the twinkle show that remains.
sugar starkiss final


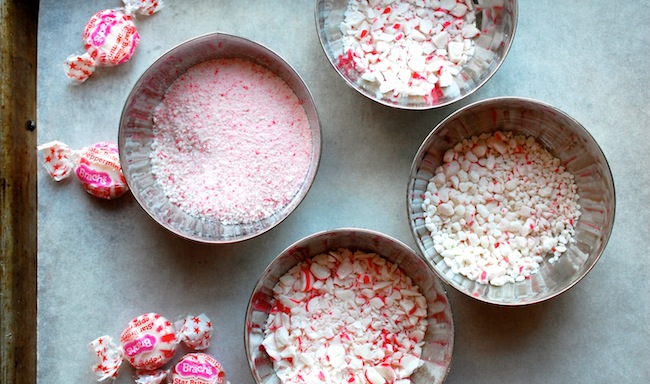
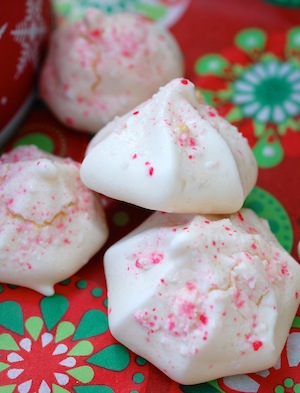
Now, so far we have eaten every single Christmas cookie we’ve made. Dad ate the beautiful sugar cookies Libby decorated as fast as I could bake them. So much for gift giving (more batches to come.) Yesterday, I played around with egg whites and a pastry bag (big fun) and made peppermint meringue kisses, a recipe by my fabulous baker friend Abby Dodge. I got the recipe out of one of Fine Cooking’s special cookie collections, but it’s on the web, too. I’ve never been a great egg-white-whipper and I think I could have gone a little further with these, but I’m jazzed to make them again. (I tried chopping and smashing peppermint candies a few different ways, too, and that was a hoot.)

In case you can’t tell, I love Christmas. And cold days that make baking, well, essential to one’s well-being. And I also love these precious limbo days at the close of the year. Serious work goes on hold; afterall, there’s a whole new year coming for that.
kiss tissue 2


Decorating the Farm Stand with Farm Finds, Picker Style

Artsy-craftsy I am not. That doesn’t keep me from trying. For the better part of 30 years, I’ve indulged myself with ridiculous forays into the world of “natural” holiday decorating, usually concocting something that generally falls apart in a week, if not an hour. (For the record, my sister Eleanor, who will be reading this blog and laughing, did inherit the artsy gene. Growing up, we had a neighborhood contest, and she often won for the decorations she did for our house.)
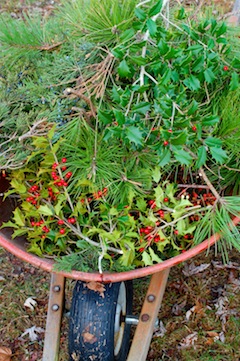
Unfortunately, the bad news is that I have now stumbled into not only a wealth of backyard greenery (the farm is full of pines and even hollies with berries on them!), but I also have a little farm stand to spiff up. And a farm stand, as far as I’m concerned, might as well be a doll house. So cute, and it just screams out to be decorated.

So now I am dangerous.

You will be happy to know that half-way through my personal decorating party I staged on Saturday, I gave up on the “swag” to drape around the cut-out window in the farm stand. Short of calling my sister or my friend Mary Wirtz (who will also be reading this and laughing), I had no choice. My limited patience with wiring branches together (that of course didn’t stay together or hide the gaping holes) did me in.

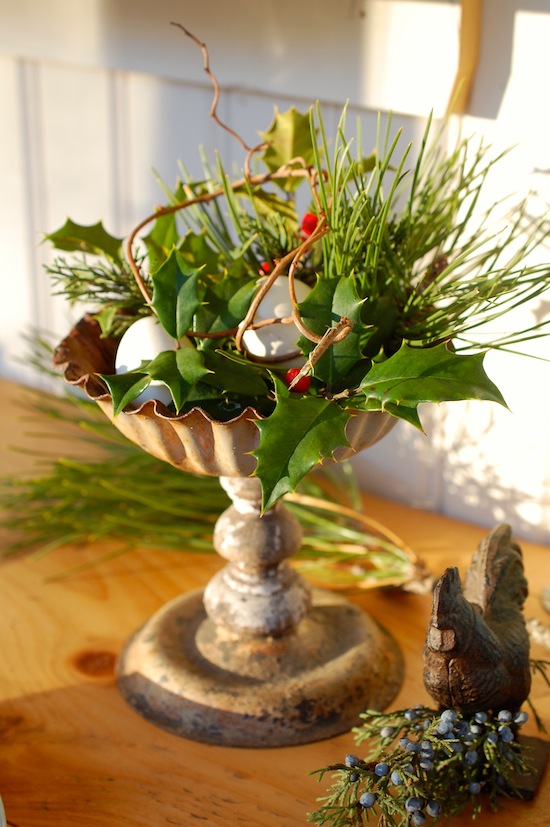
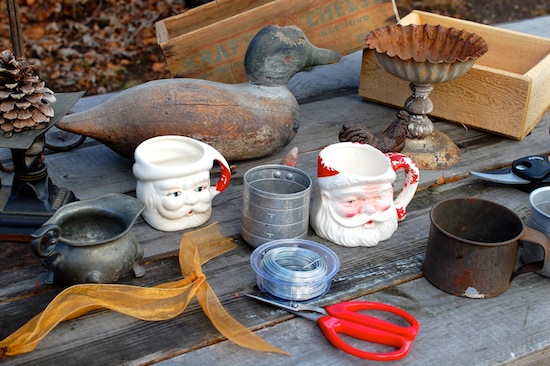
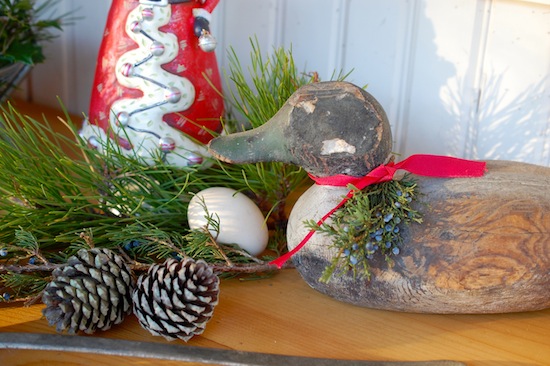
But I did manage to take advantage of some cute props. Since Roy is a picker/junker extraordinaire (I think I’ve mentioned before that American Pickers is his favorite TV show!), and both of us love old metal stuff (and 50s Santa mugs), I had a few things I could simply fill up with snipped pine, holly, and juniper. (The chalice at the top of the blog is a Roy pick.)

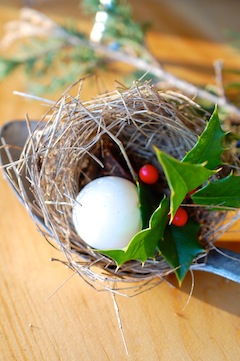
I tucked in a few blue eggs here and there, and, voilá, holiday decorations, farm-style.

Then I added a plate of clementines (and a plate of fudge–now gone; cookies coming) for our egg-buying customers who are still visiting the farm stand. And I was happy.

There was a clutch moment (actually before I started decorating) when a classic argument about colored vs. white lights threatened to derail the farm stand decorating project. But after I explained the whole greenery/antique junky stuff theme I had in mind, Roy agreed that white lights were best. I haven’t been able to get a good photo at night, so you will have to make do with this grainy one.

Next up: Heading out back with Roy and Libby this weekend to cut down the Christmas tree. And Libby and I have collaborated on a surprise Birthday/Christmas present for Roy, which we’re picking up this weekend. He claims not to want to know what it is, but I’m going to have to tell him soon. Hint: It waddles.


Vegetables, flowers, and serenity with Susie Middleton